Phase2 on my PRO-RUNNER is nearly completed...(PICS)
Posted: Mon Jun 16, 2008 11:14 am
well, phase2 of my pro-runner project is nearly completed…. 
i bought a complete alterktion suspension from reilly's motorsports with airride-shockwaves, rack & pinion, 1.125" sway bar, upper and lower tubular arms, and more! rear cames a modified airbar-suspension from air-ride-technologies with shockwaves too, and 4-link! in same time i restored the complete underground of my RR, install subframe connetors, and a few other new parts...
here a few pics of works:
(and i try to explain the works on english..)
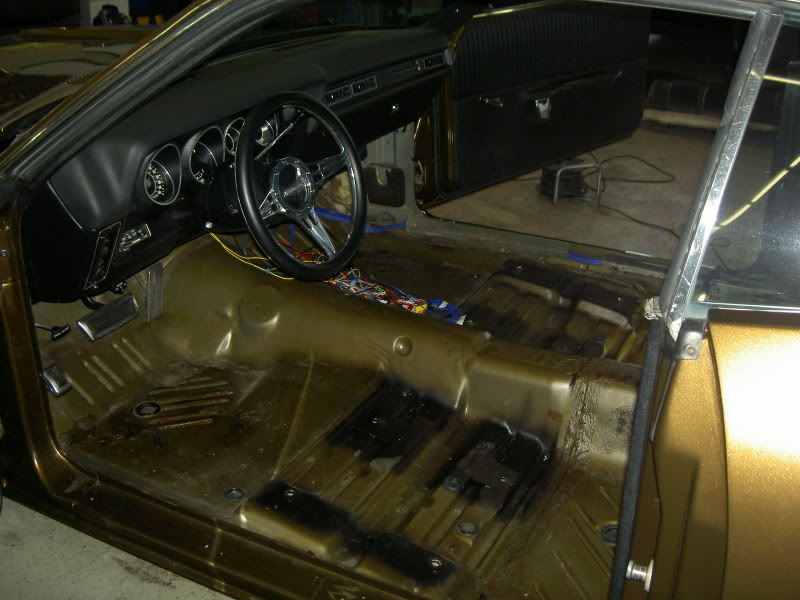
at first i parted my interior out… (for welding frame connectors on floor…)
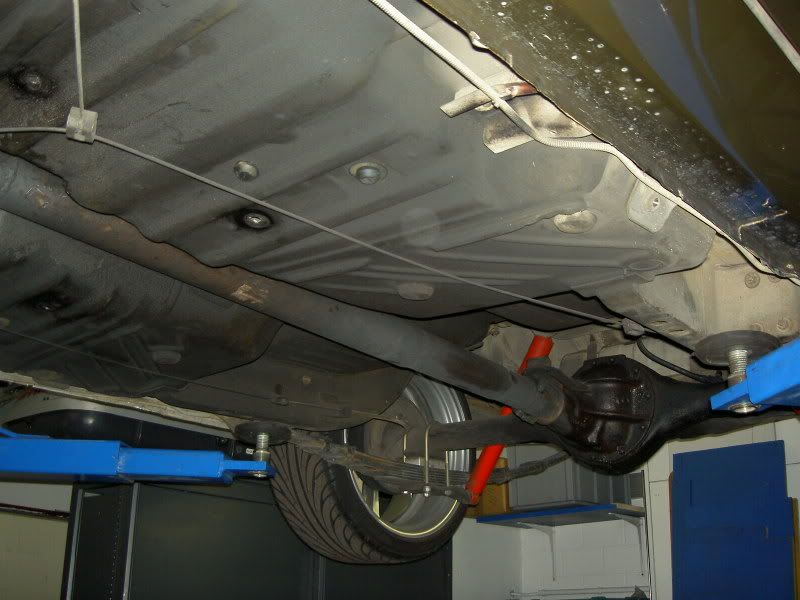
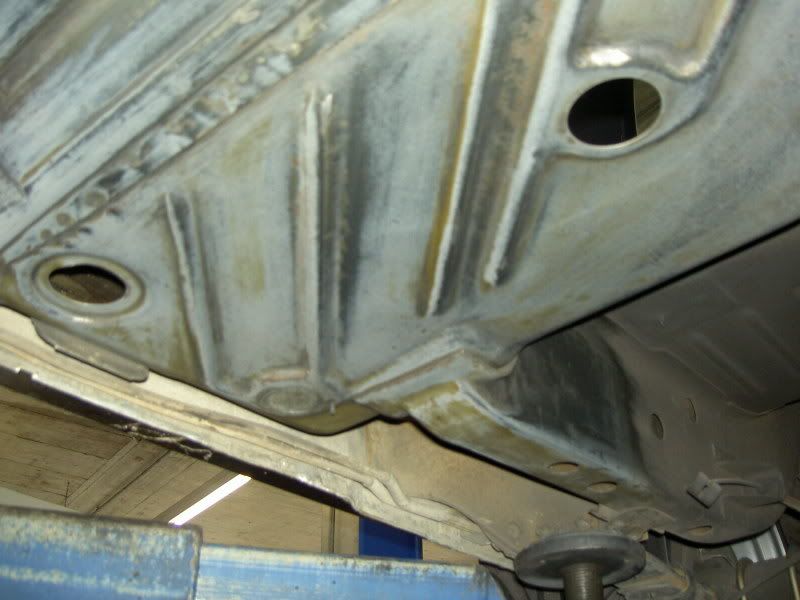
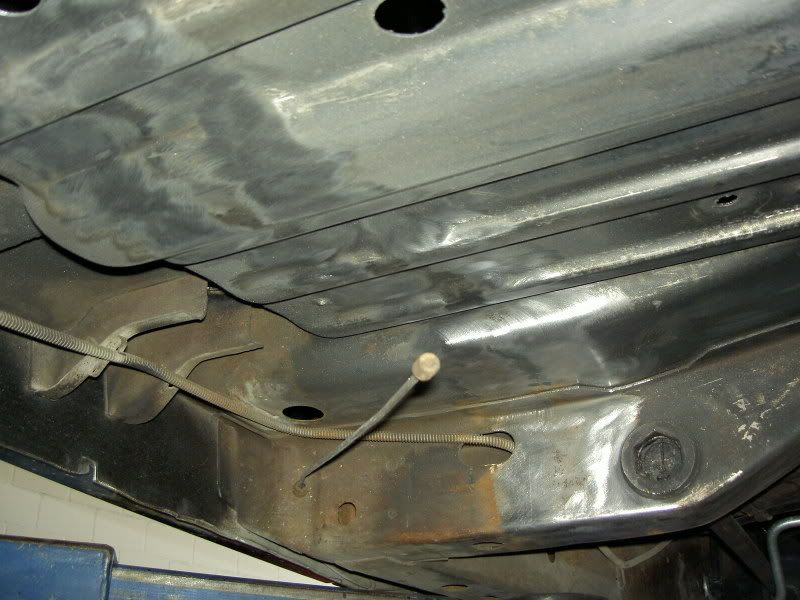
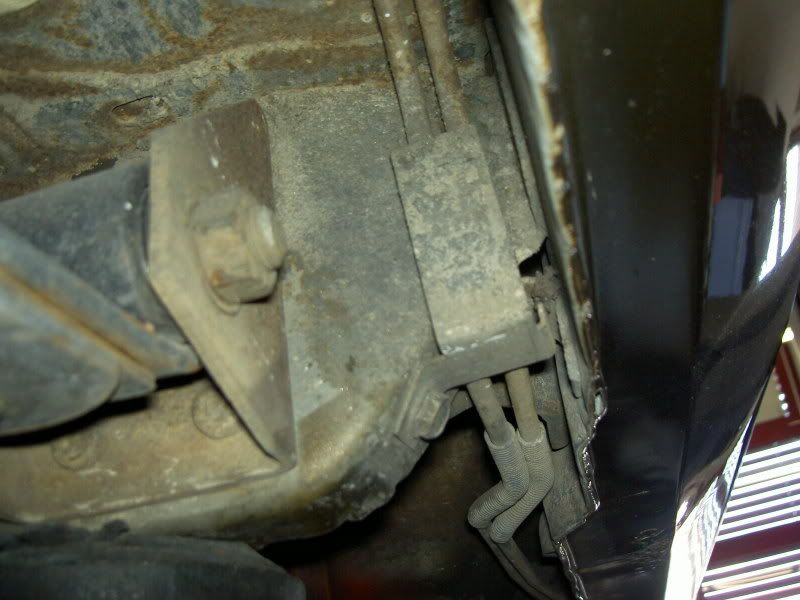
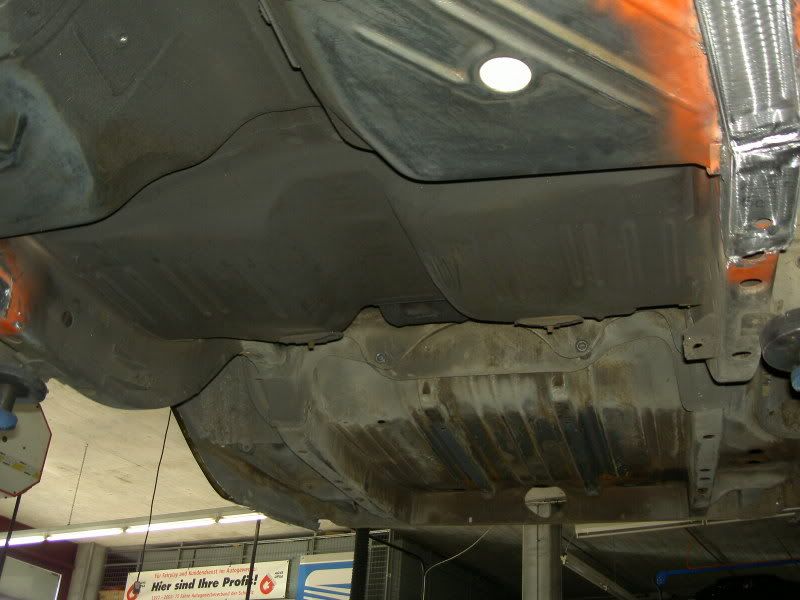
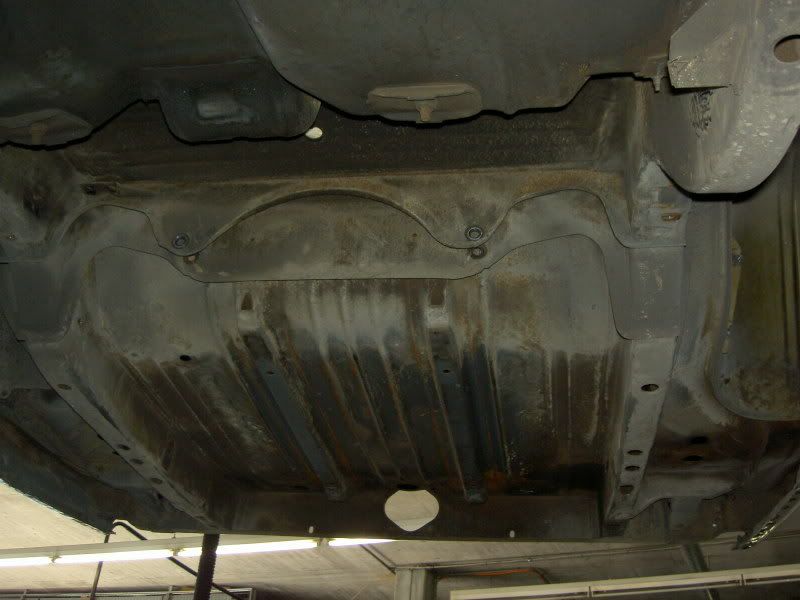
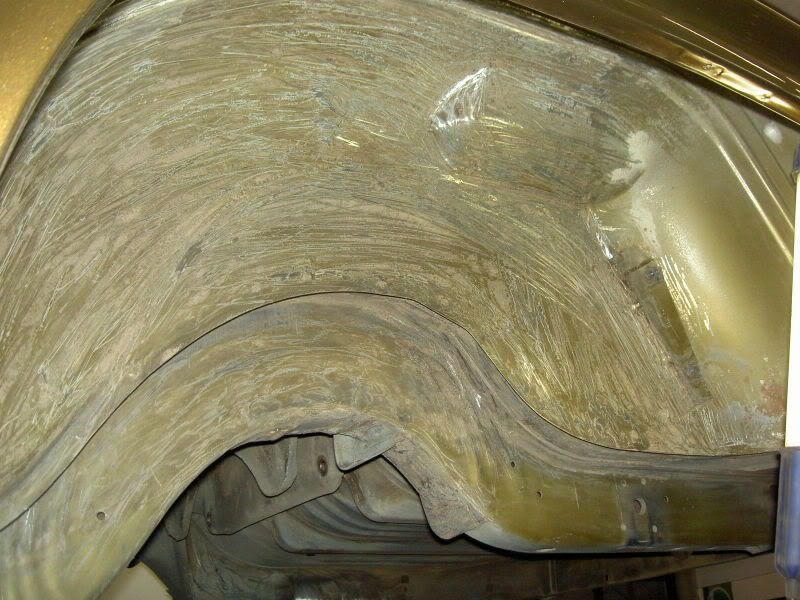
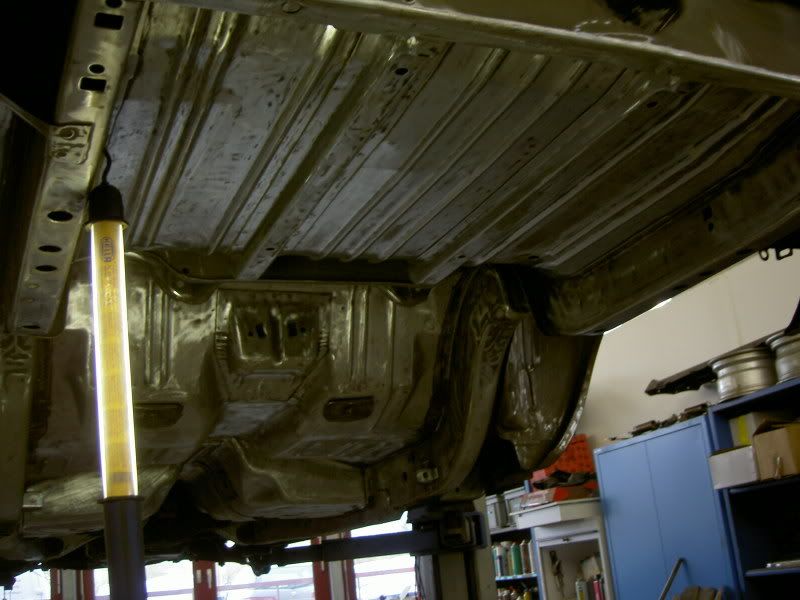
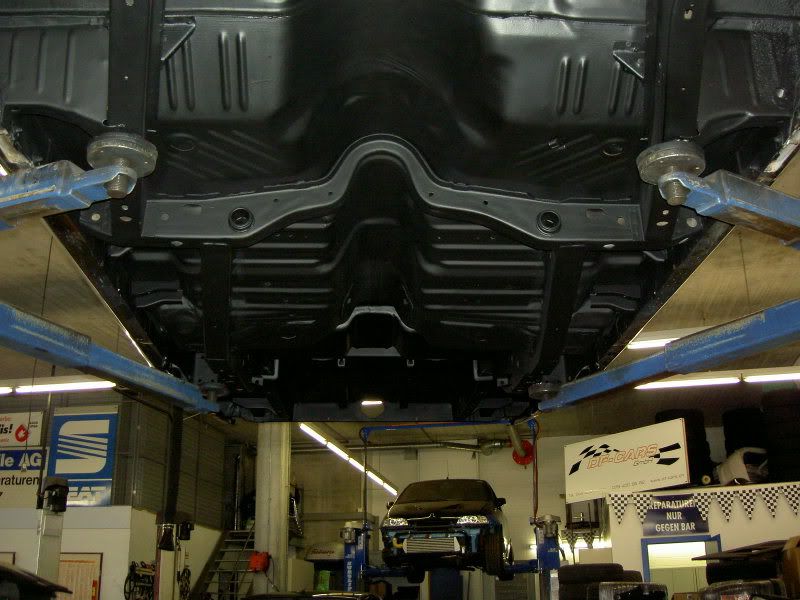
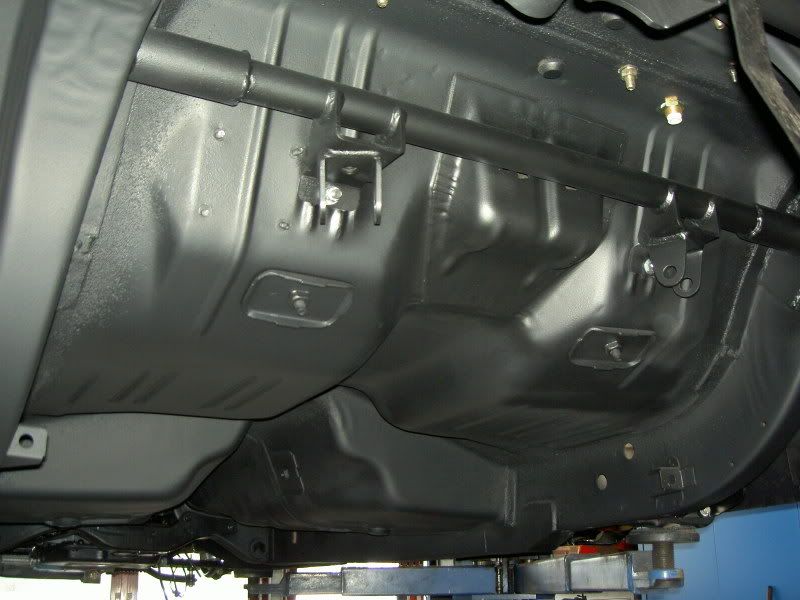
here a few pics of underground before works begins…old, dirty, and with much surface-rust…
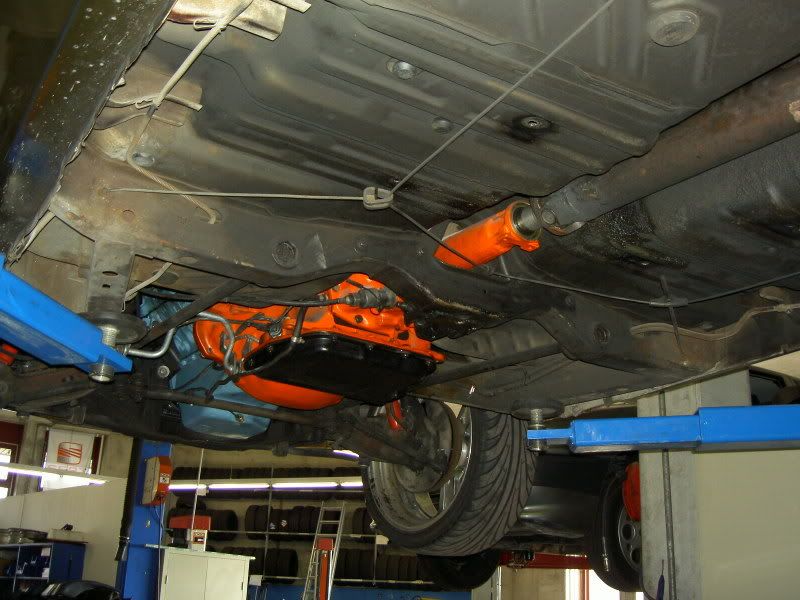
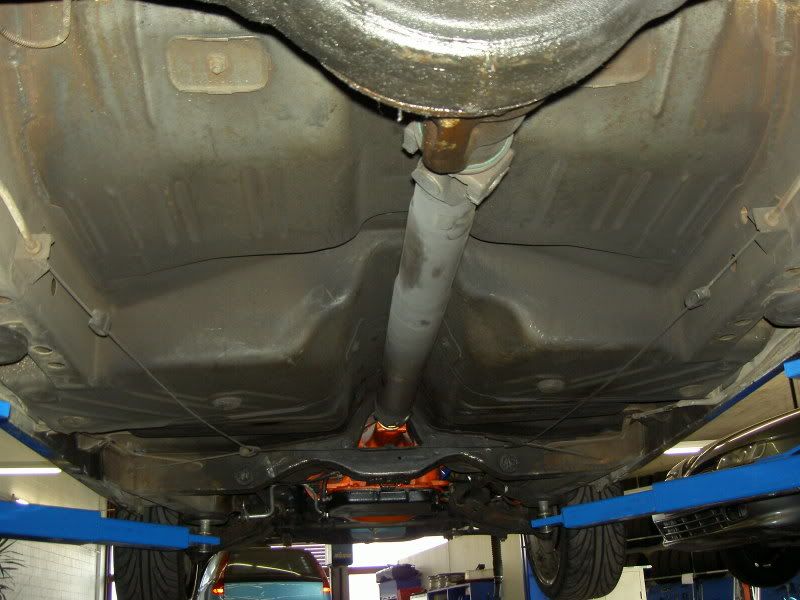
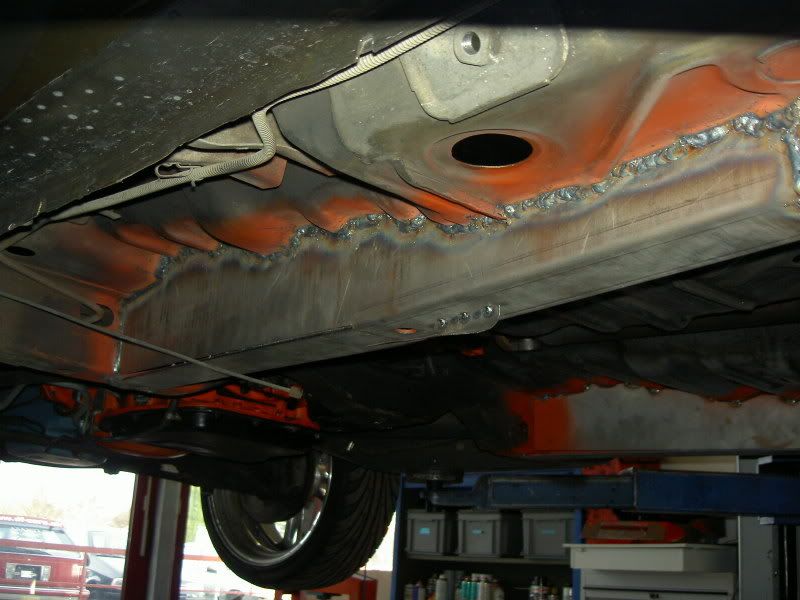
at first, i starting with the subframe connectors…so exhaust cames down…
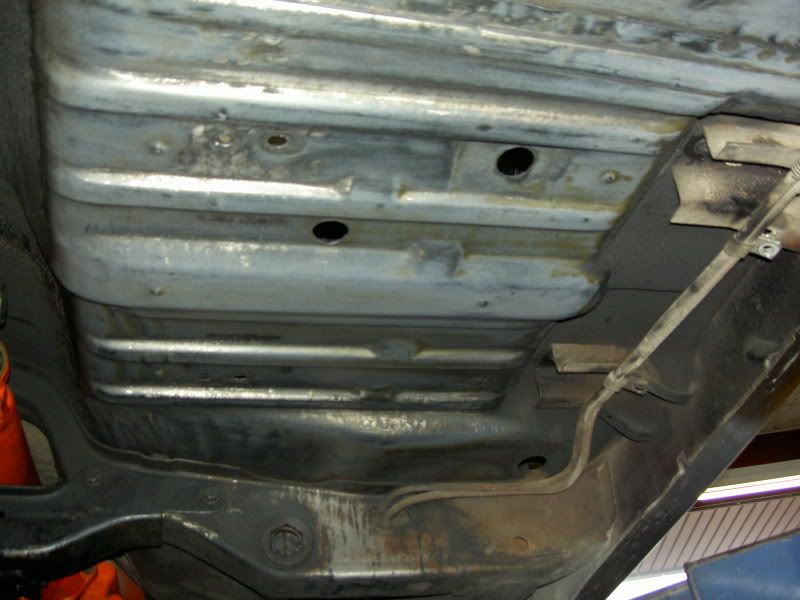
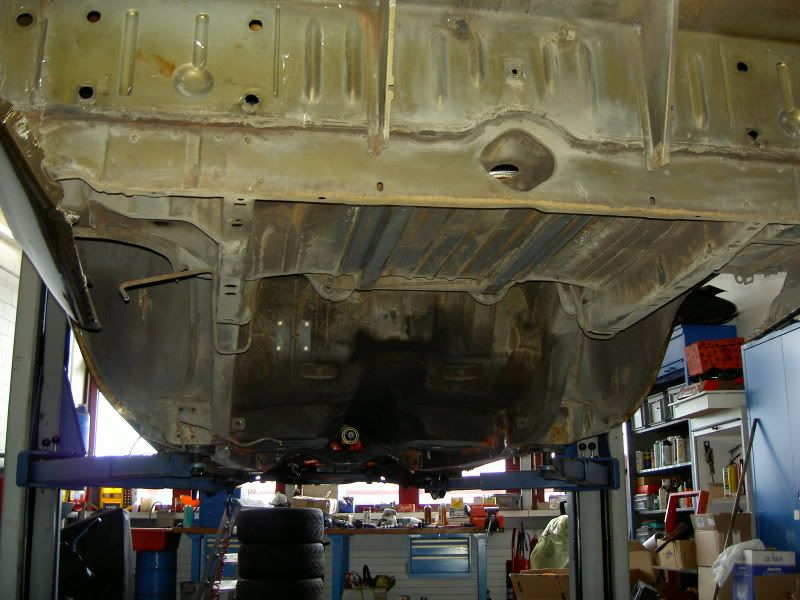
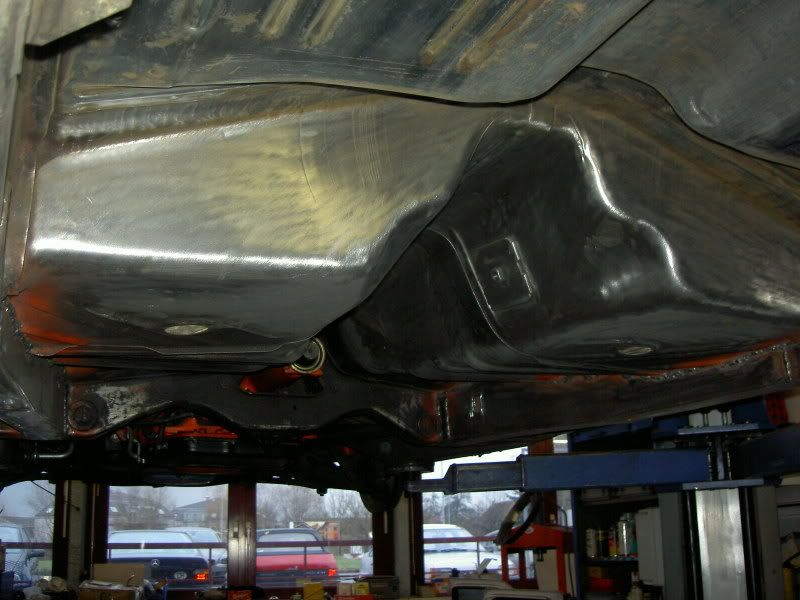
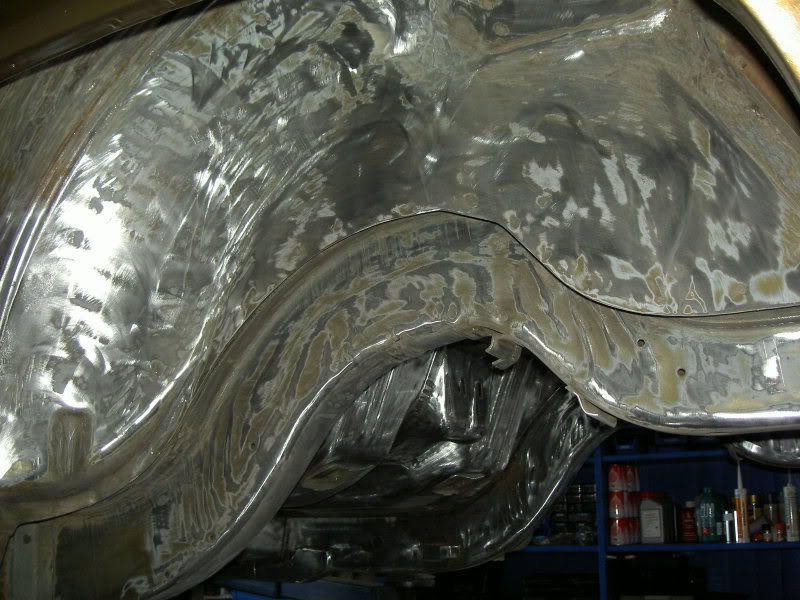
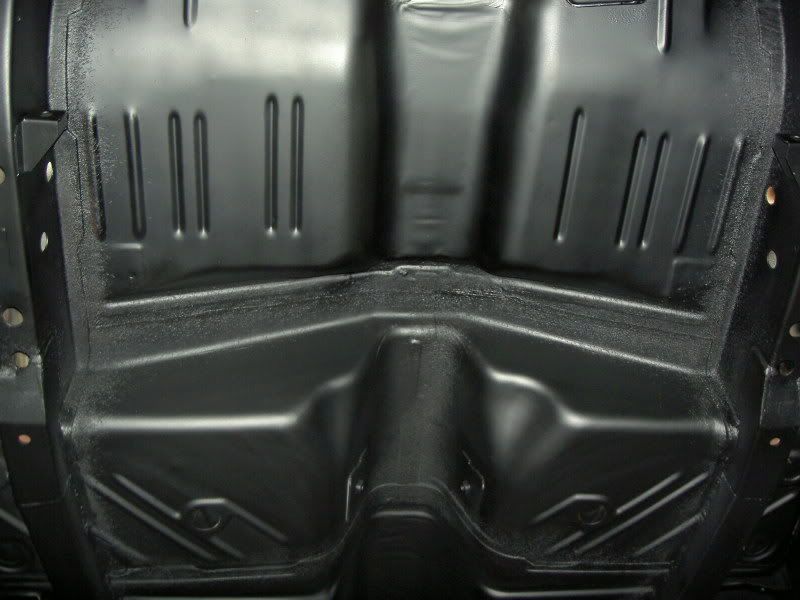
then i cleaned up the underground…and the sheetmetal was really in good condition, clean and rustfree…
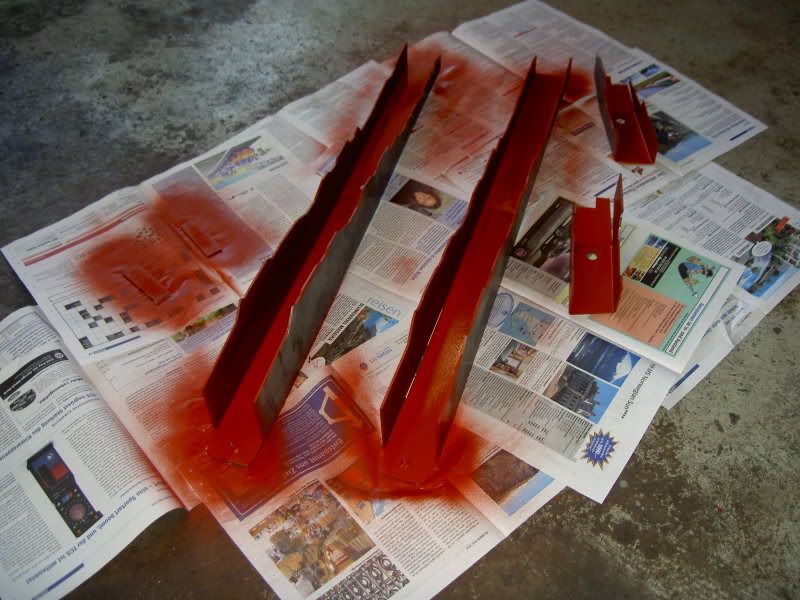
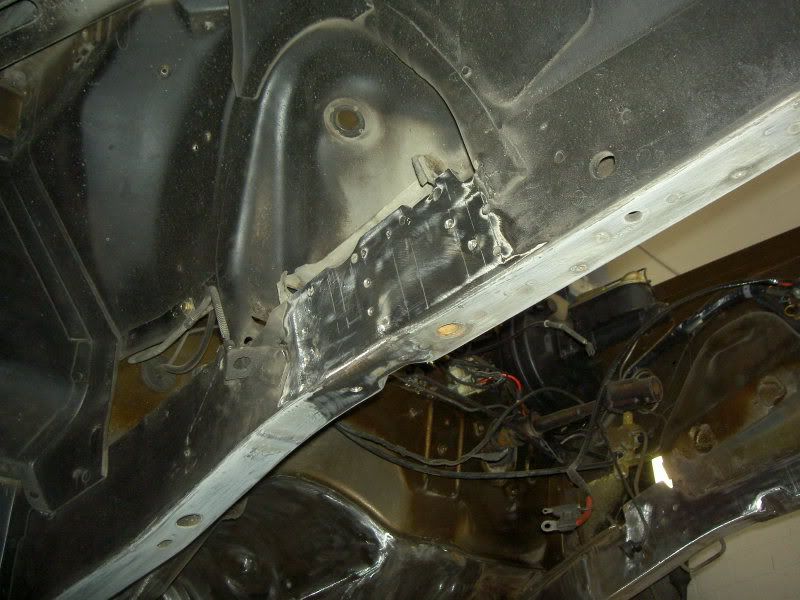
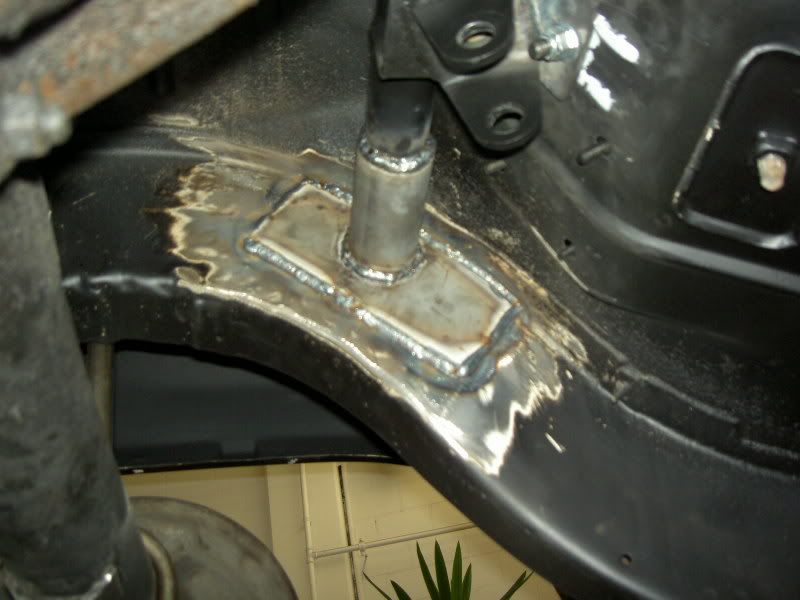
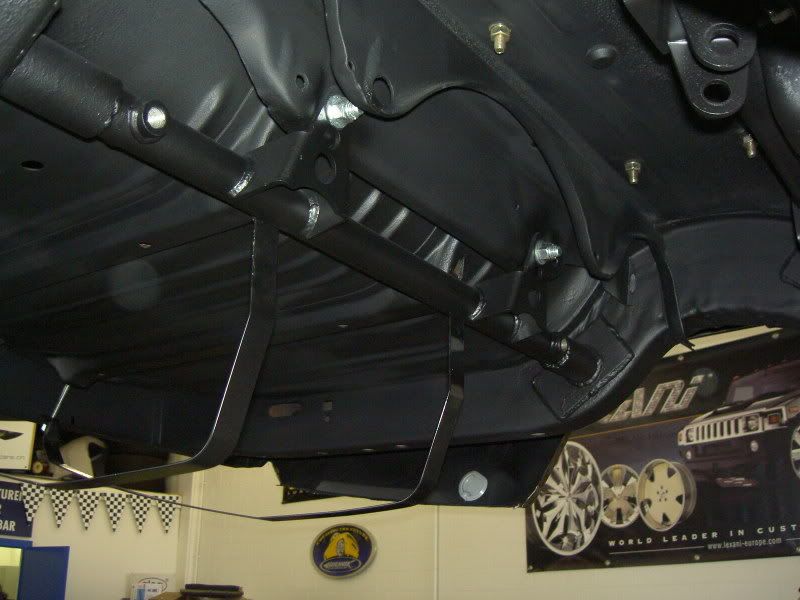
and this are the E-BODY subframe connectors!! for the 1971 b-body don’t exist frame connectors, but
it’s possible to modifing the e-body ones for an b-body…

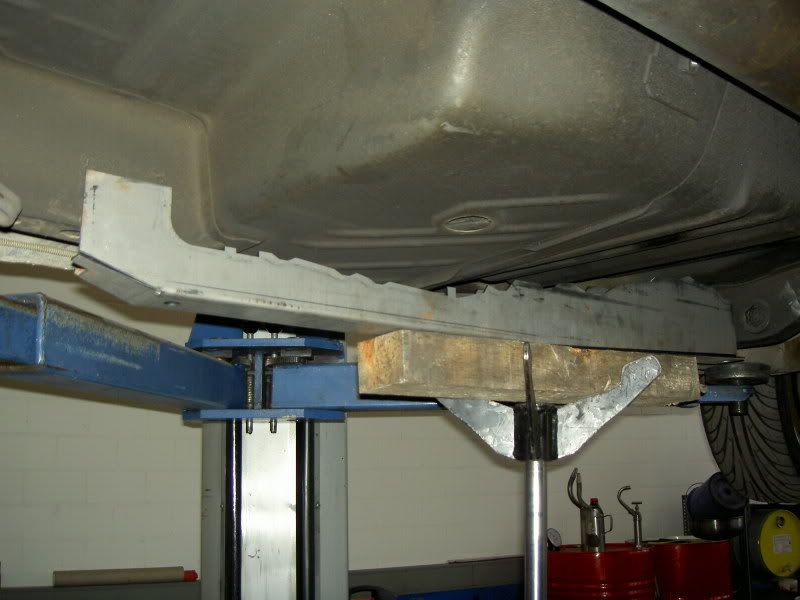
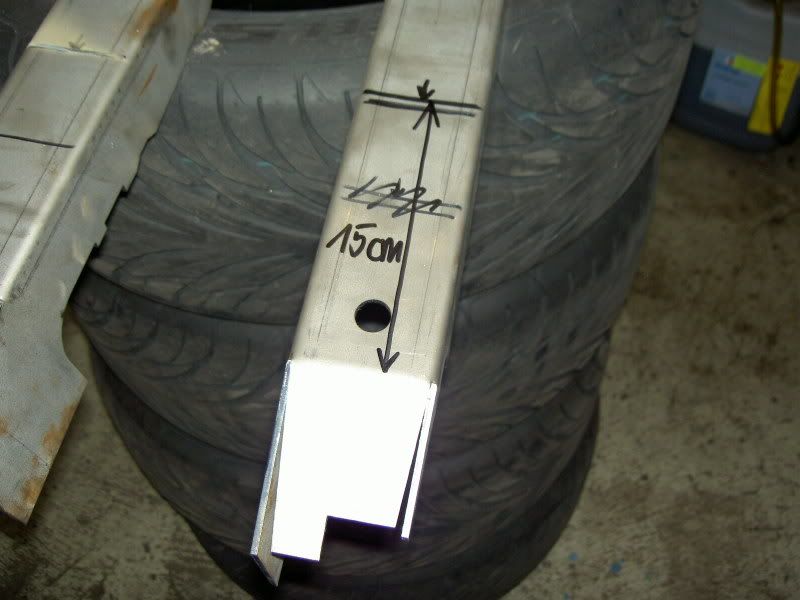
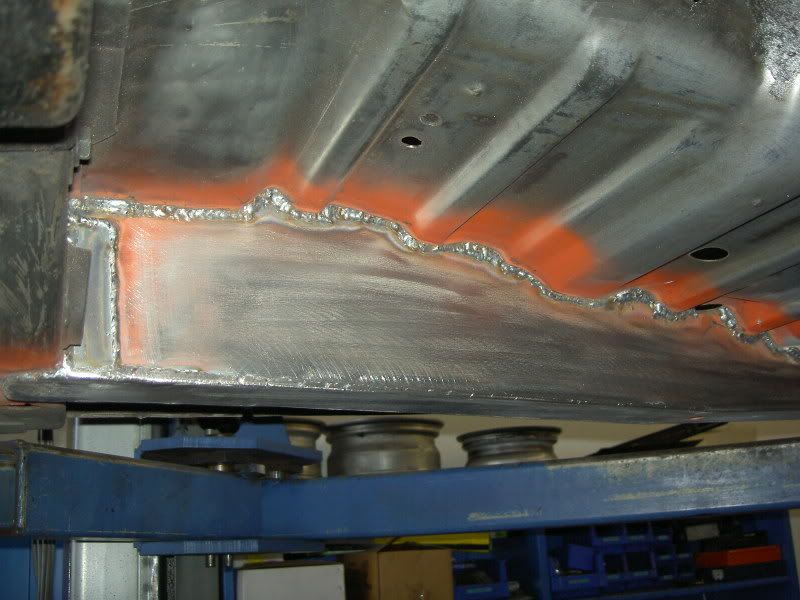
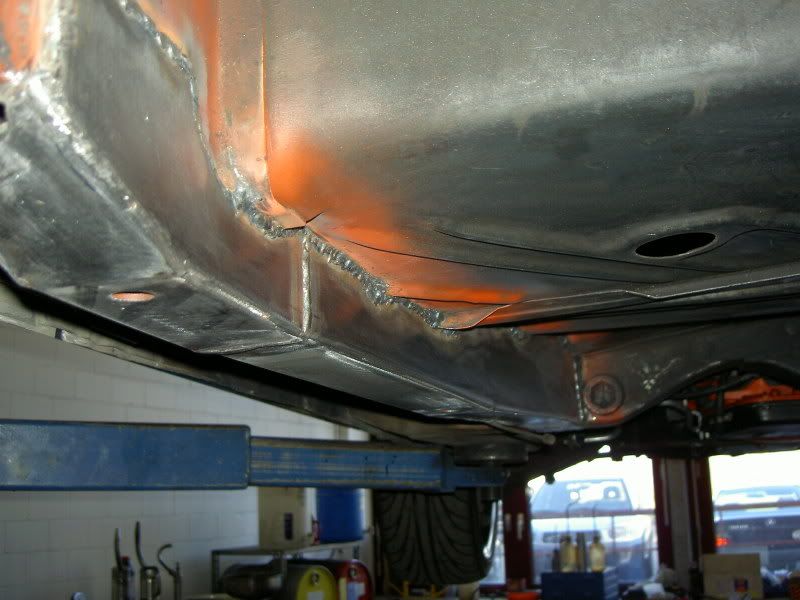
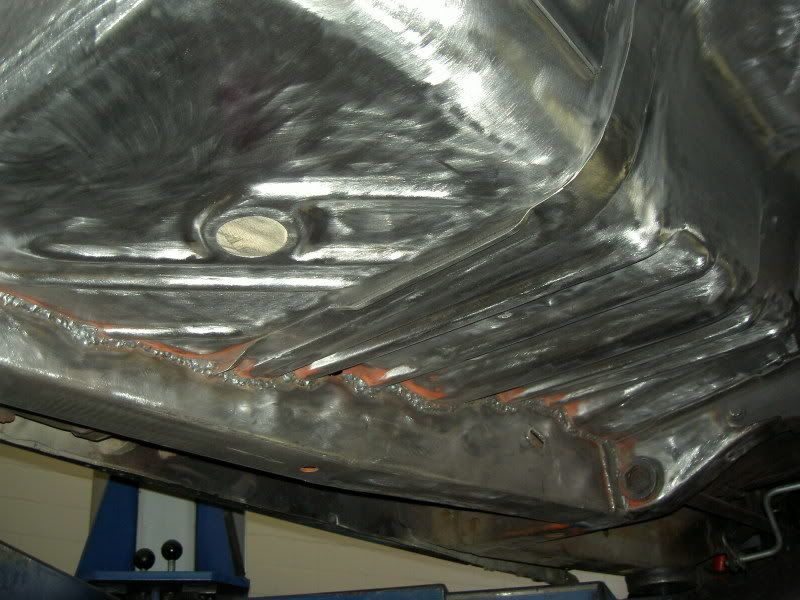
so i modifing the e-body connectors! i cutted 6“ at rear of connectors, modified the upper design, and welded the rear pieces in right position…
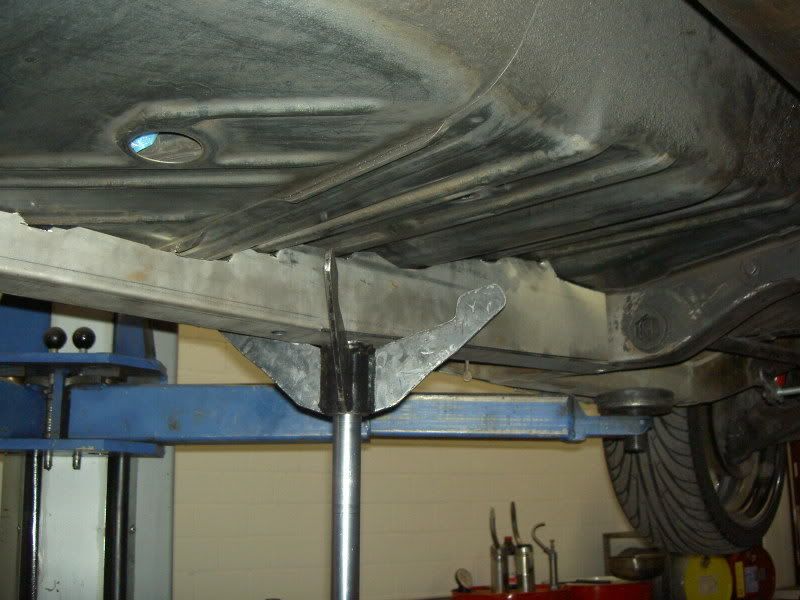

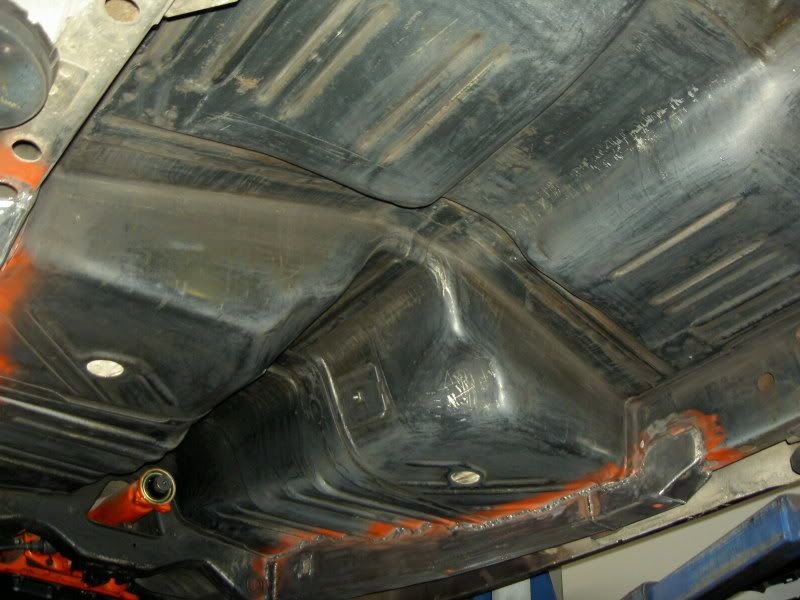
then all cleaned, primered and welded!
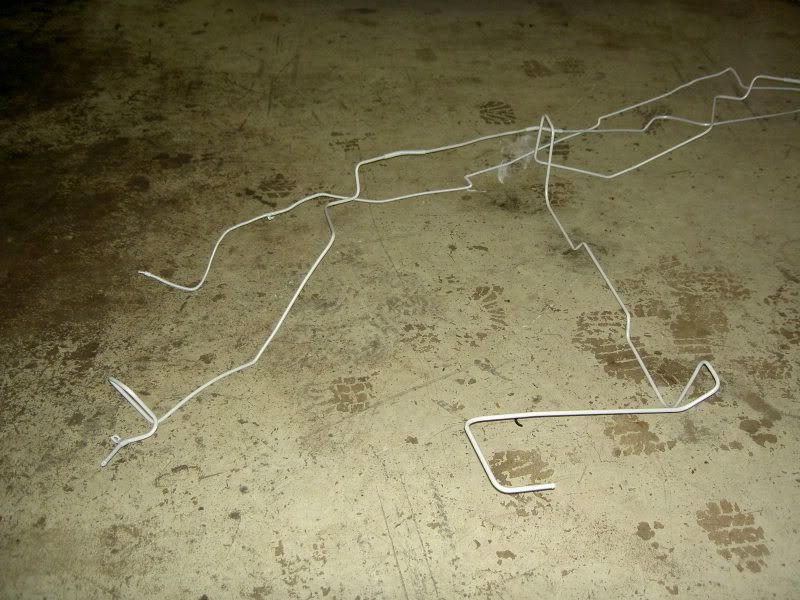
the next step was stripping the complete underground, so tank, lines, rearend, and a lot of small parts cames down…


after this, i cleaning the complete underground and then i remove all primer and paint…


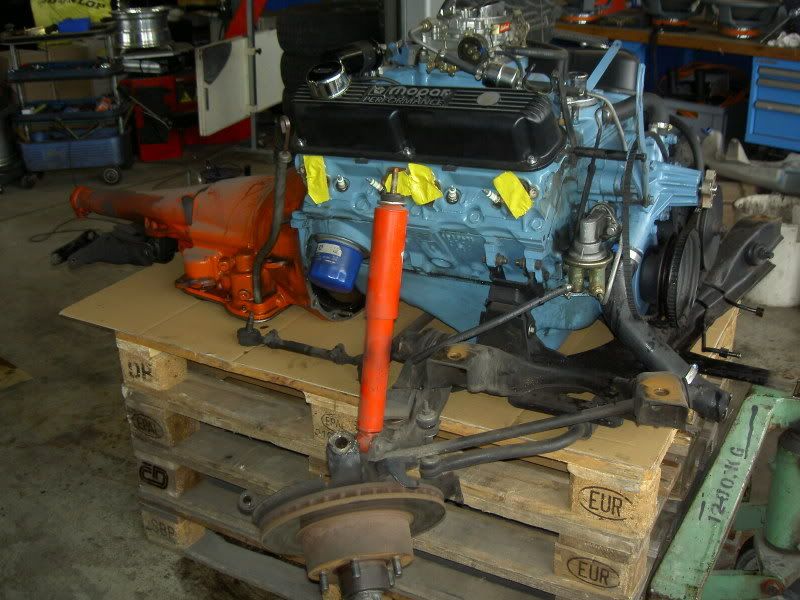
next step was disassembly the engine, trans and the complete front suspension with k-member…


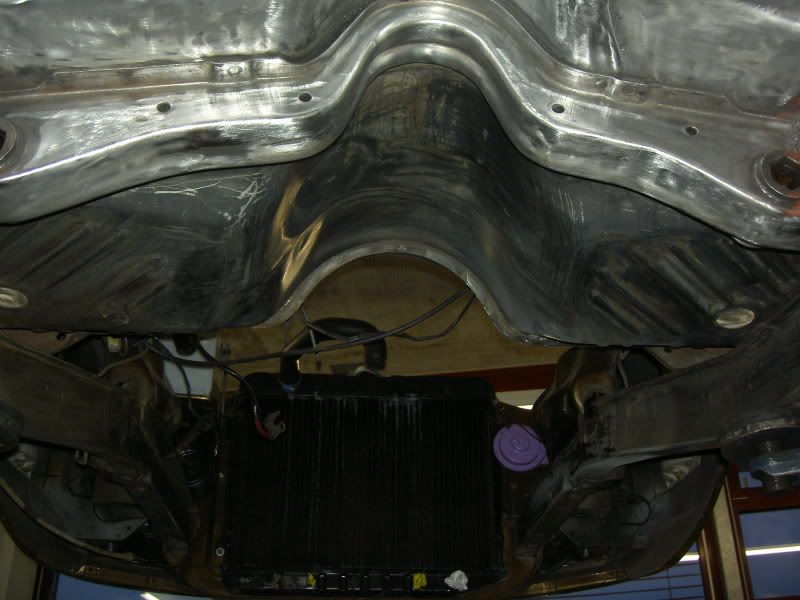
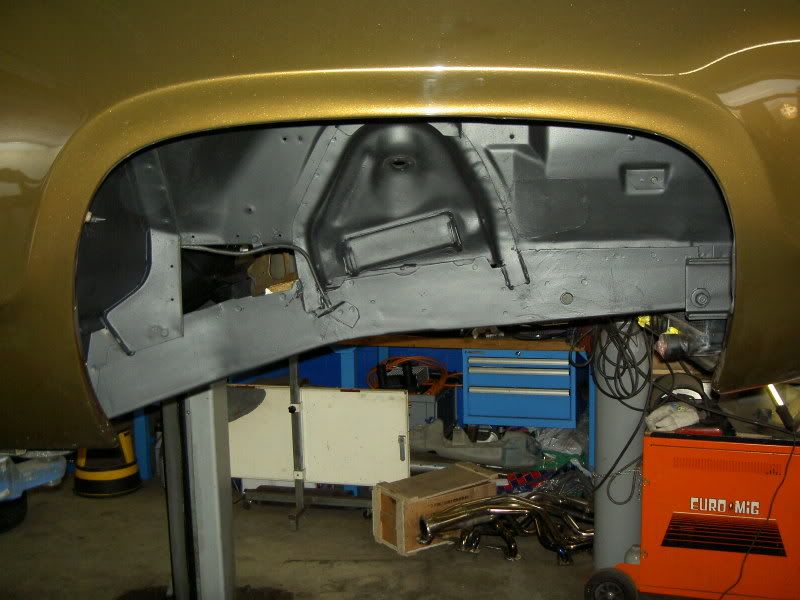
and then the same job with the front of underground…
the stop-busher on the frame rails must be removed for mounting the alterktion-suspension…
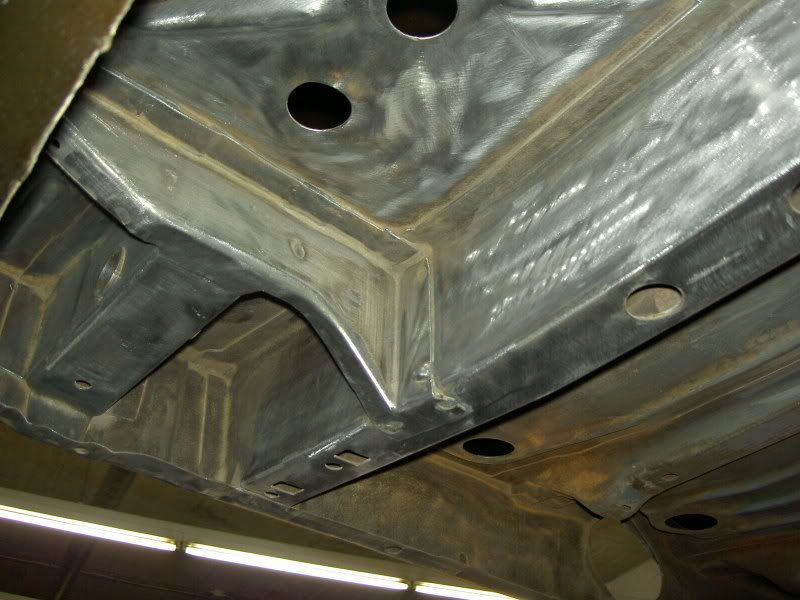
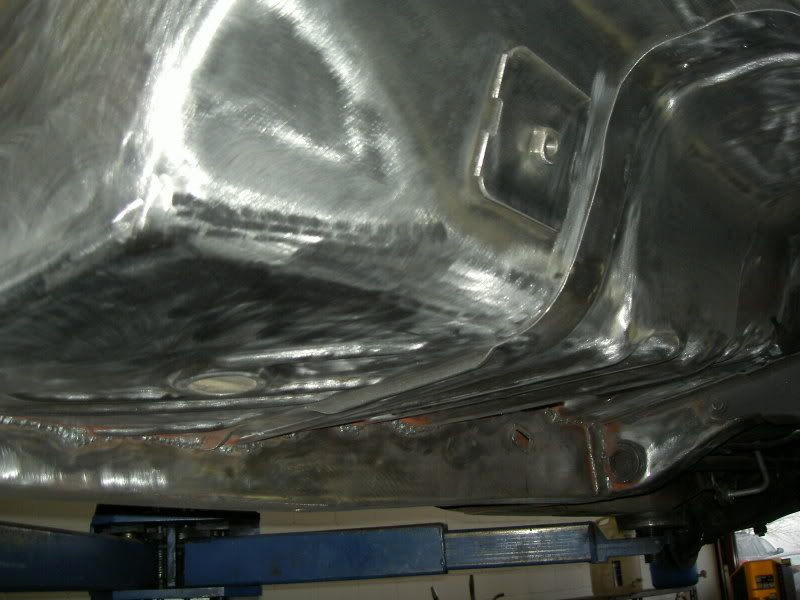
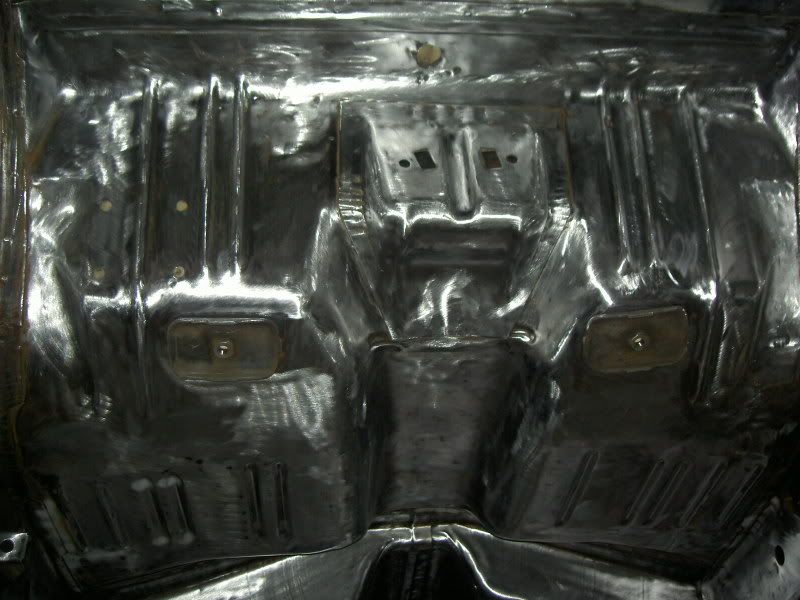
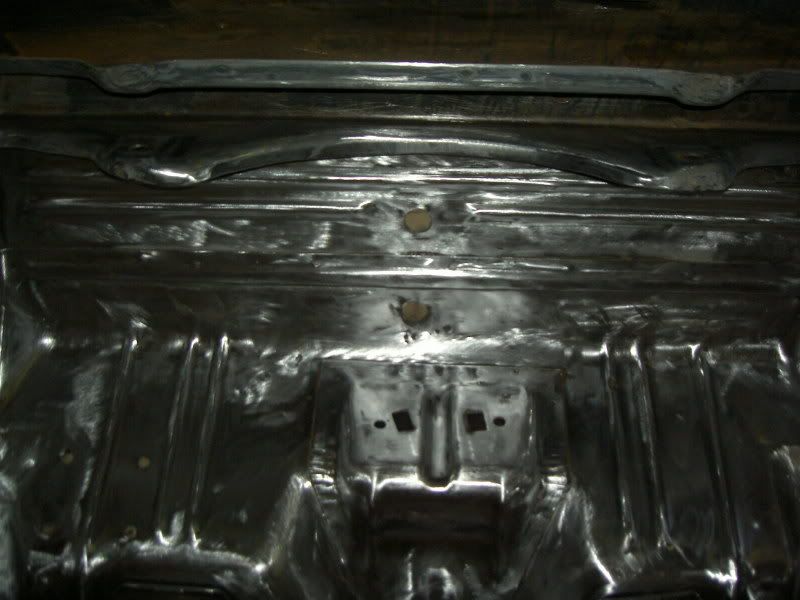
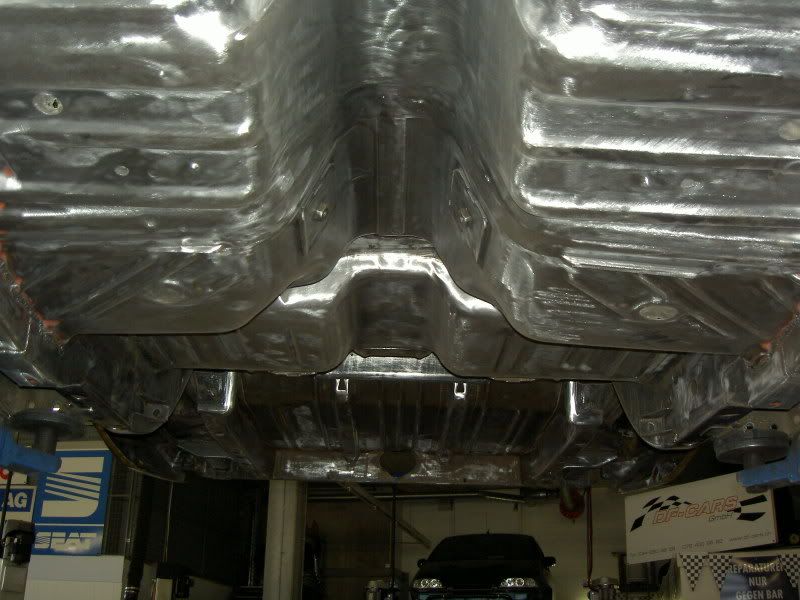
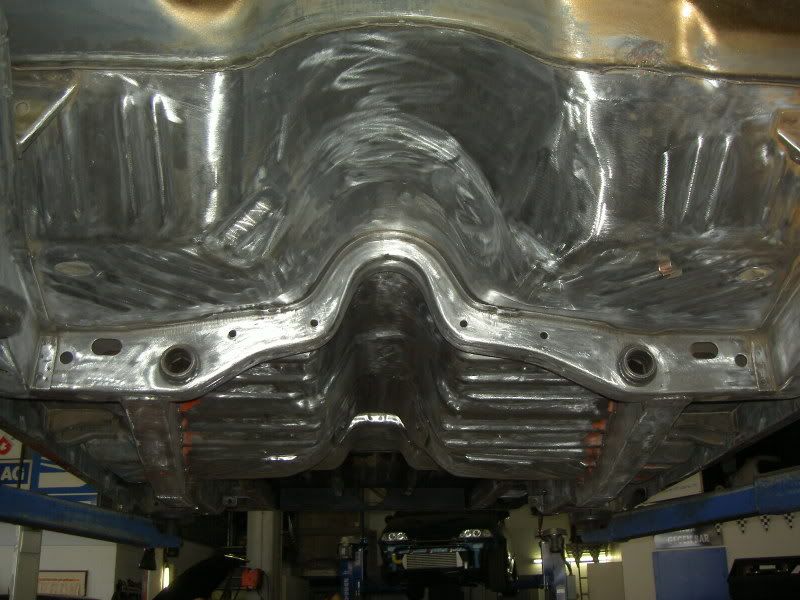
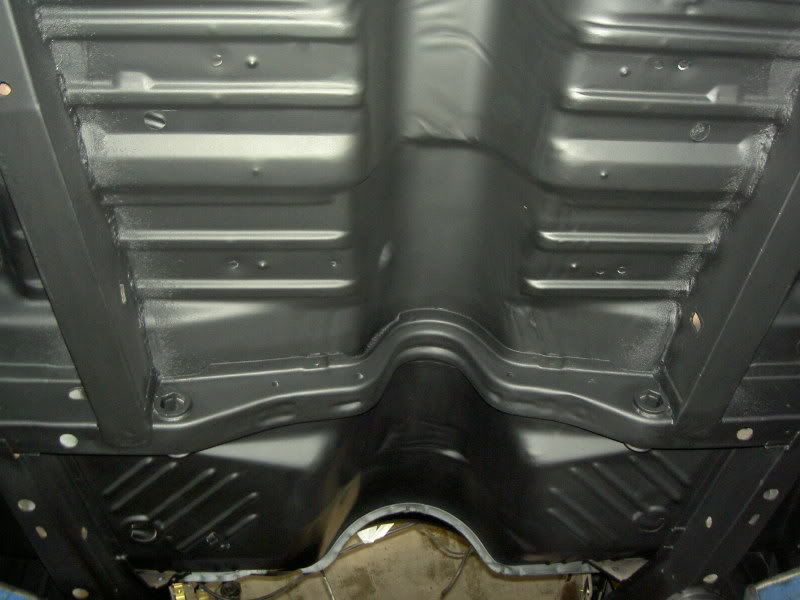
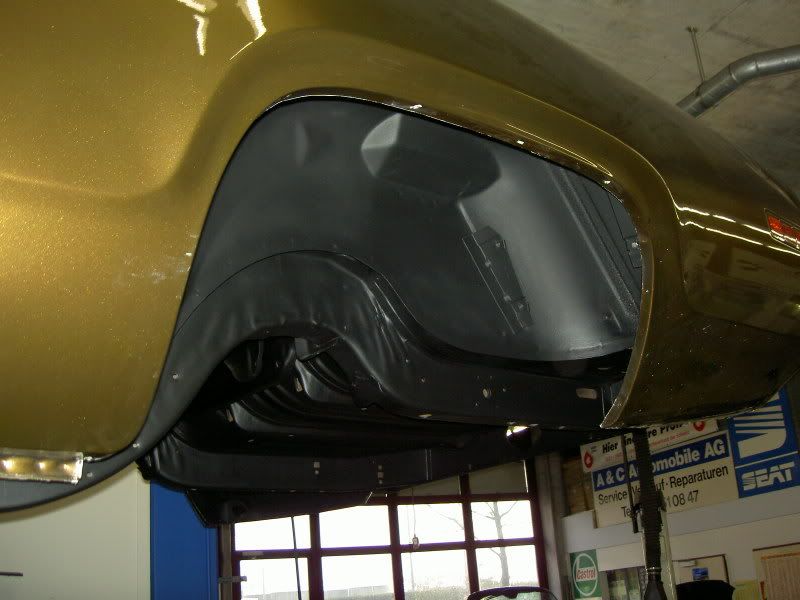
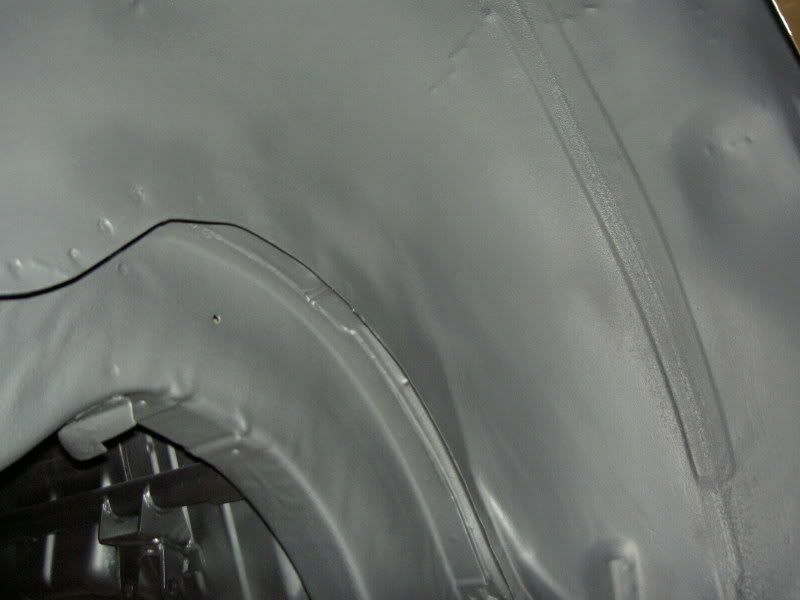
and this was the complete underground after cleaning and make bright…
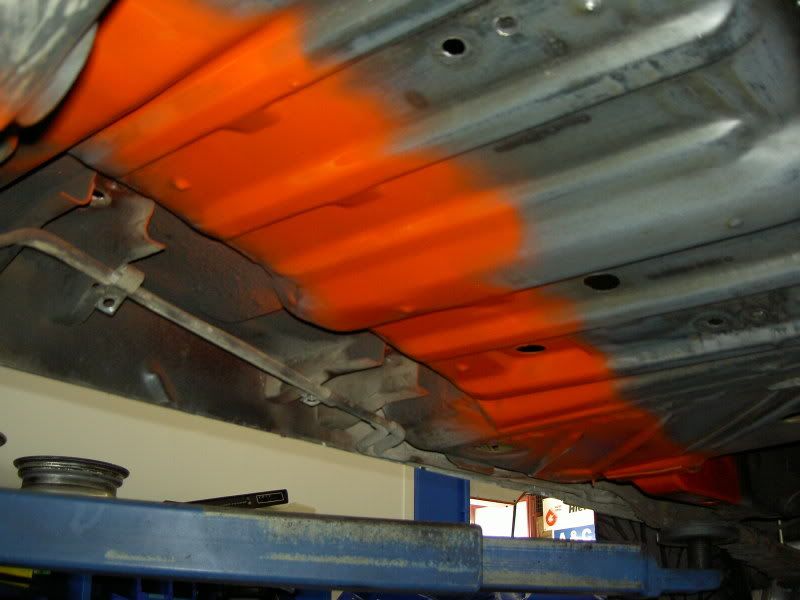
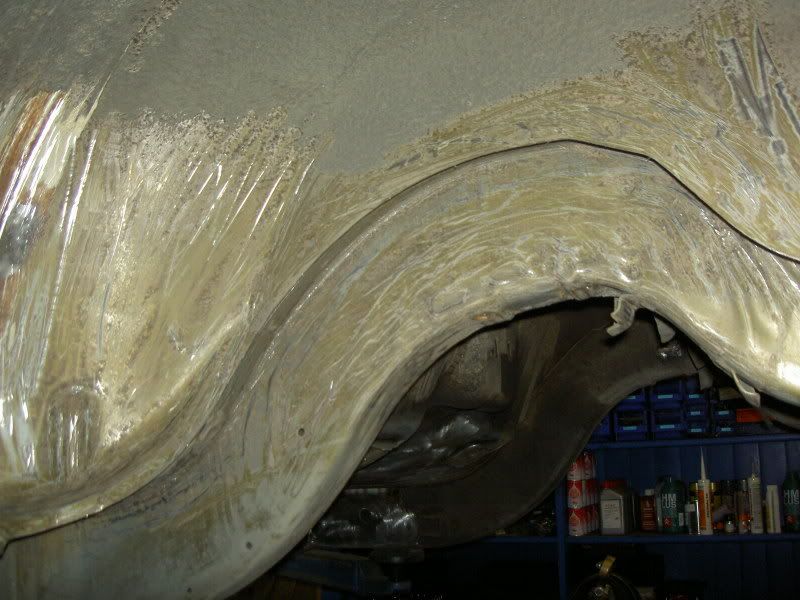
at first, i painting all closely places with a special rust-stop-paint…
then cames epoxi-primer on same places with a brush…

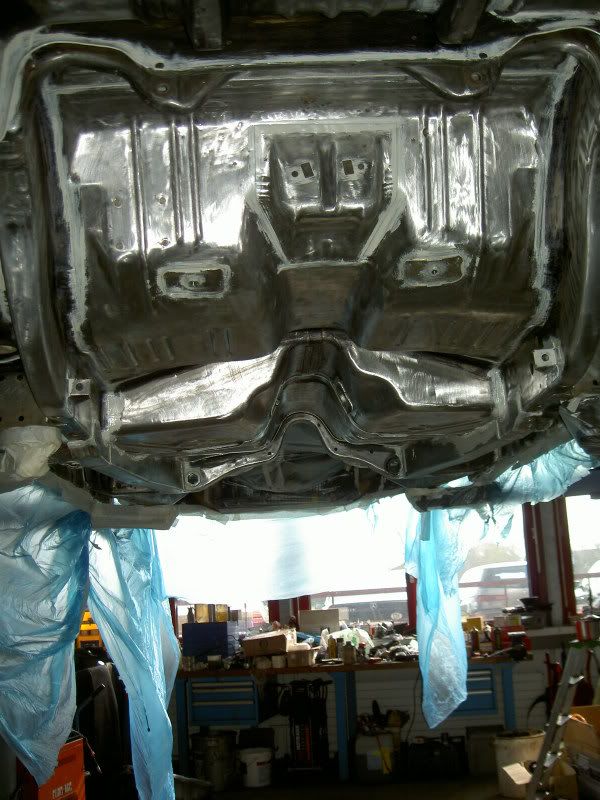
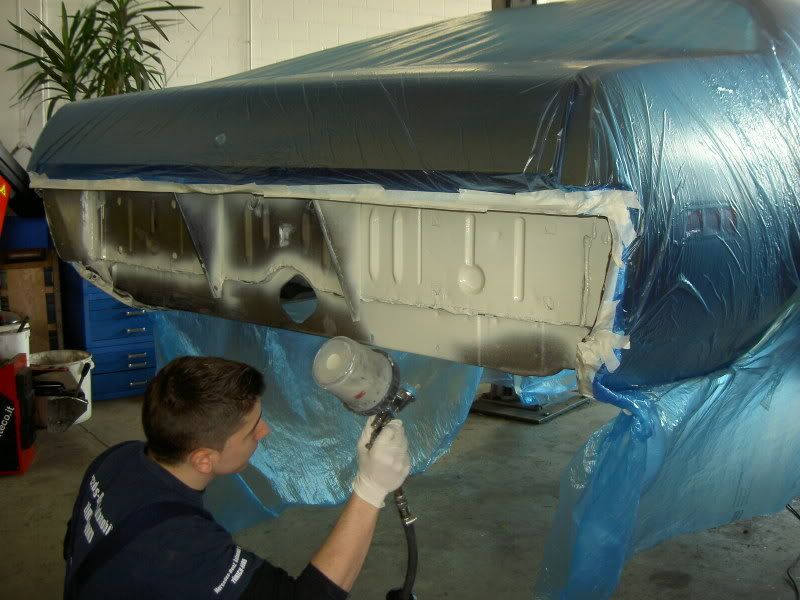
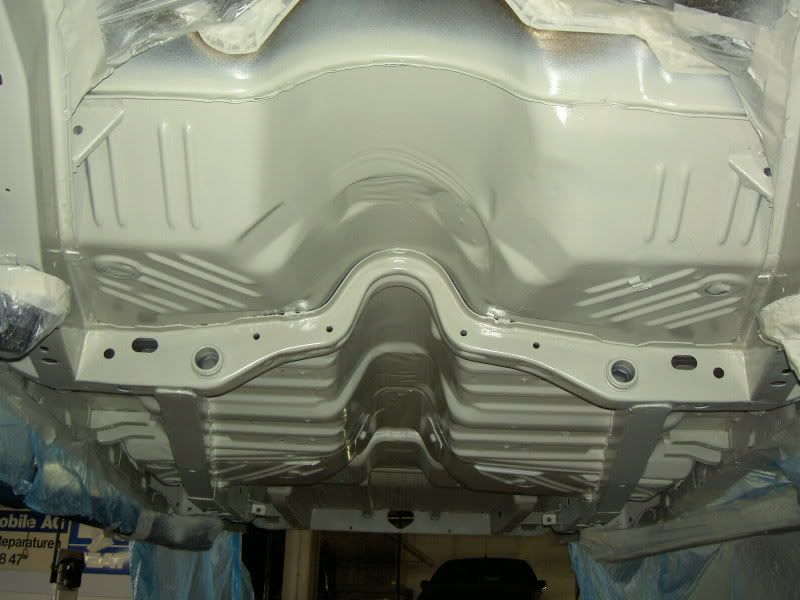
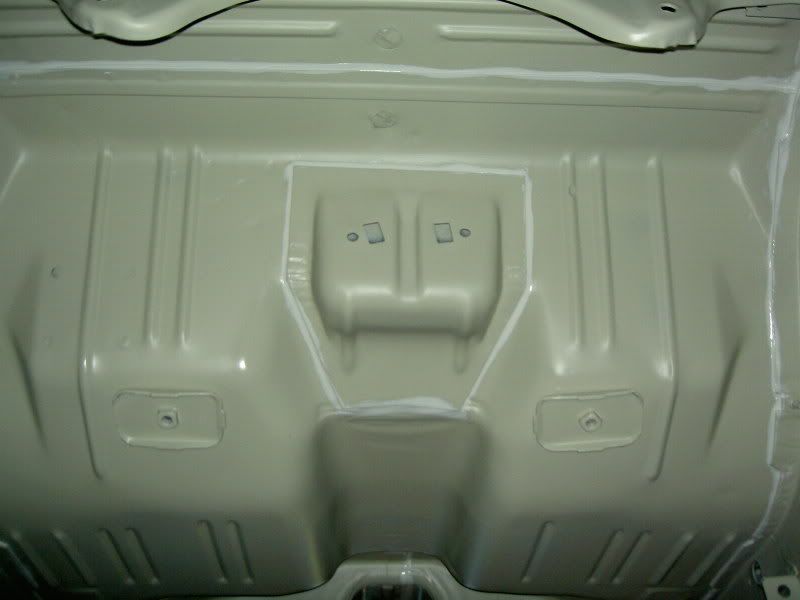
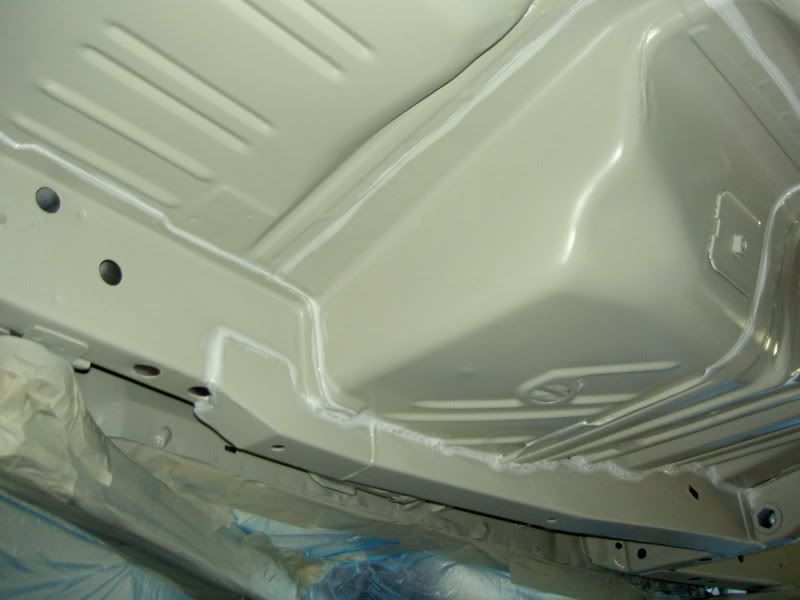
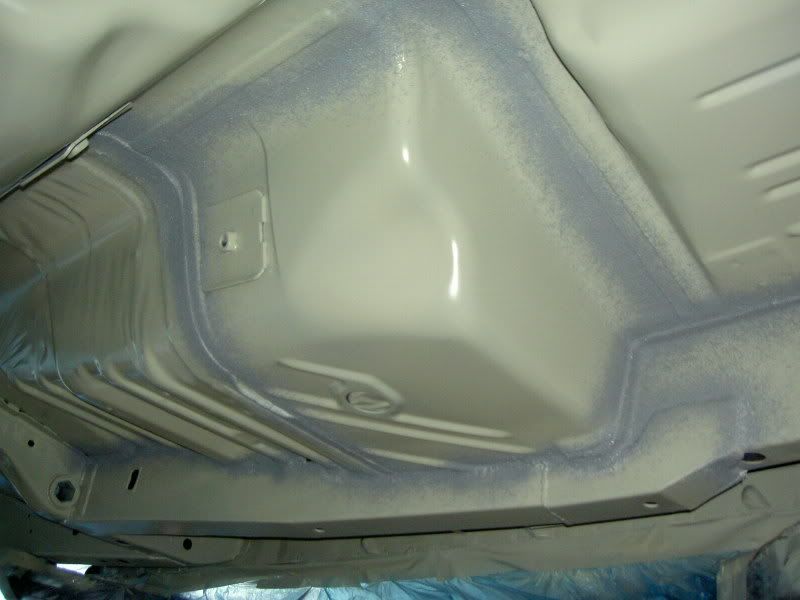
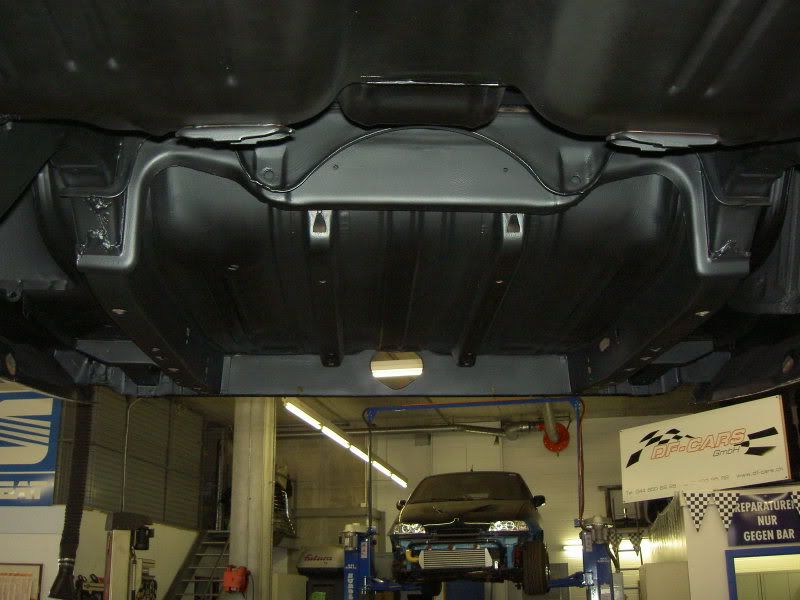
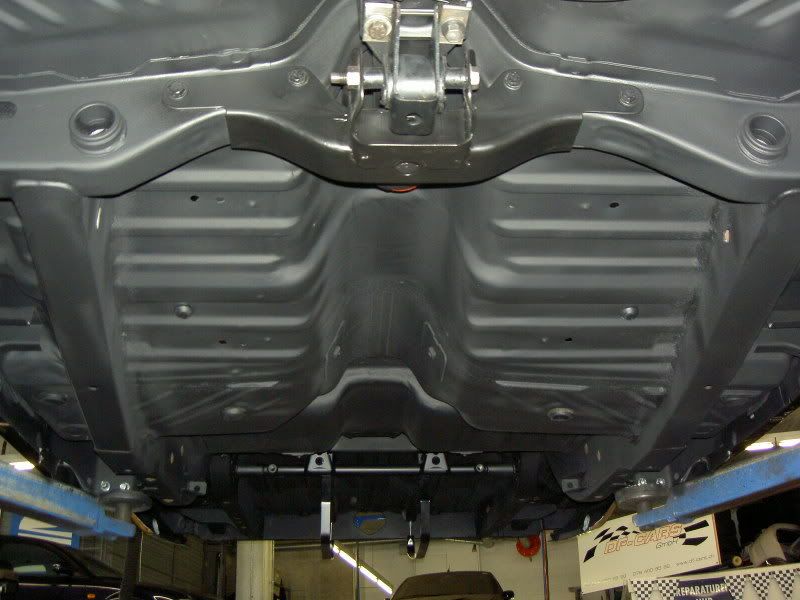
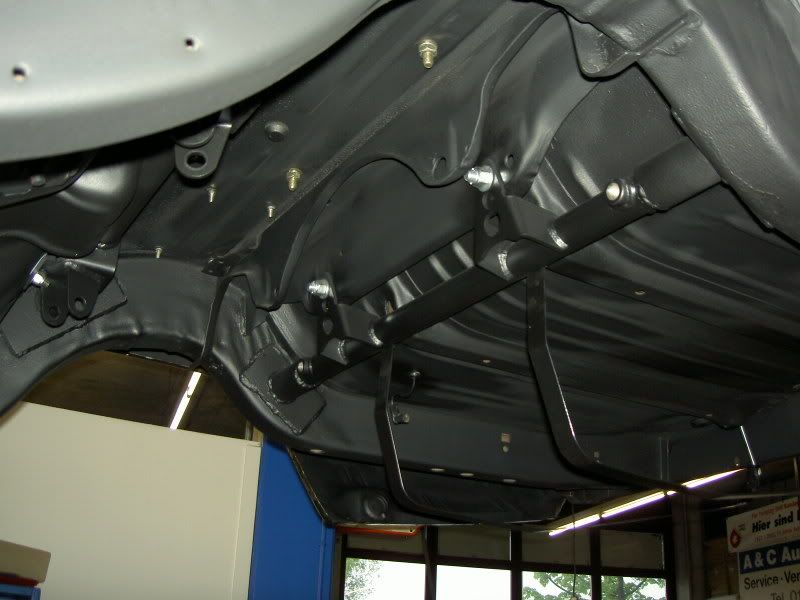
and finally we painting the complete underground with epoxi-primer!

then i sealing all…
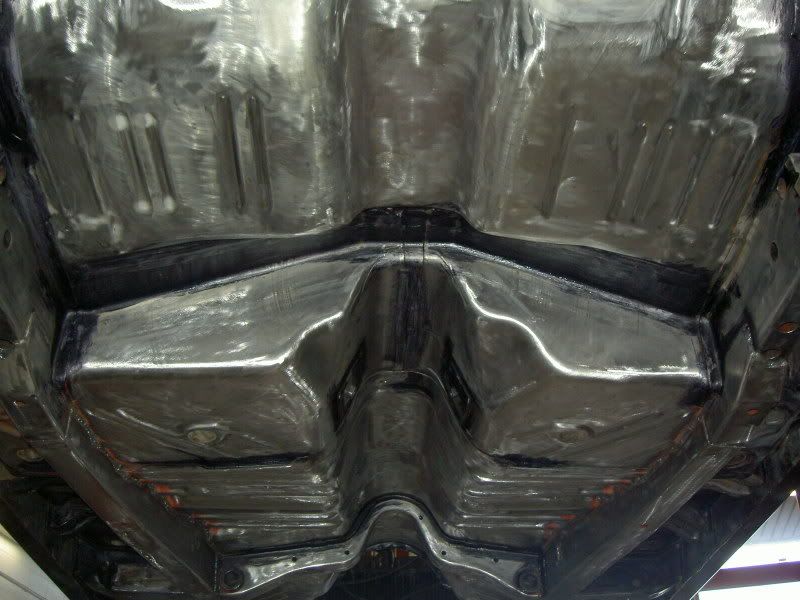
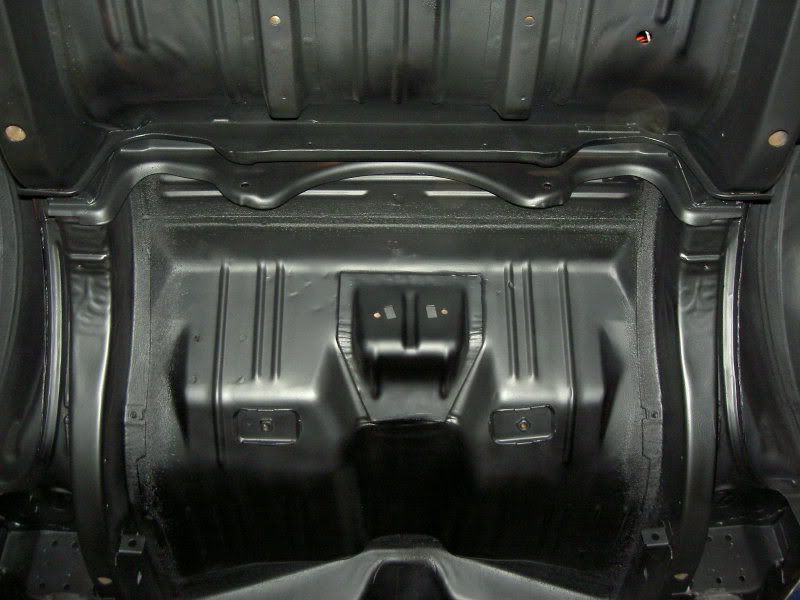
and then cames the first fine black paint on it…
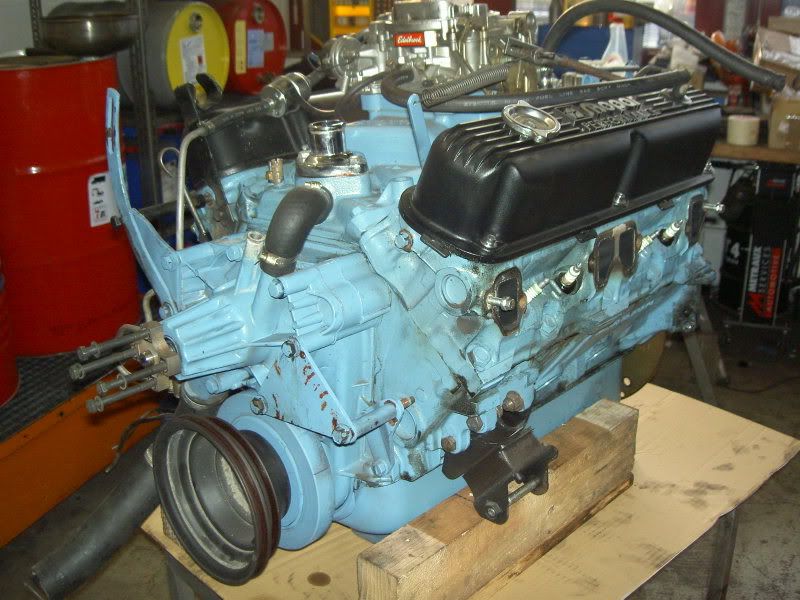
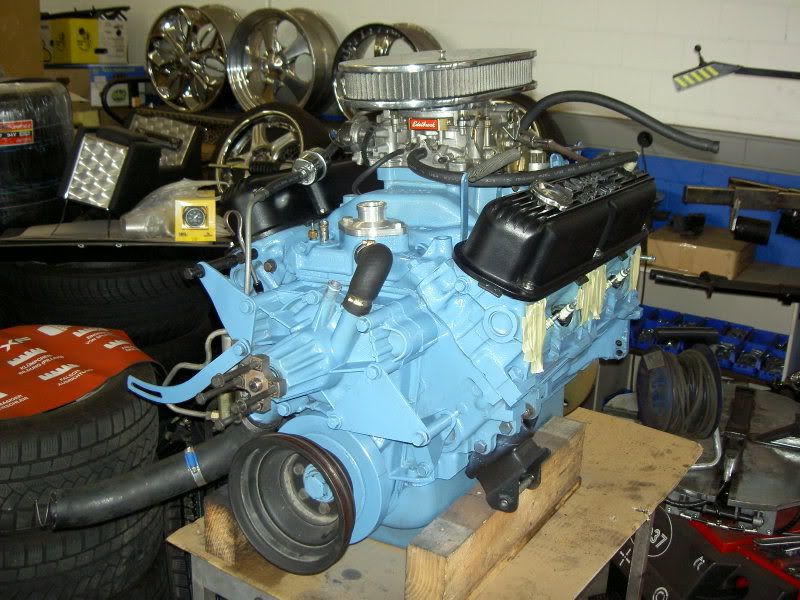
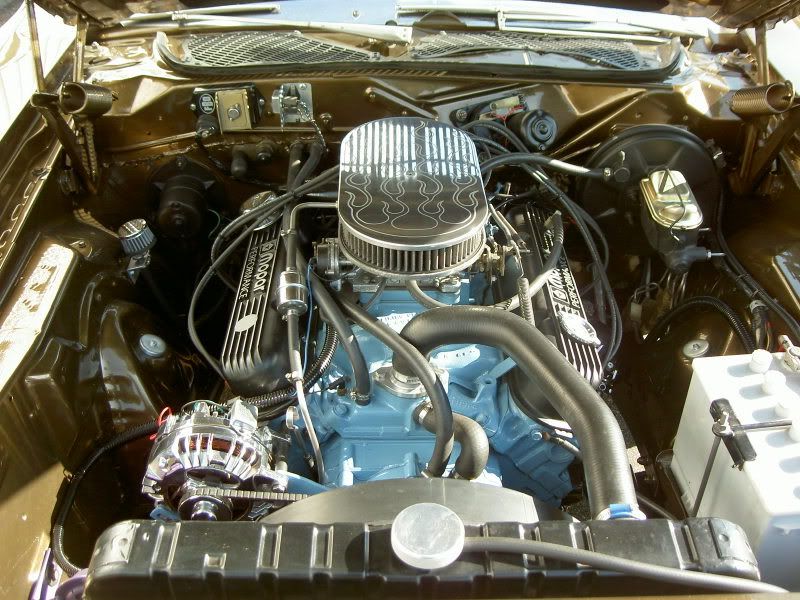
the engine became a cleaning, all bolts and nuts controlled, partially new paint and a new aluminum-waterneck…(later cames a complete new engine on the car..)
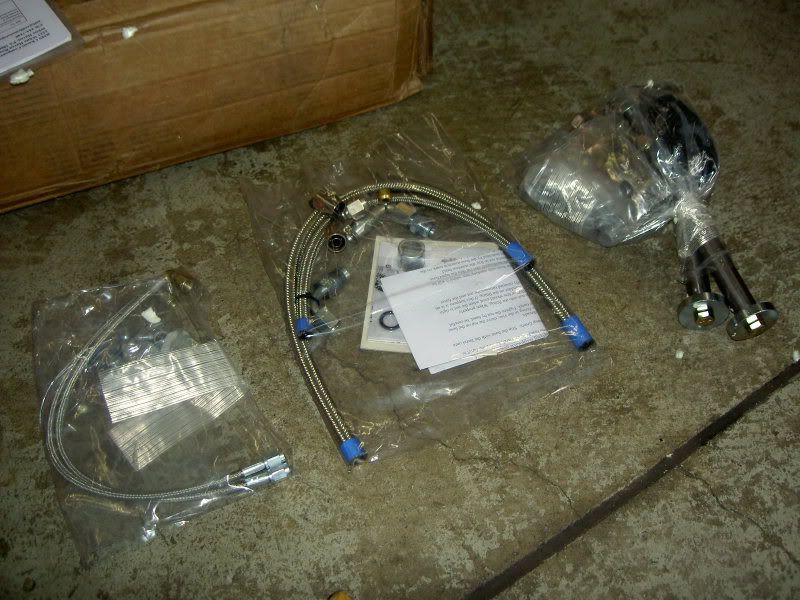
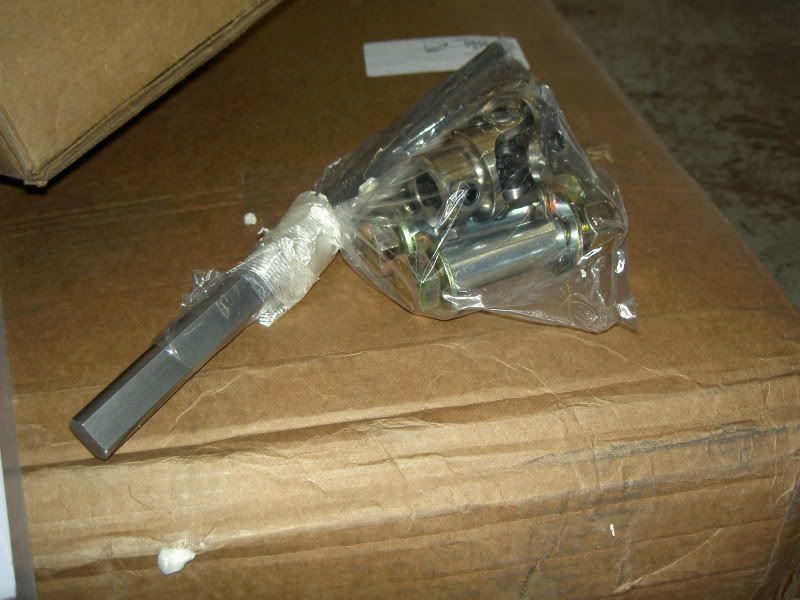
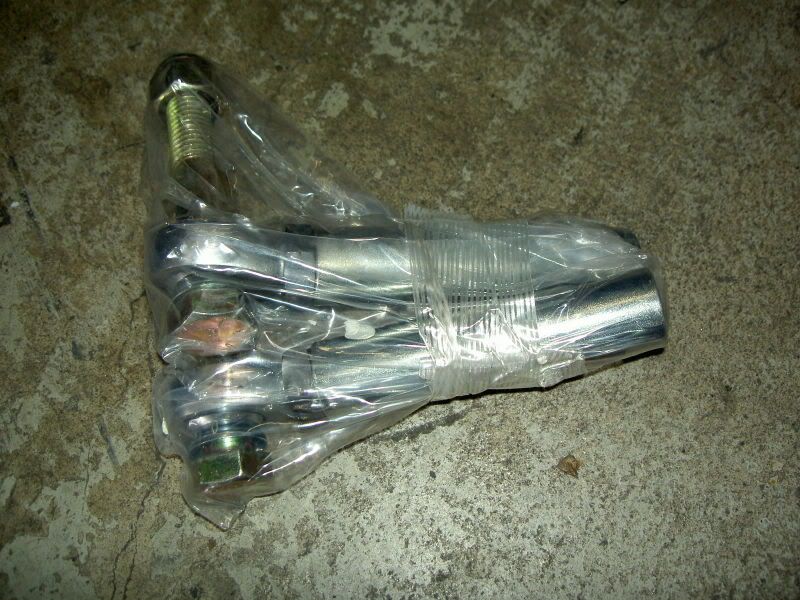
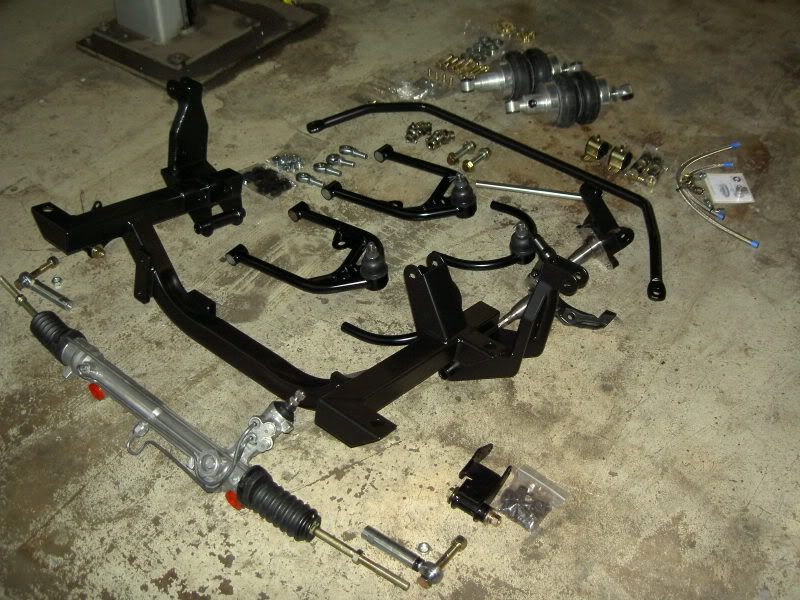
and after a lot of weeks, cames finally all suspension-parts from the states…
alterKtion front suspension…

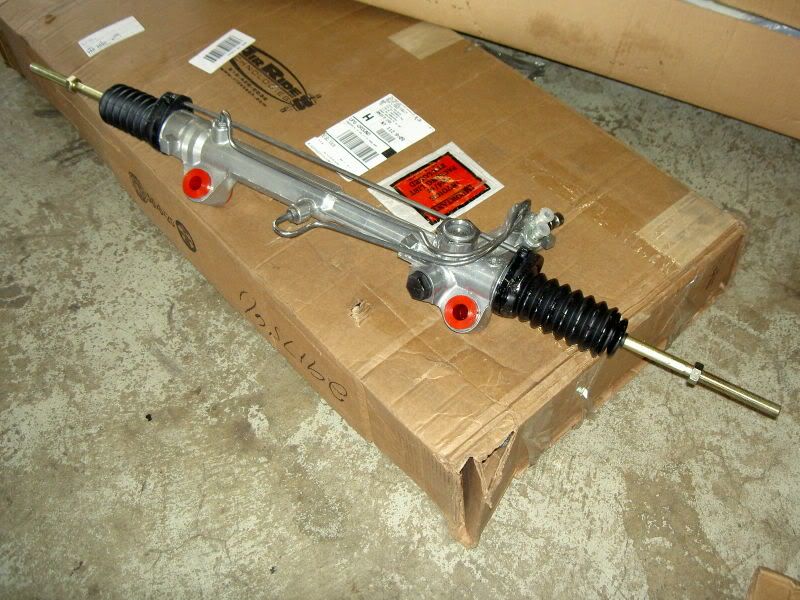
rack and pinion
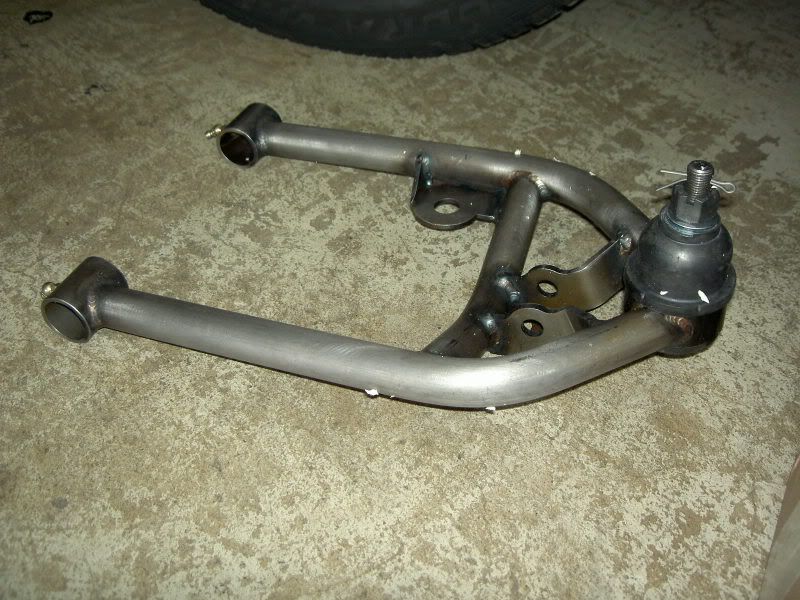
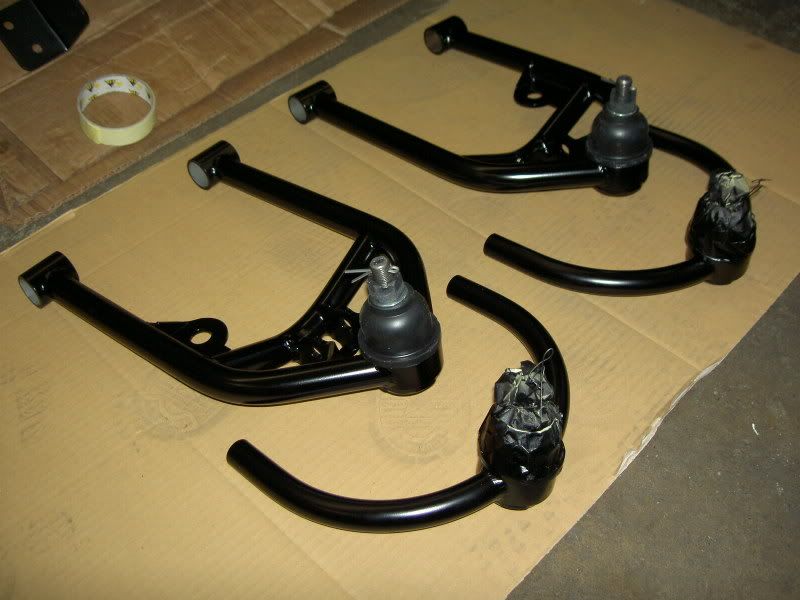
tubular-arms…

1.125“ sway bar

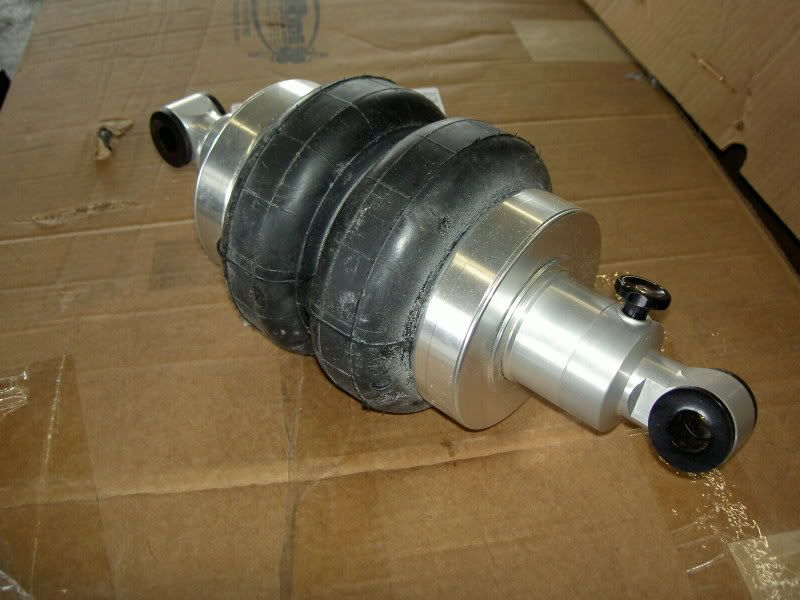
front-shockwaves
and a lot of other parts…
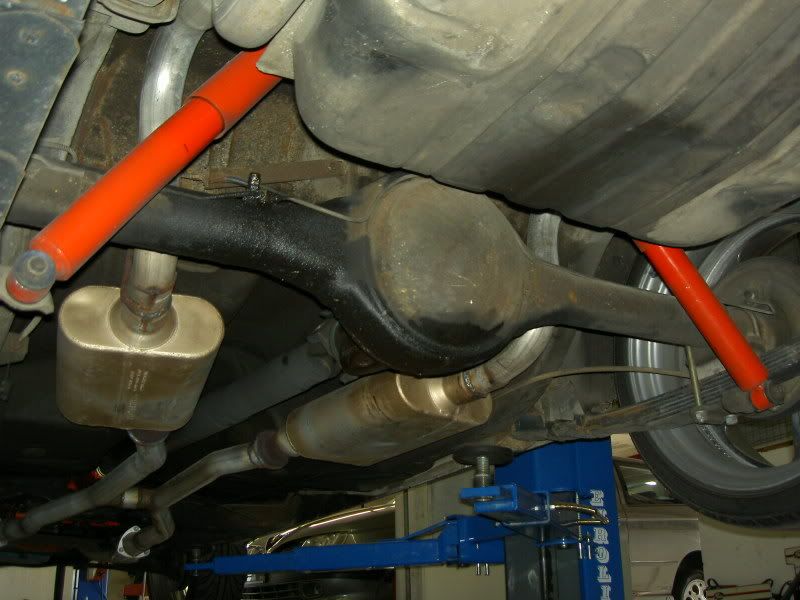
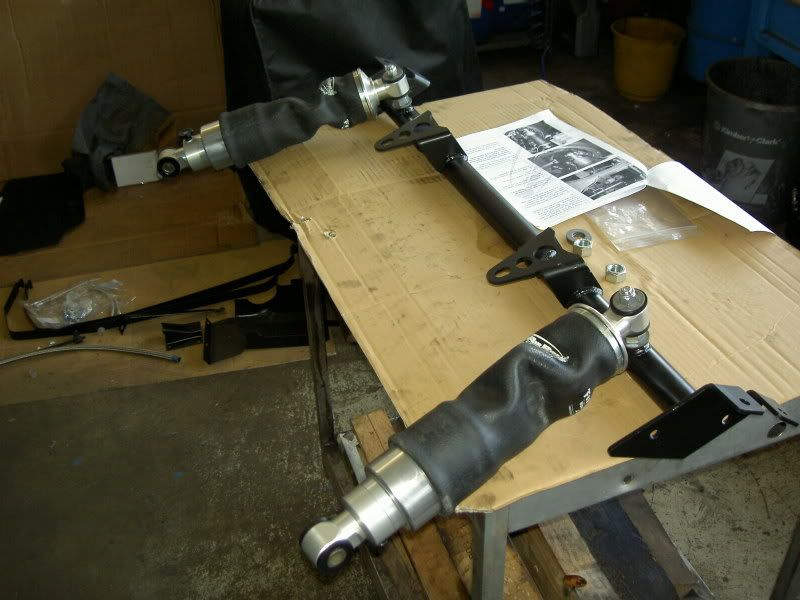
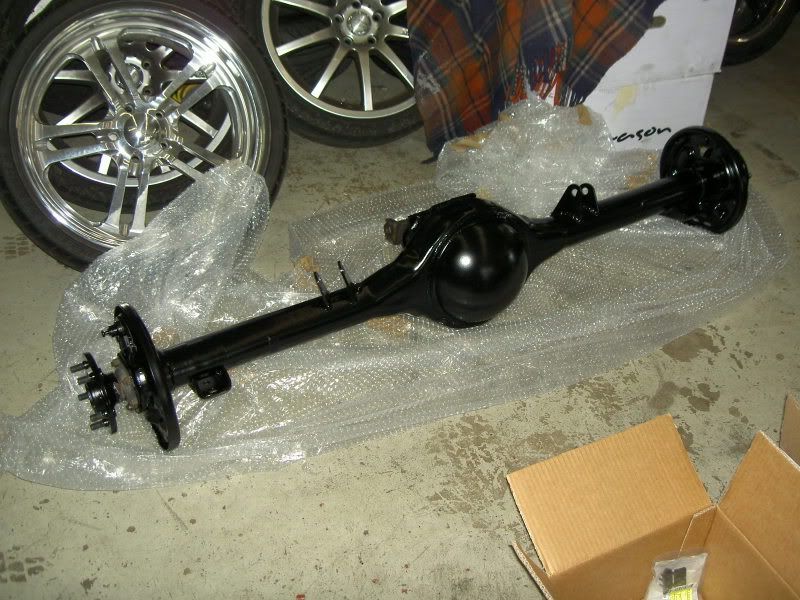
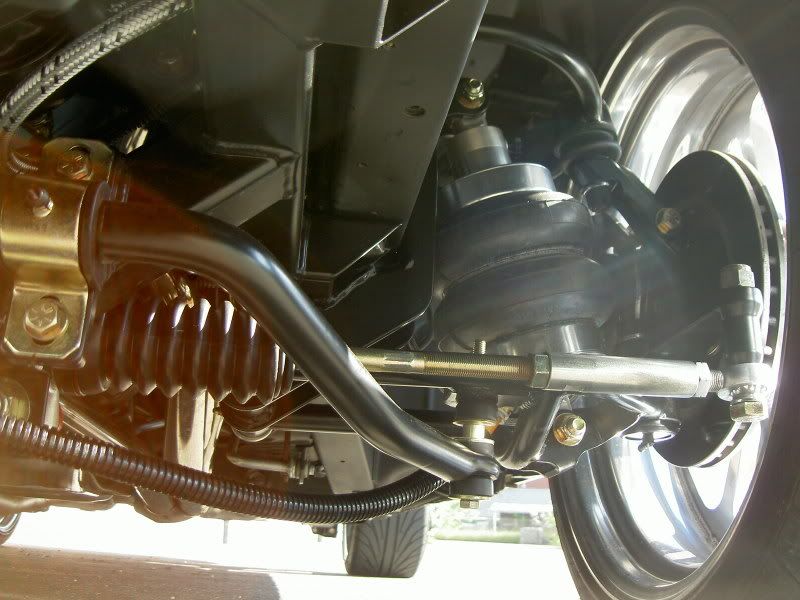
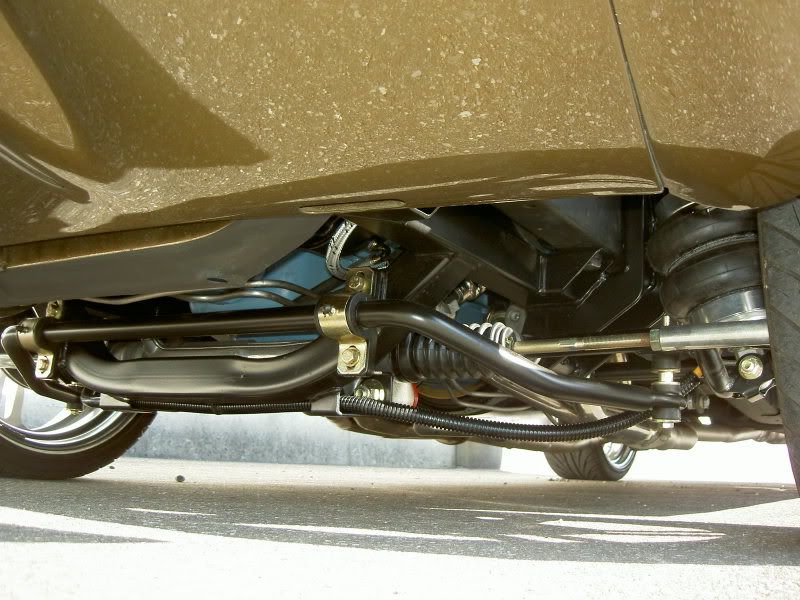
and here the rear airbar-suspension from air ride technologies with 4-link and shockwaves!
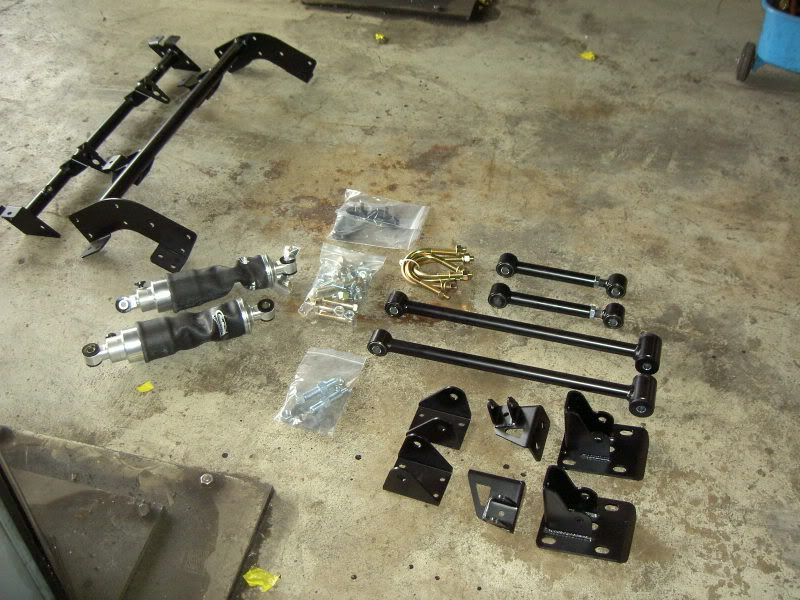
we brought the front suspension and other parts to powder coating…the rear suspension is a kit for 68-70 b-body’s ….and need to hard modifing the complete construction. i was prepared to modifing it a little bit, but i dit not think the undeground of 71’s b-body’s is so different! but more later…
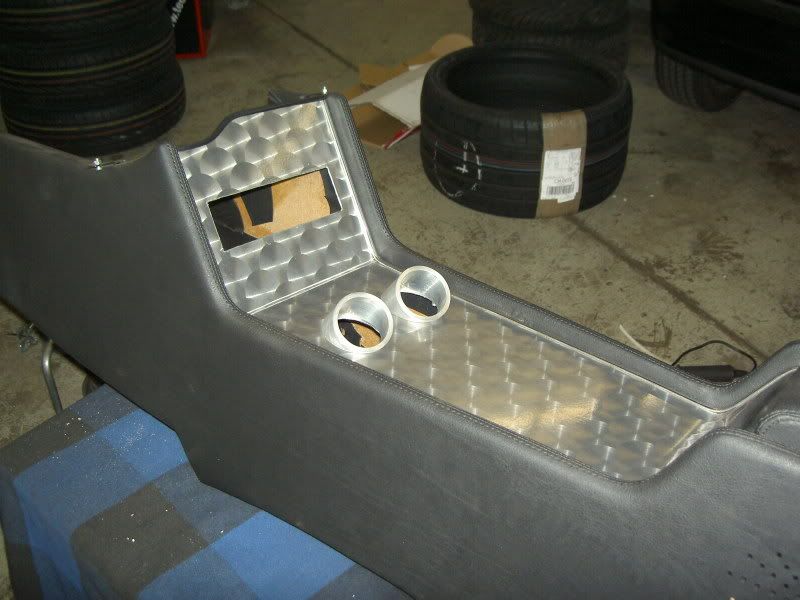
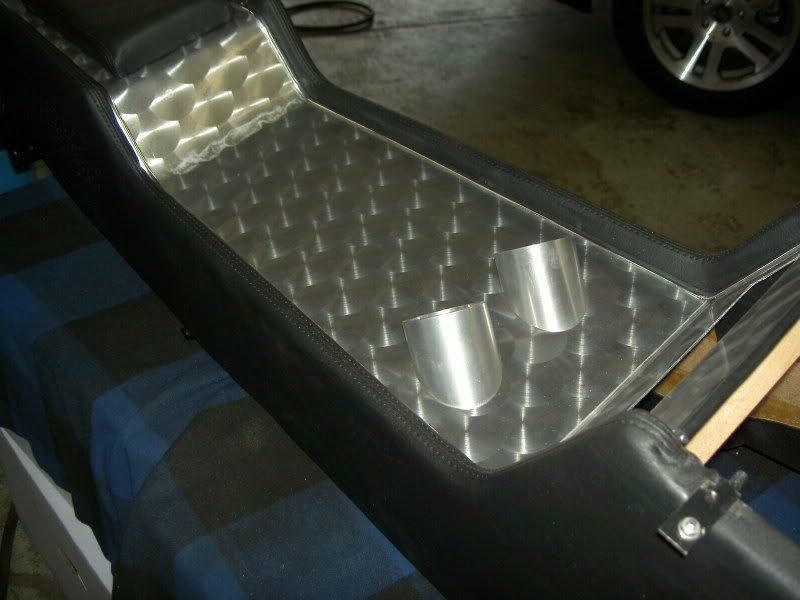
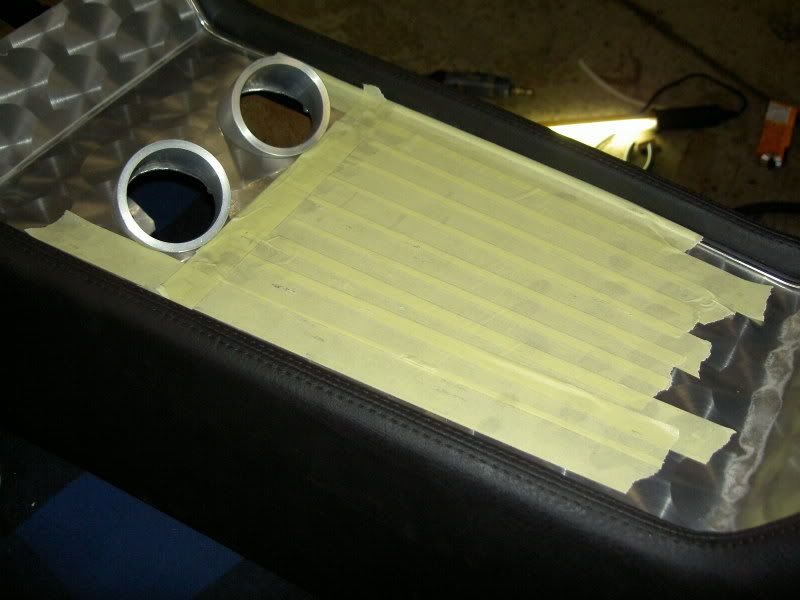
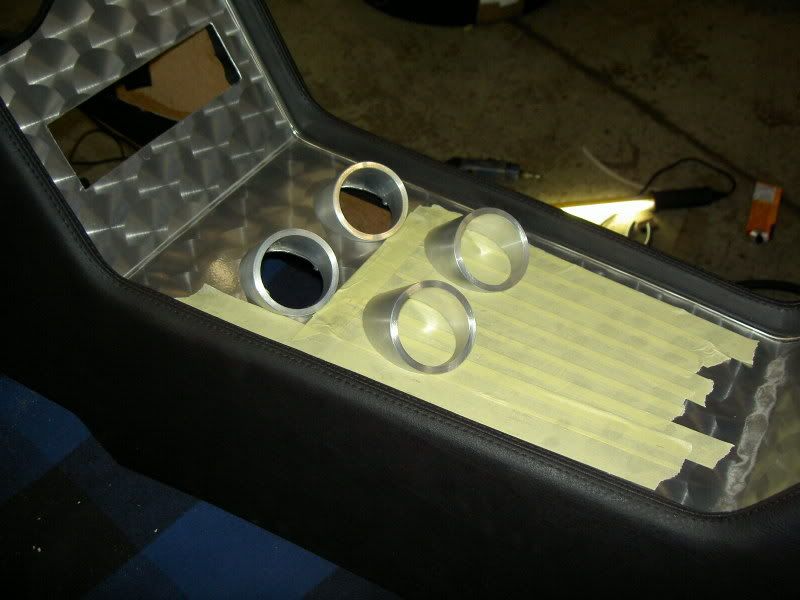
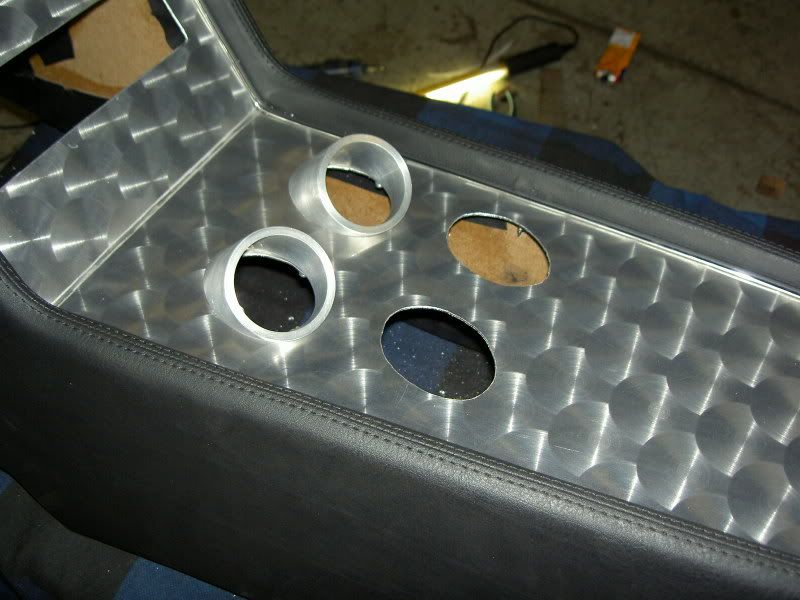
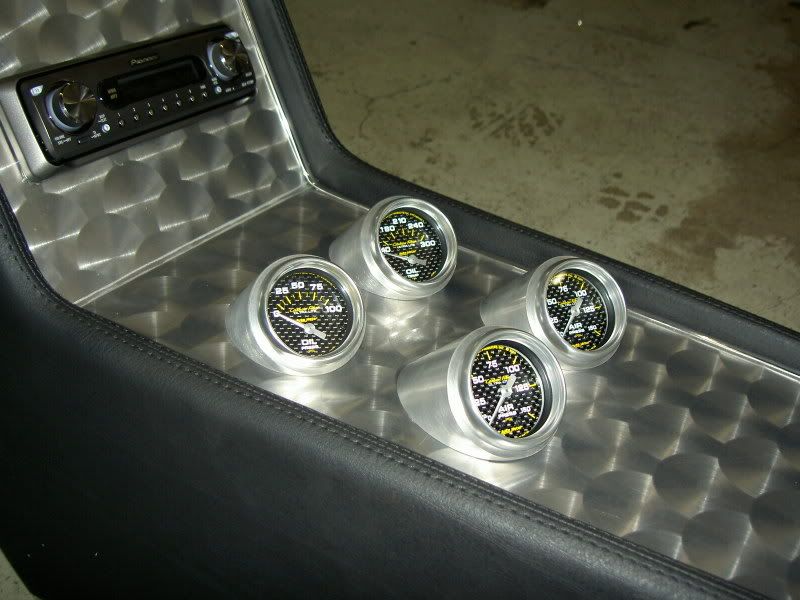
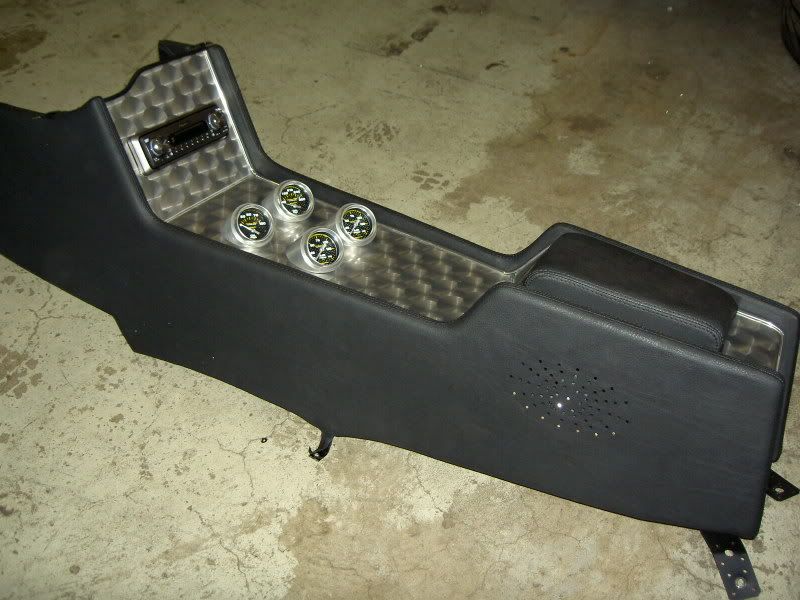
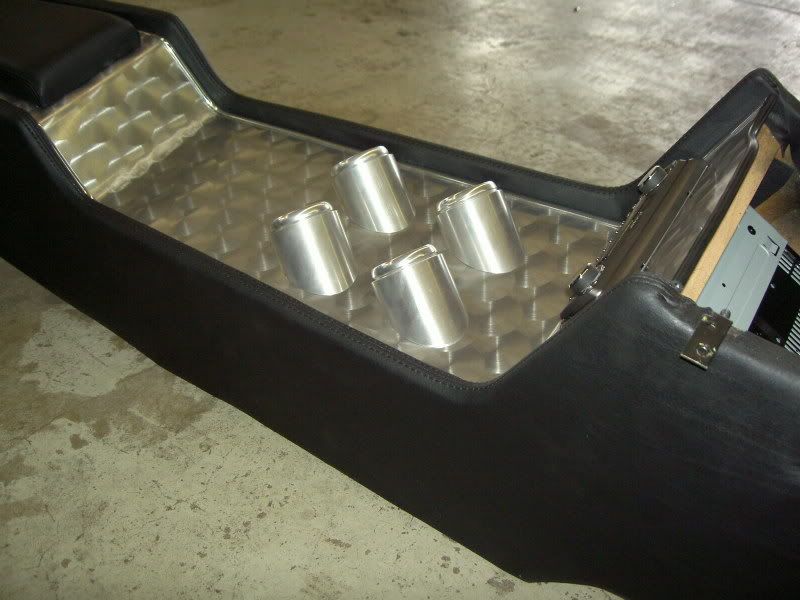
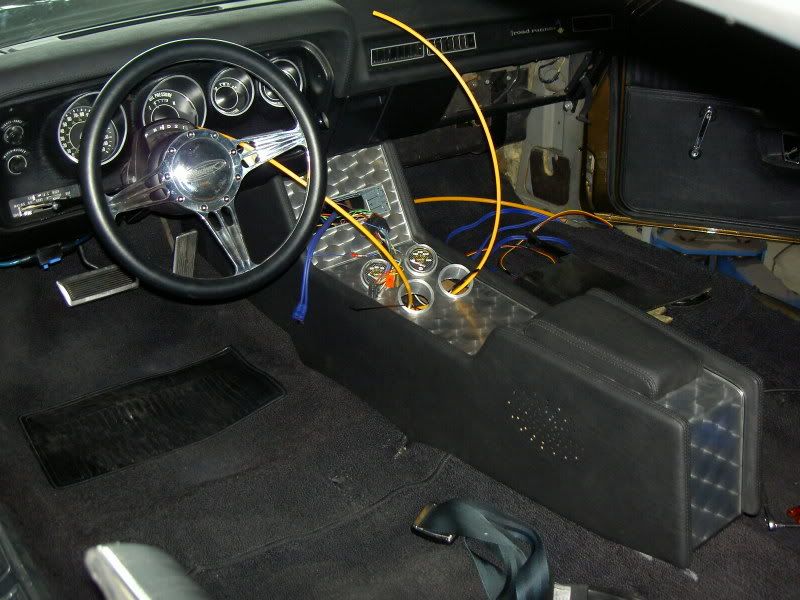
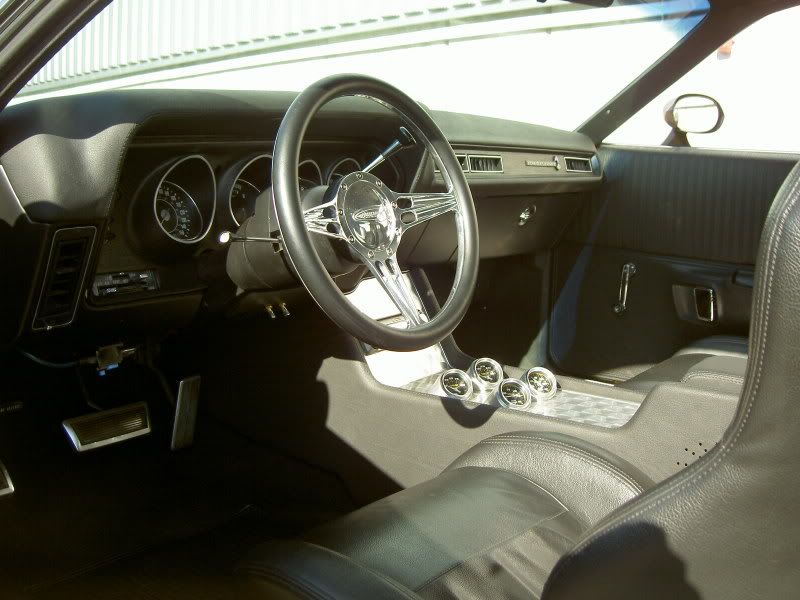
next step, was to add 2 autometer-gauges on the console. the gauges are air-pressure-gauges for the pressure of front and rear airride…

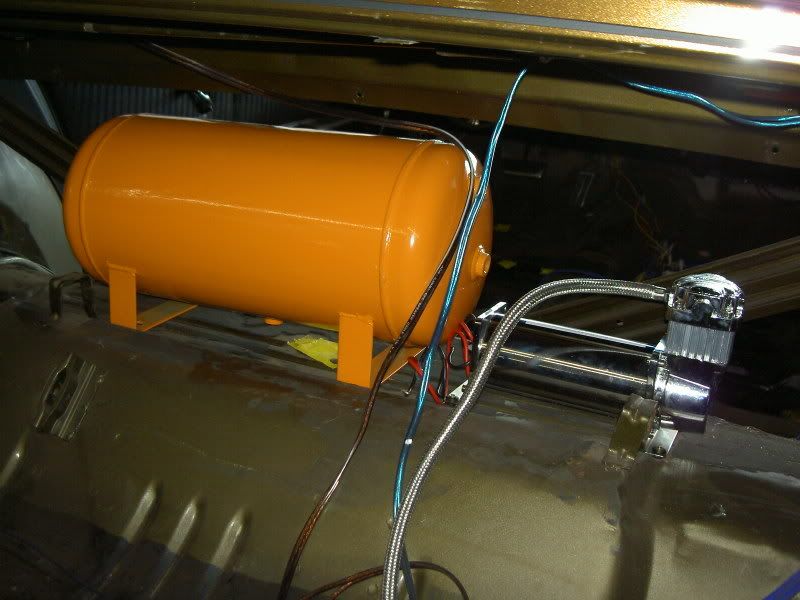
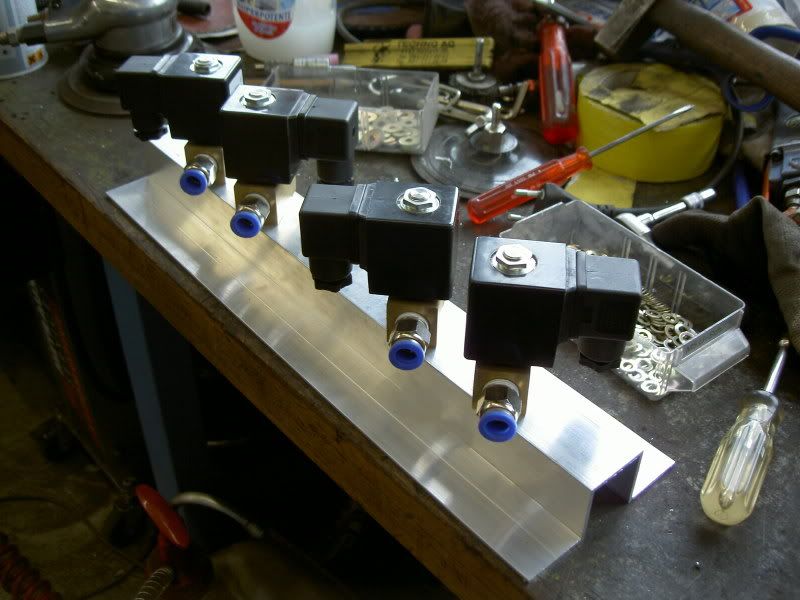
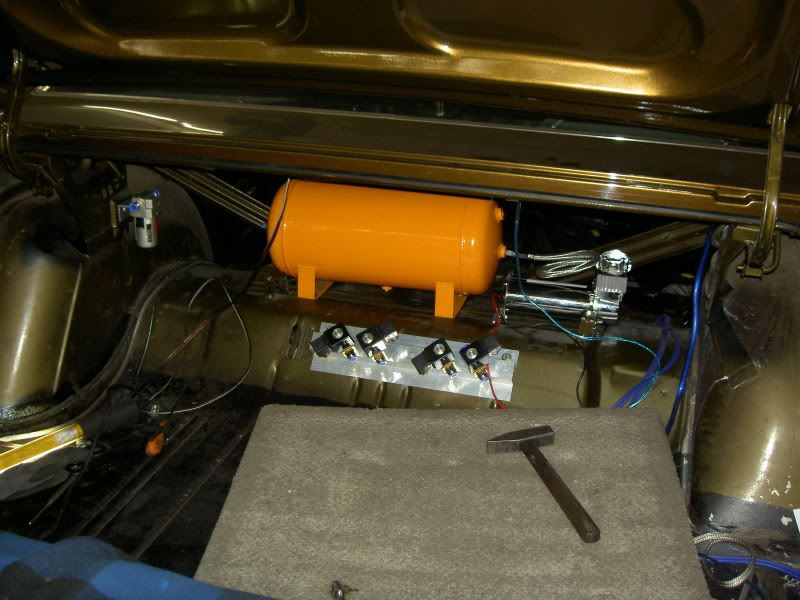
my brother installed in same time the air-management-kit for the airride…

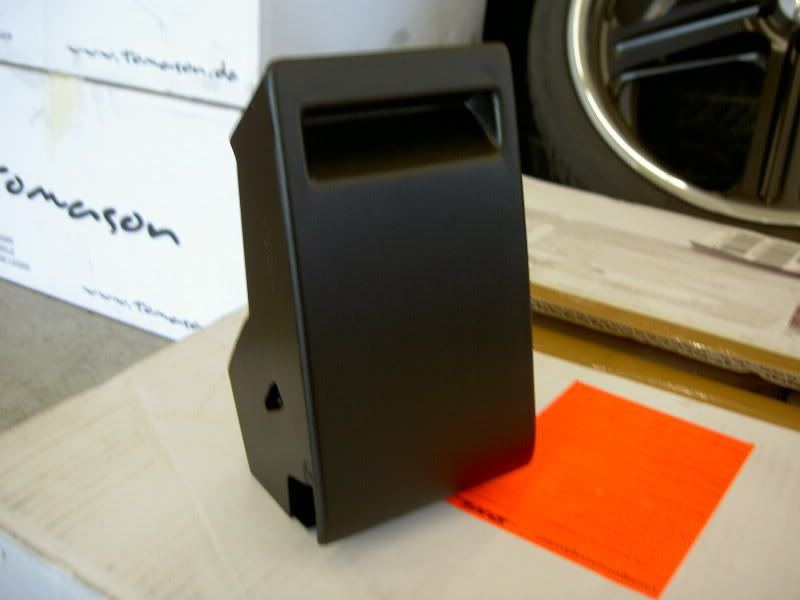
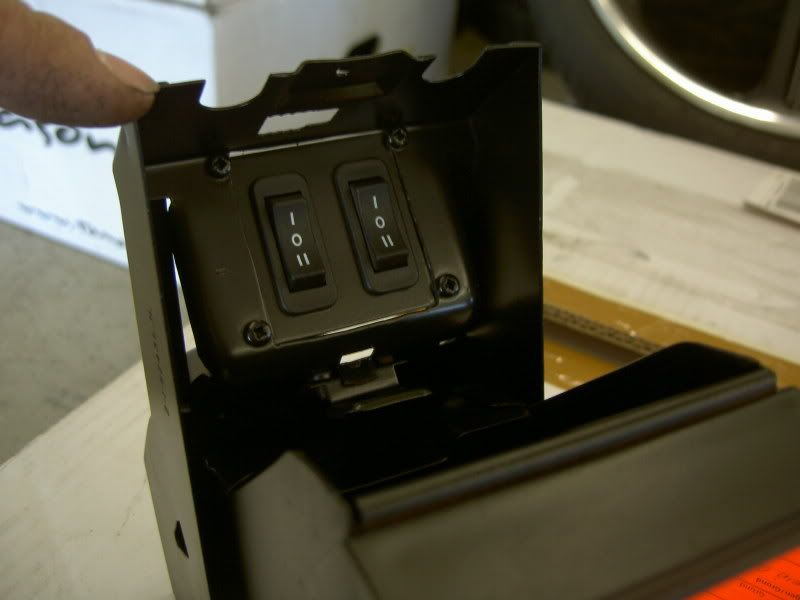
then i installed the switches for airride on the ashtray!
after a few days, the parts cames back from powder coating…
and the brake- and fuellines became also a silver powder coating!
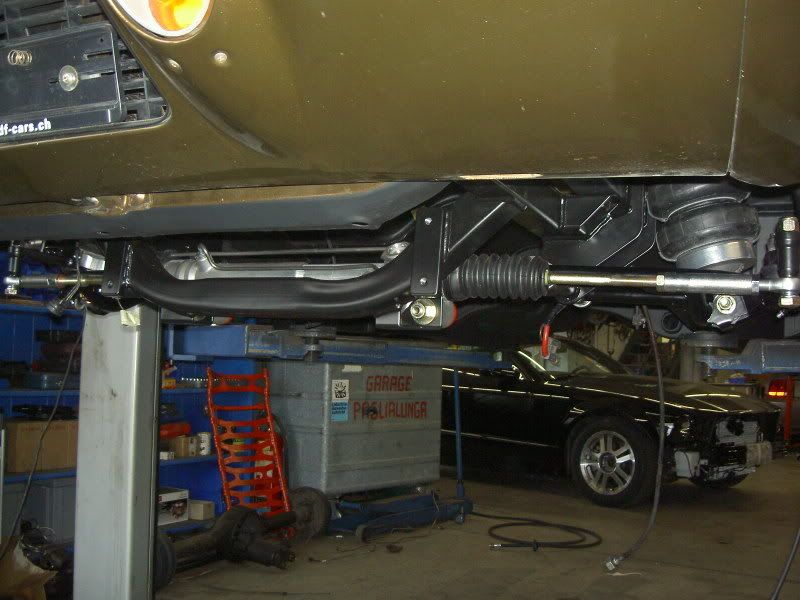
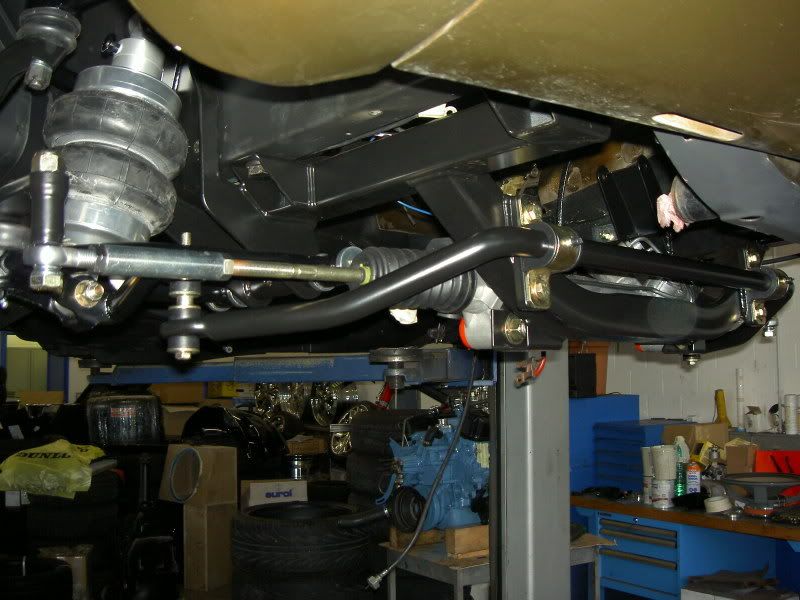
so we could install the complete front suspension…
alterktion-frame at first…

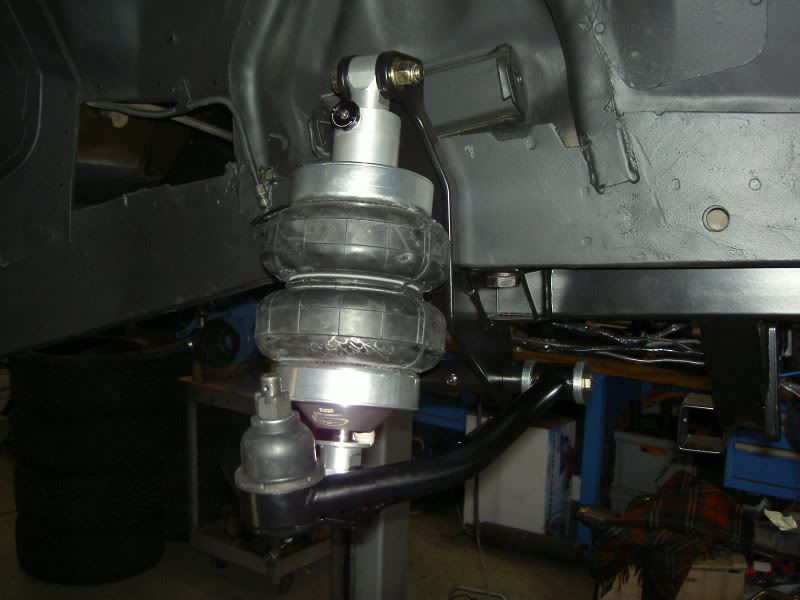
lower tubular-arms and shockwaves…
upper tubular-arms and spindle....
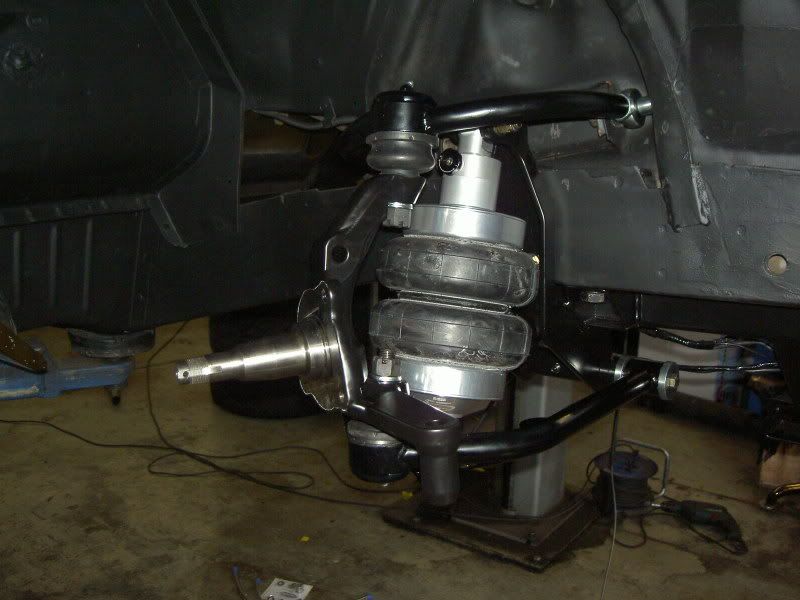
and so the front suspension was on her place!
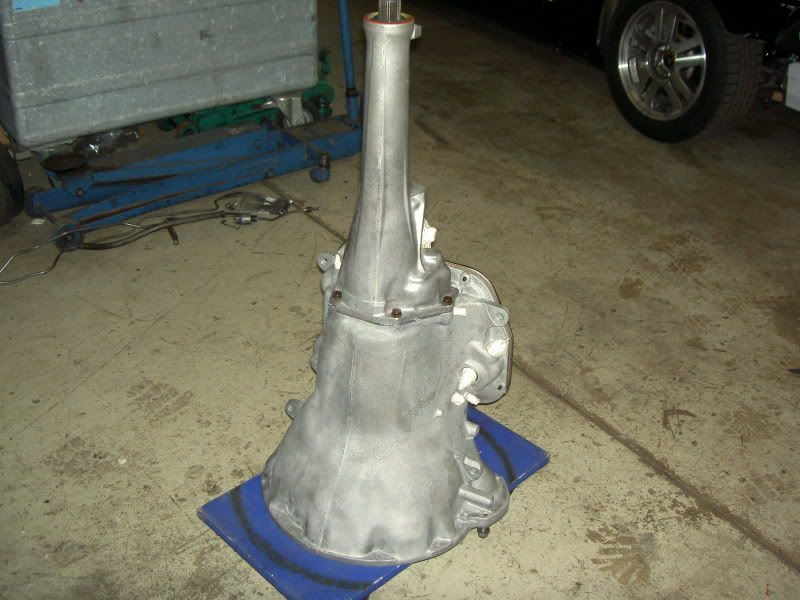
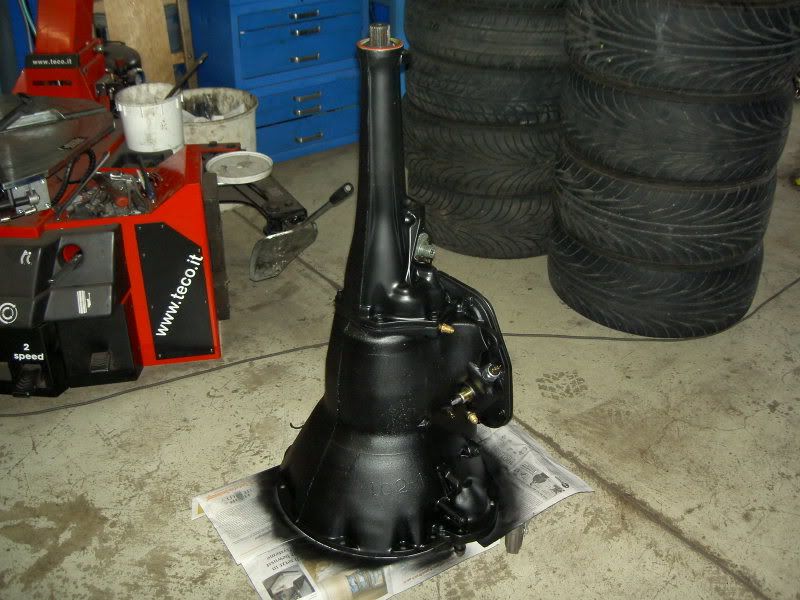
i became in same time my complete rebuild 727 with shift-kit, billet servo, race parts and other goodies…and i painted it flat-black…
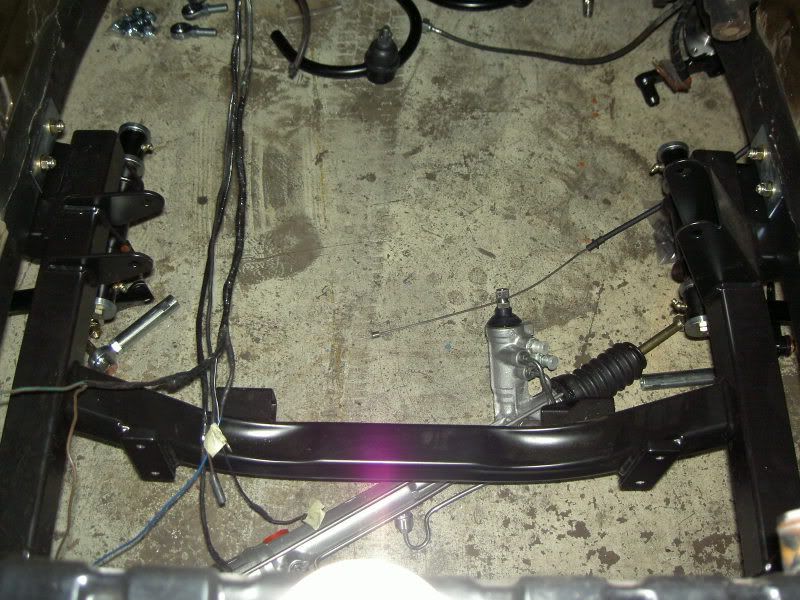
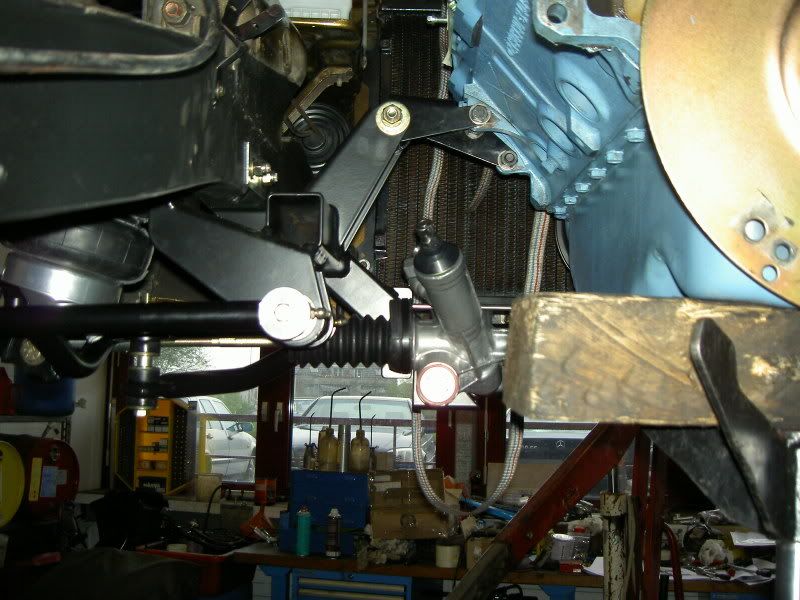
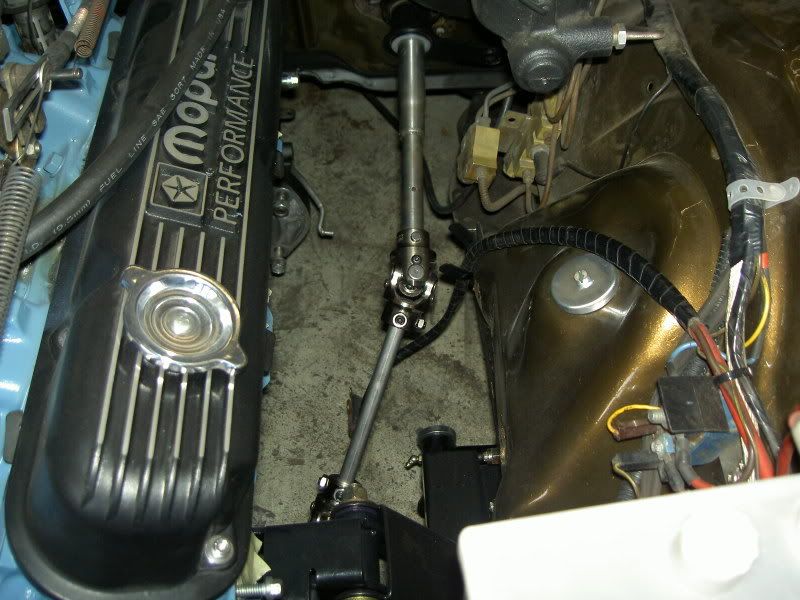
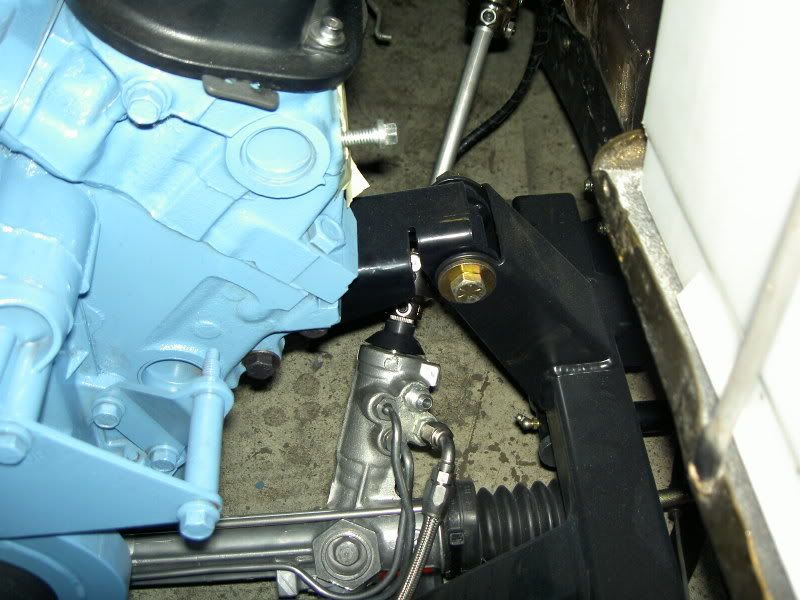
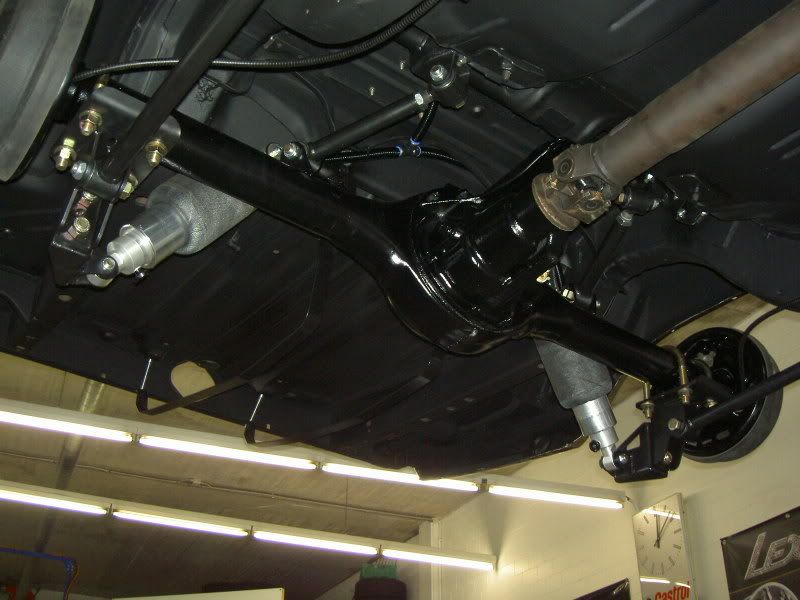
then i mounted the rack and pinion…
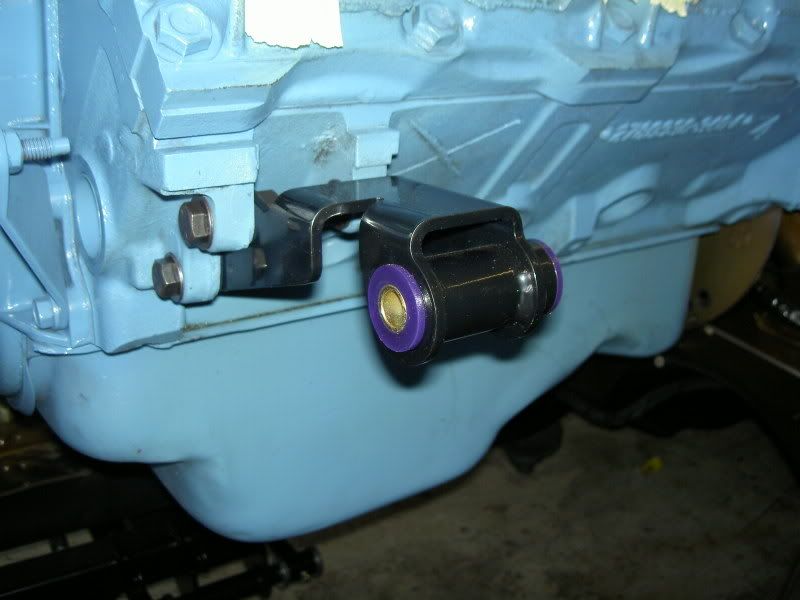
the new motor-mounts…
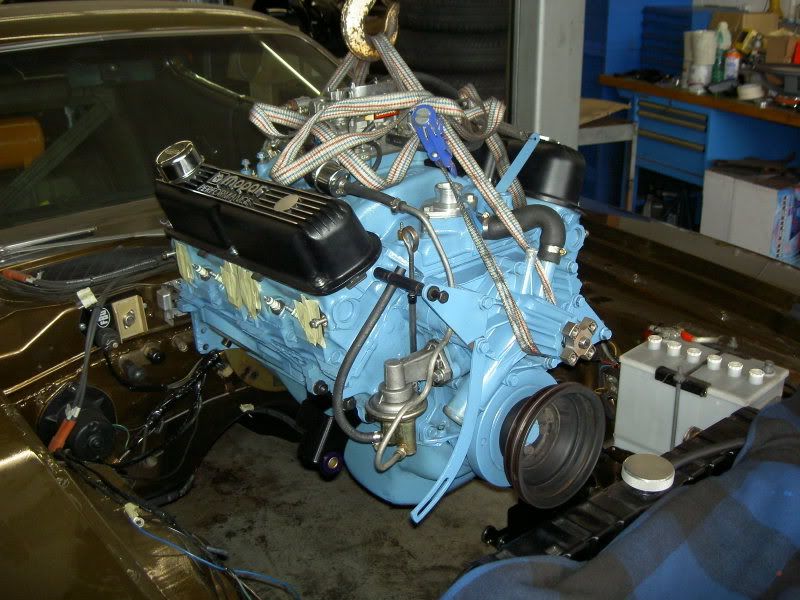
and then the engine and trans (here still with the old oilpan)…

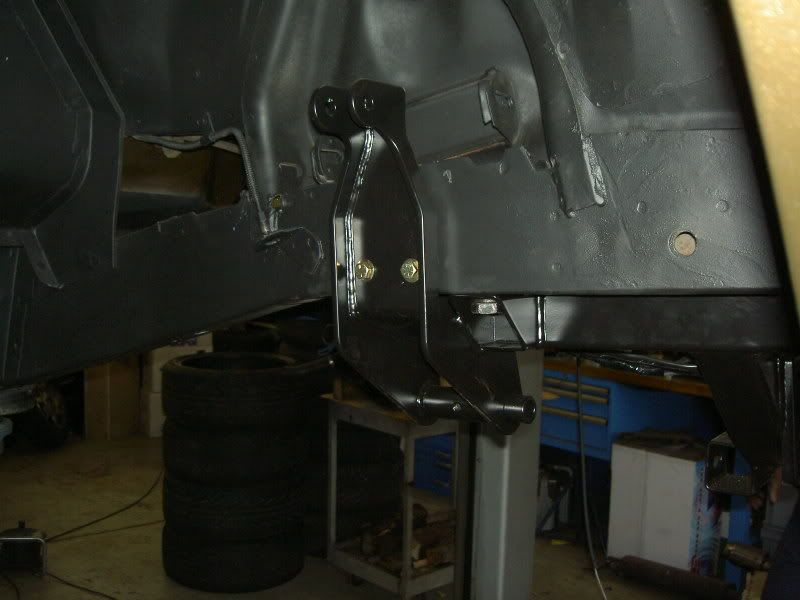
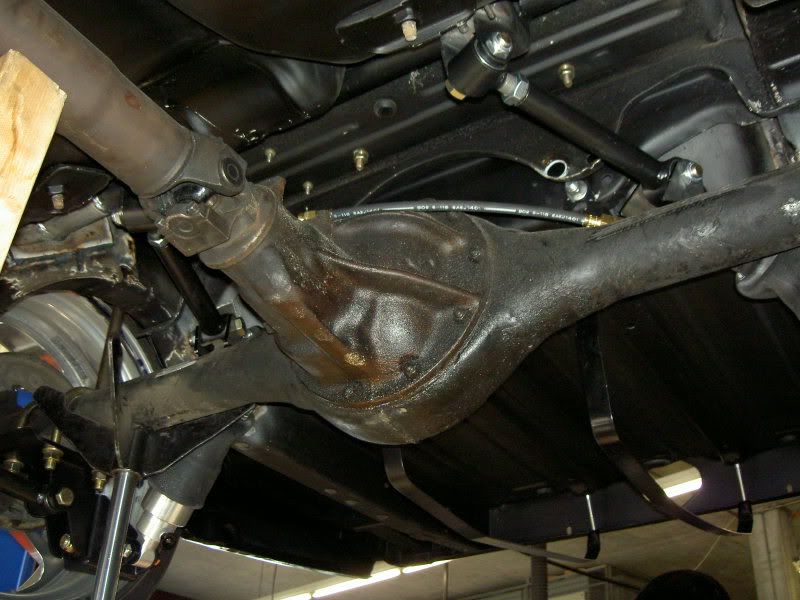
next step were the mod’s on the rear suspension!
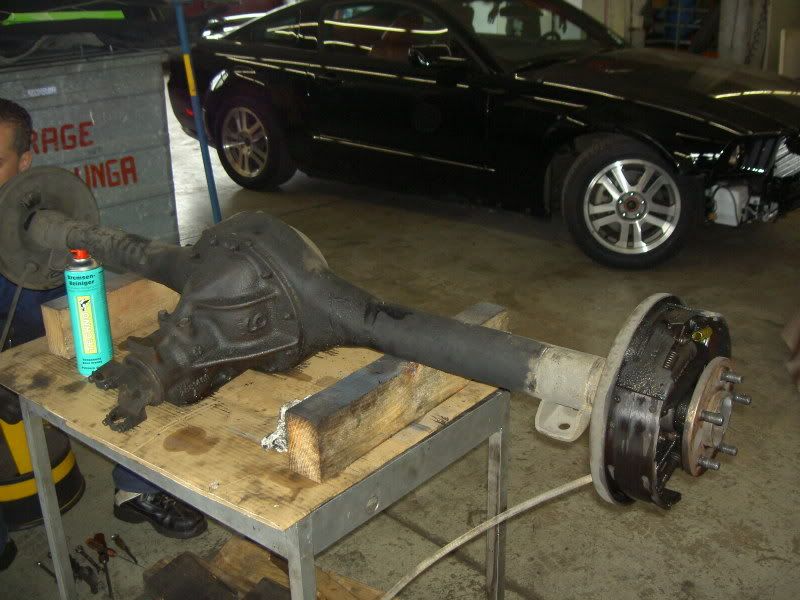
before powder coating the rearend, was necessary to modifing the suspension-system, to weld all brackets and bars and to testing the complete installation! only then, we could bring the rear axle to poader coating…
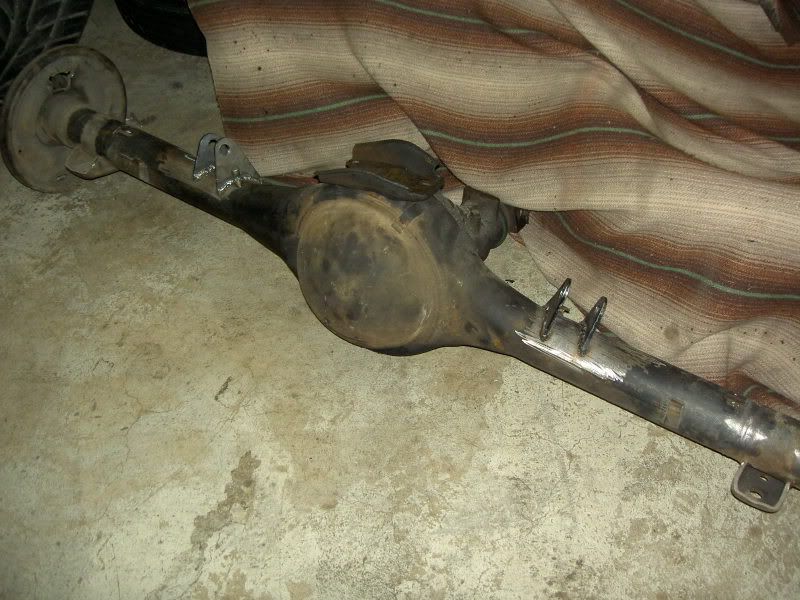
first step was parting the axle partially out…
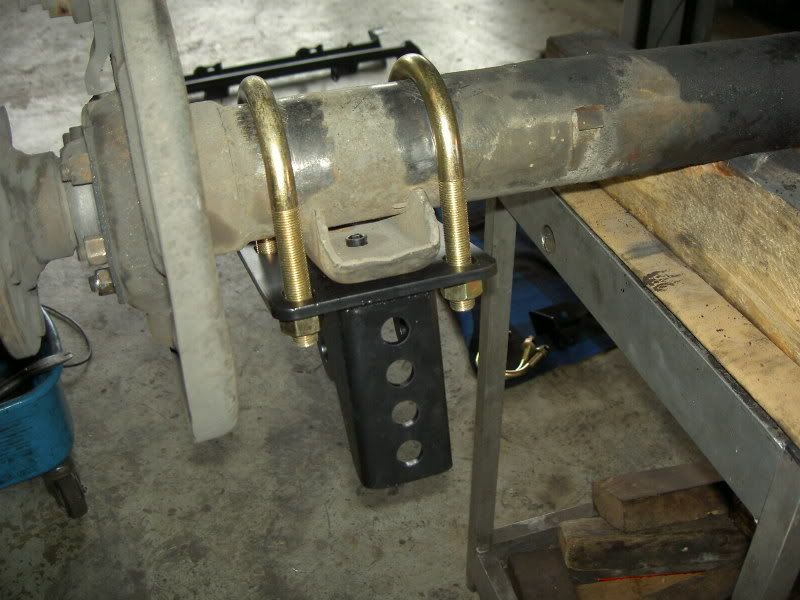
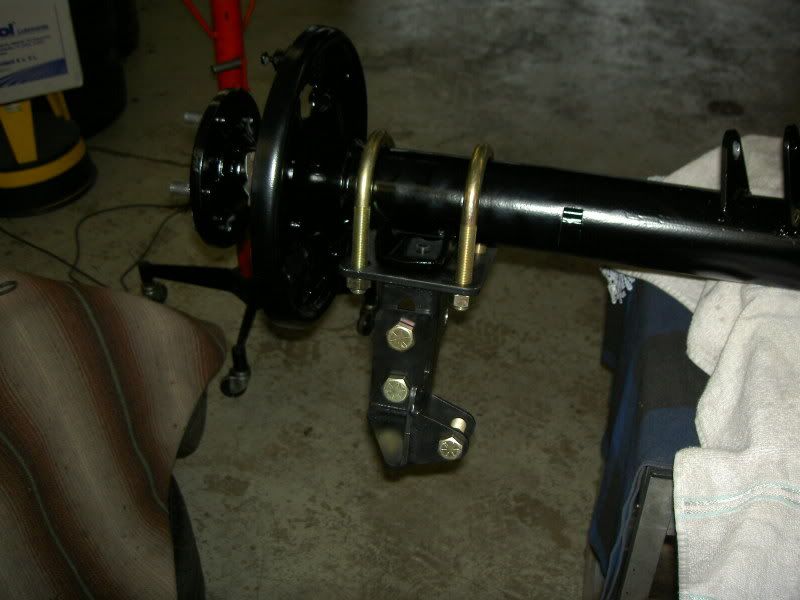
mounting side towers…
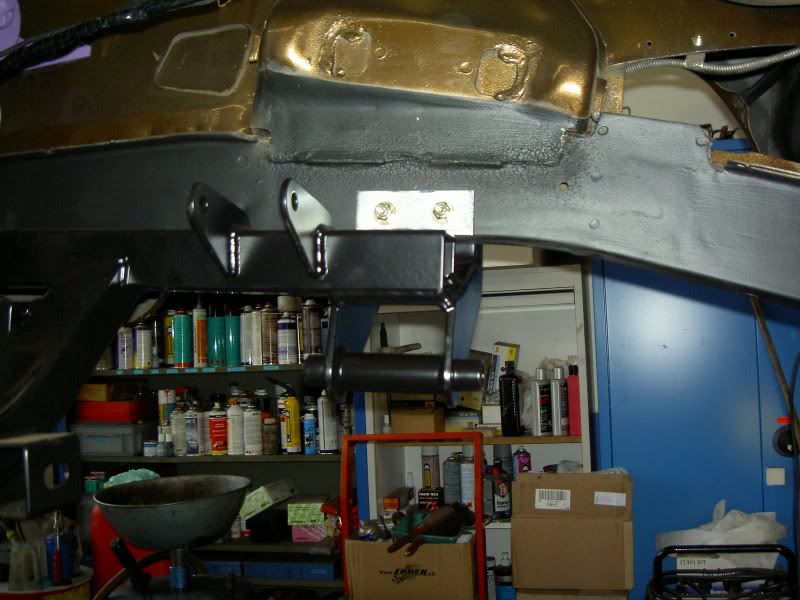
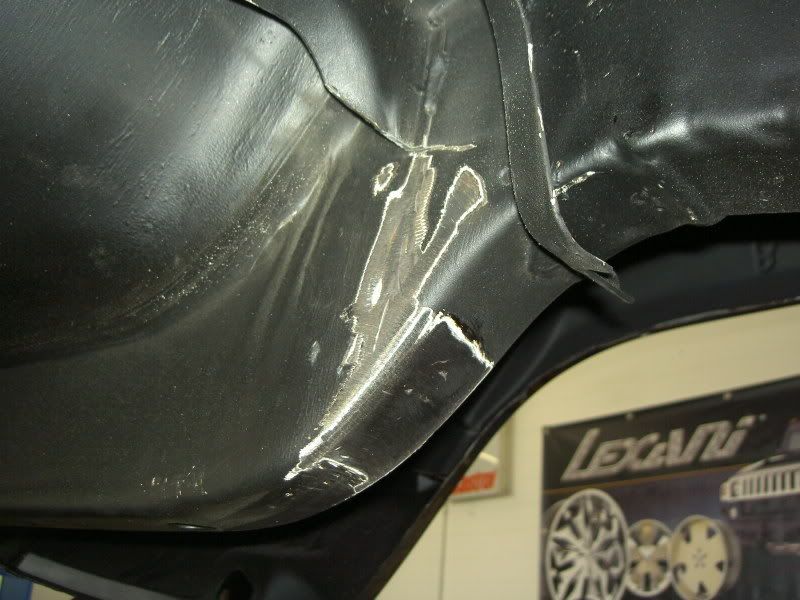
the floor needed a slighty modification…
shockwave-testing…
and install the outside-brakets…
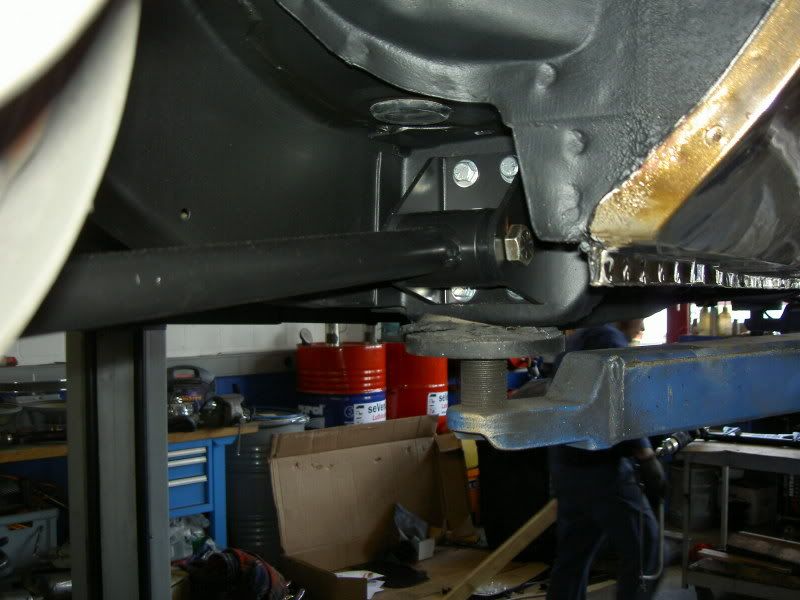
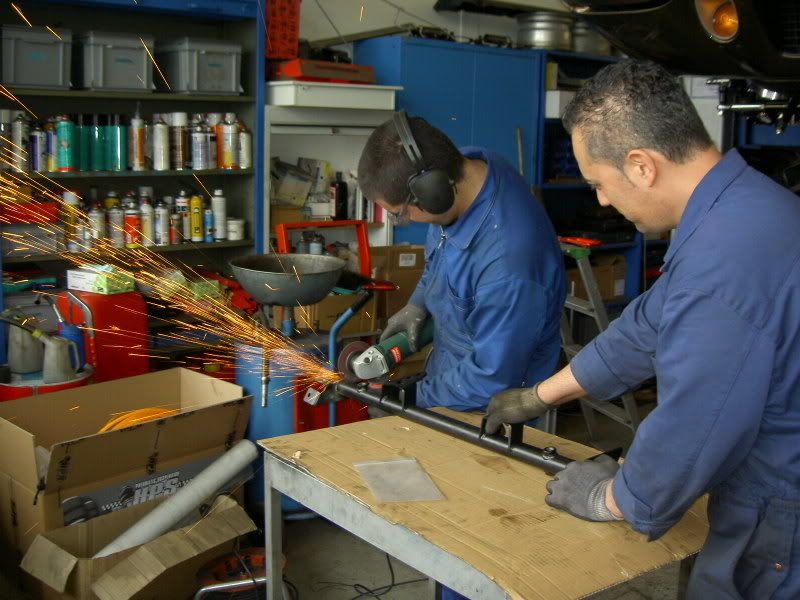
both bars for the 4-link and for the shockwaves that cames between the frame rails, are to short for the 71-floor…so we cut out both ends on both bars…
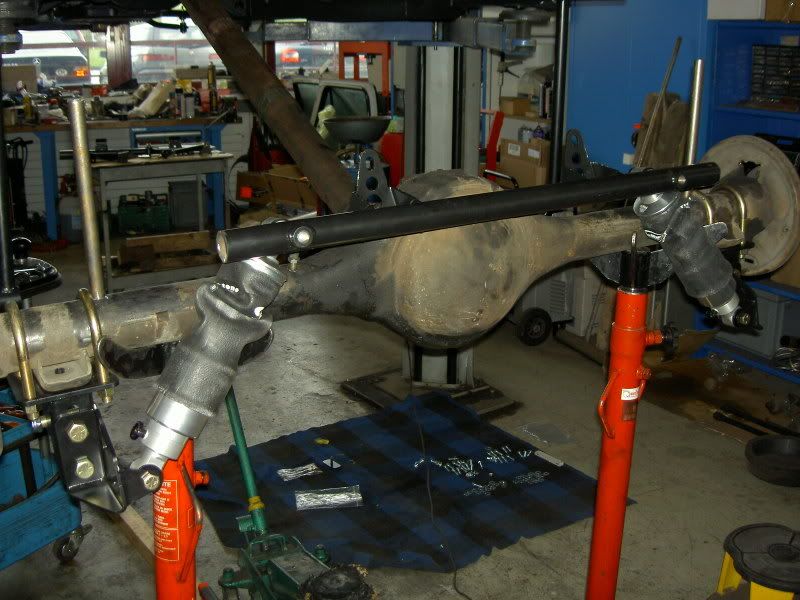
then test-mounting of complete suspension and exactly mesurement of position and ride-hight…
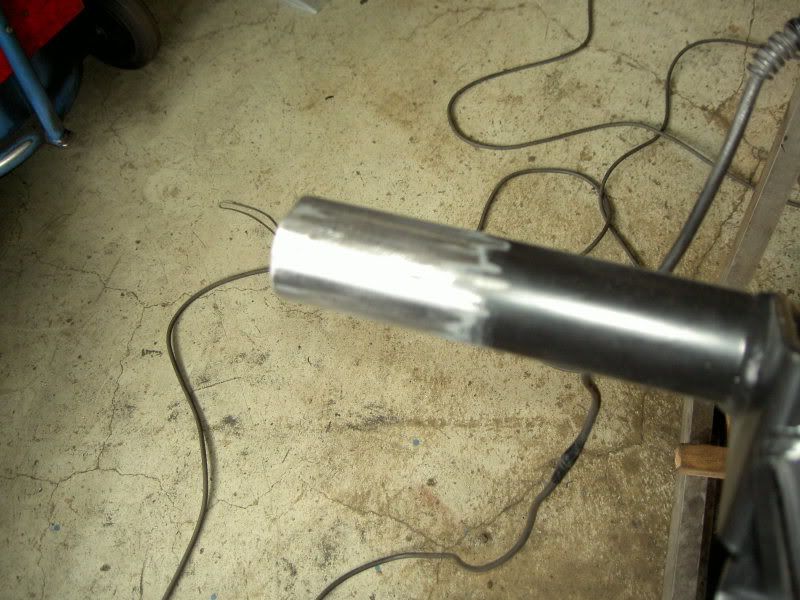
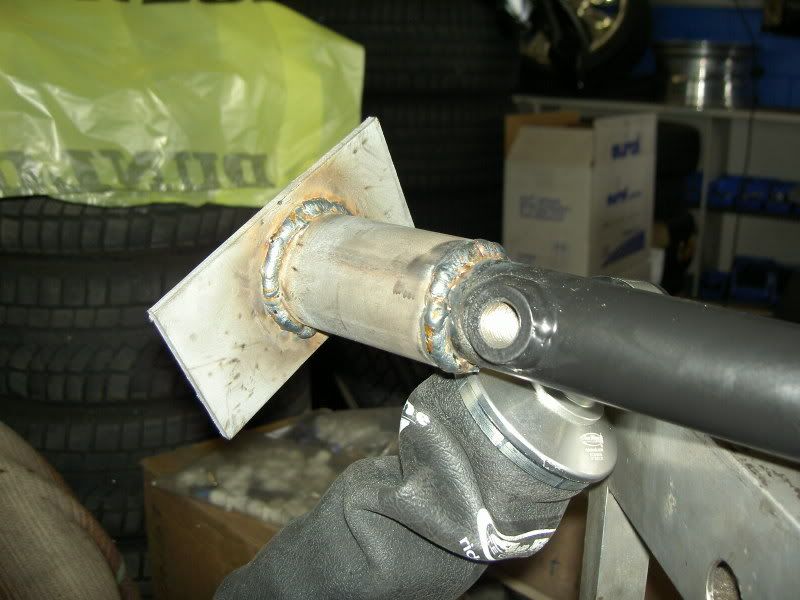
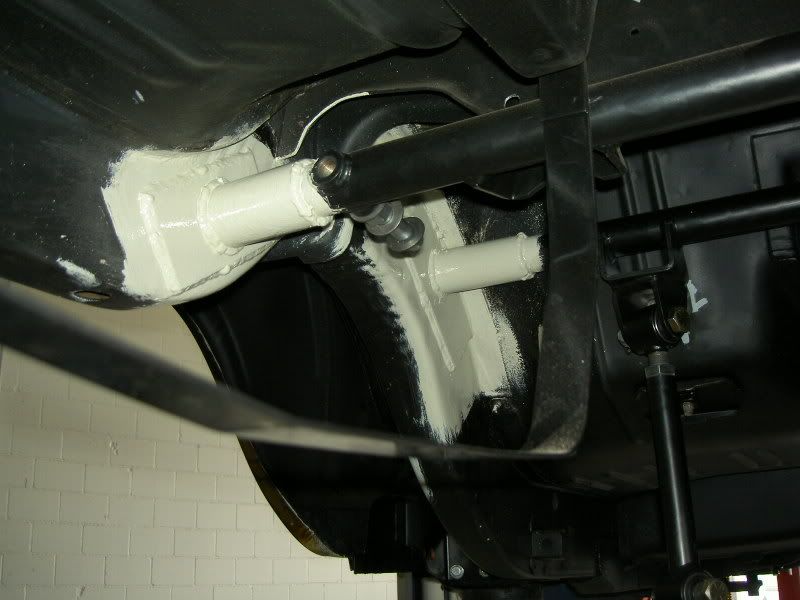
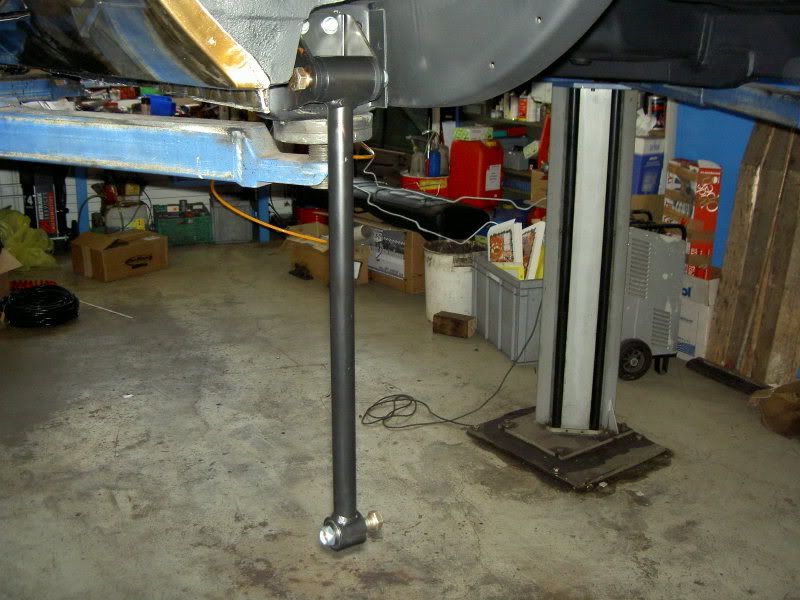
after this, we estended the bars with larger tubes and new mounting plates…and then welded the rear bar on frame…
next positioning of 4-link-arms on the bar and on ride-hight…


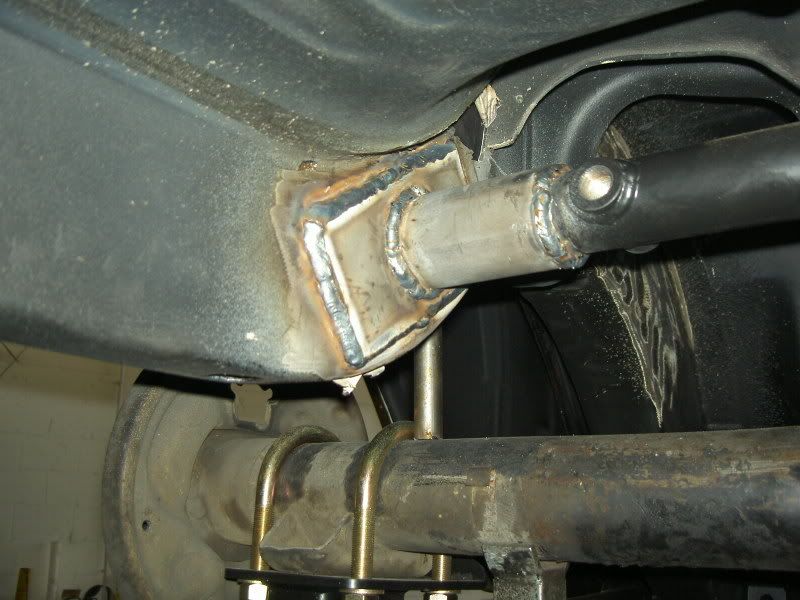
and then we extended the front bar same like the rear bar…and welded the bar also on the frame…
the front bar, is also screwed on the floor with mount plates form the inside…
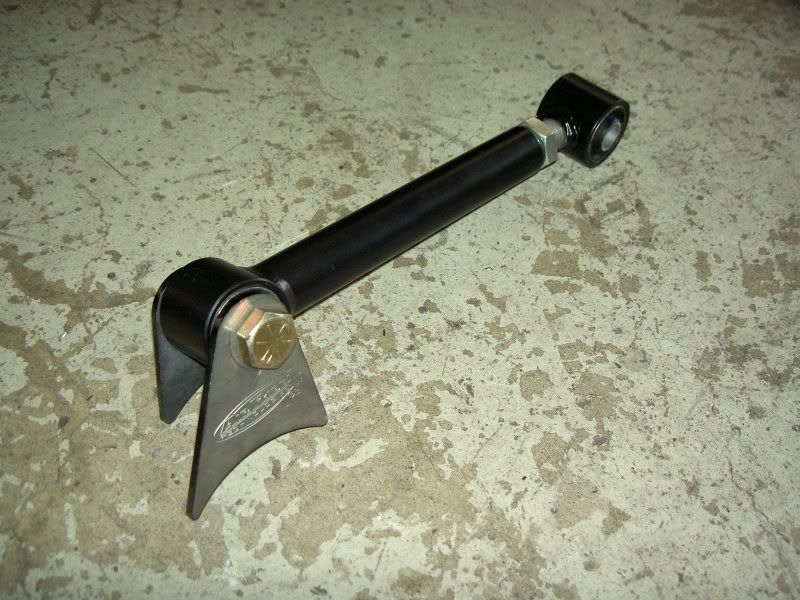
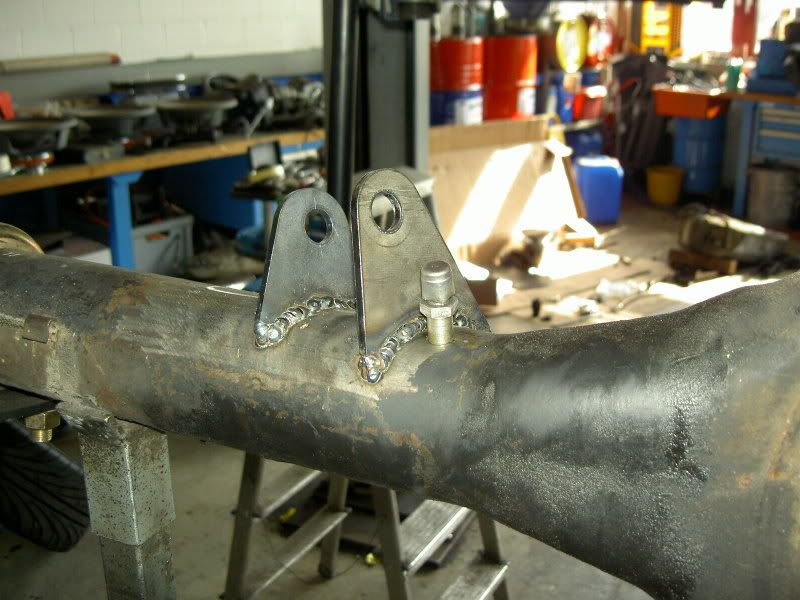
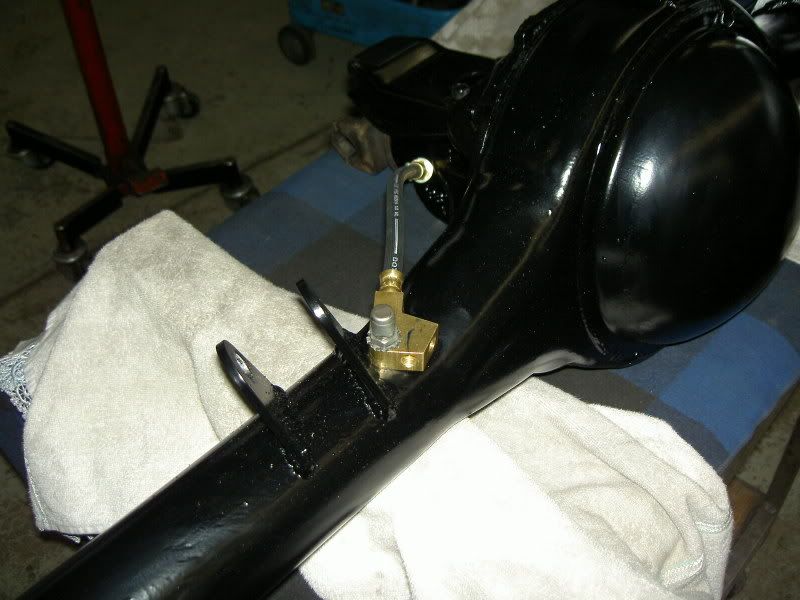
next, we positioned the 4-link-arms on the axle in right position and tack-weld the tabs on the axle…
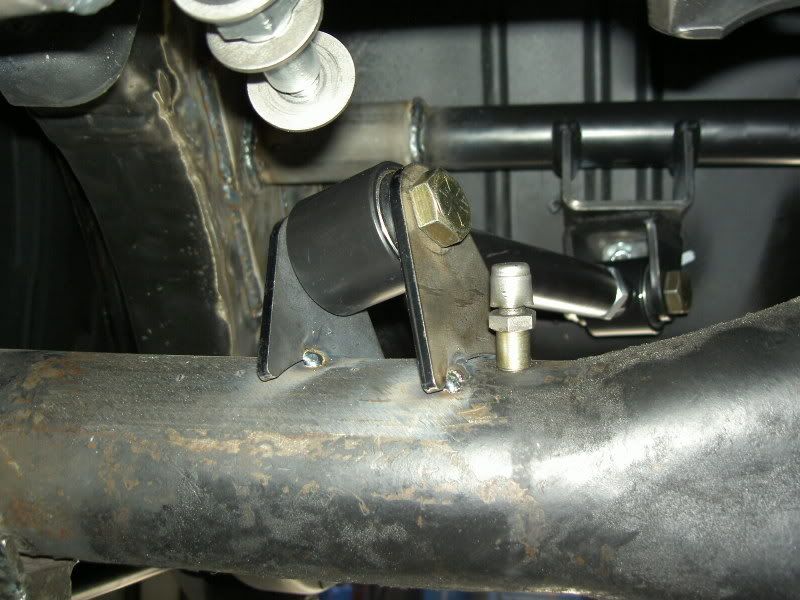
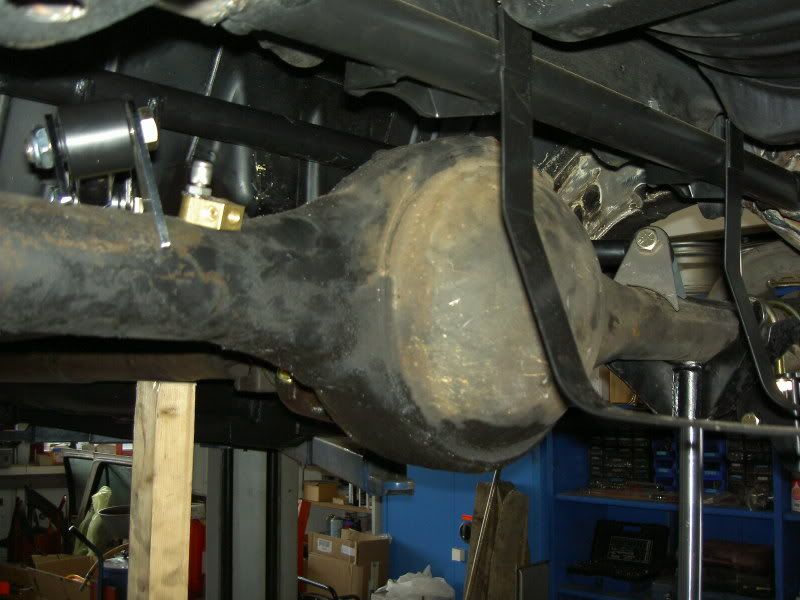
and when the alignment was rechecked, we removing the arms and i welded solid the tabs on the axle. then i mounted the complete rear suspension to check the position and alignment…
finally the rear axle could be bring it to powder coating!
and then cames the last finish for the complete underground…
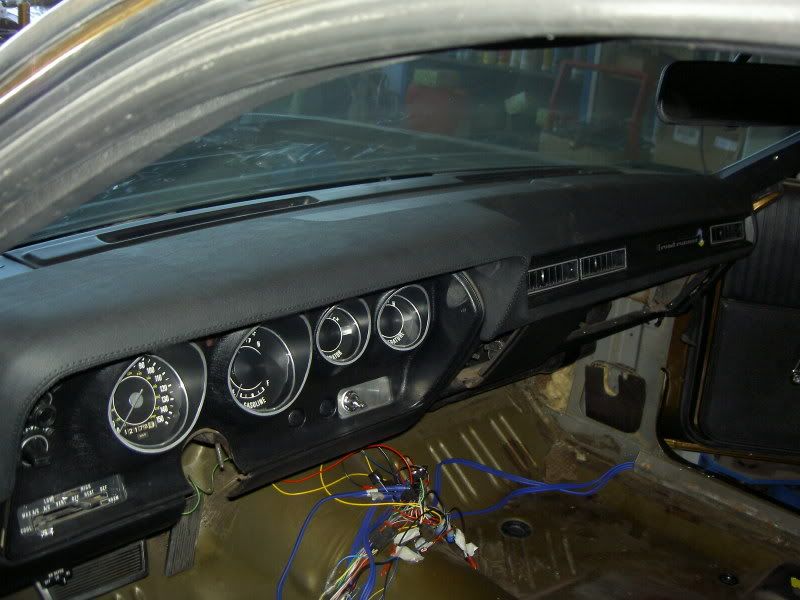
in same time, i recived my complete new leather-covered dash pad…and i mounted it!
next step was the steering column with both coupler….

and then the complete interior!
the next day came the rear axle from powder coating back…
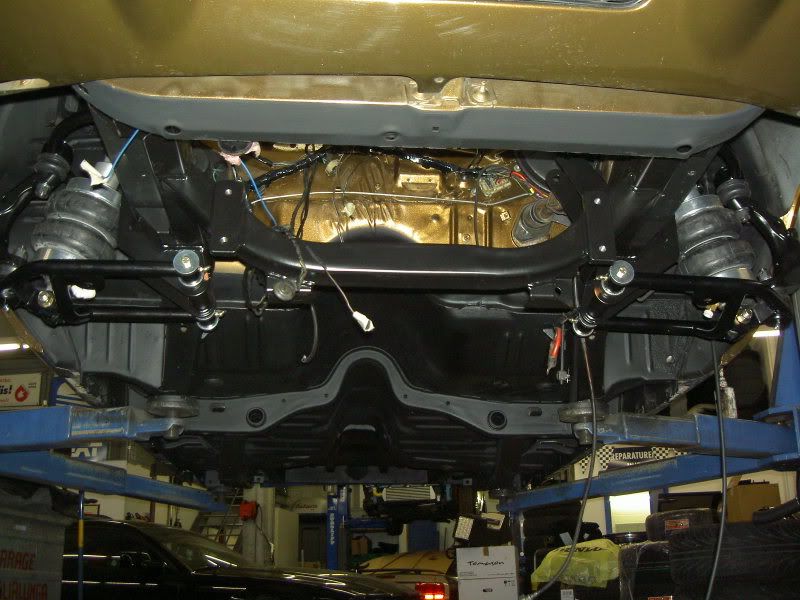
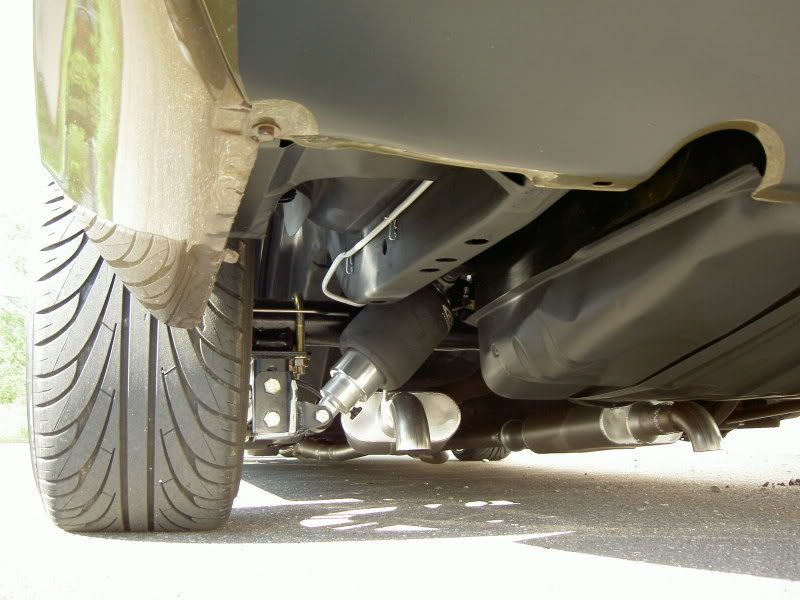
and now we could install and adjust the complete rear suspension…


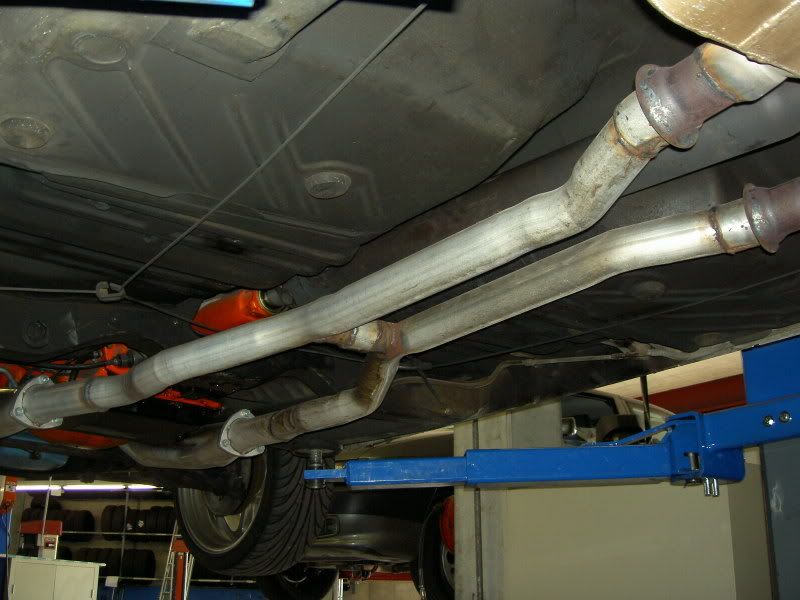
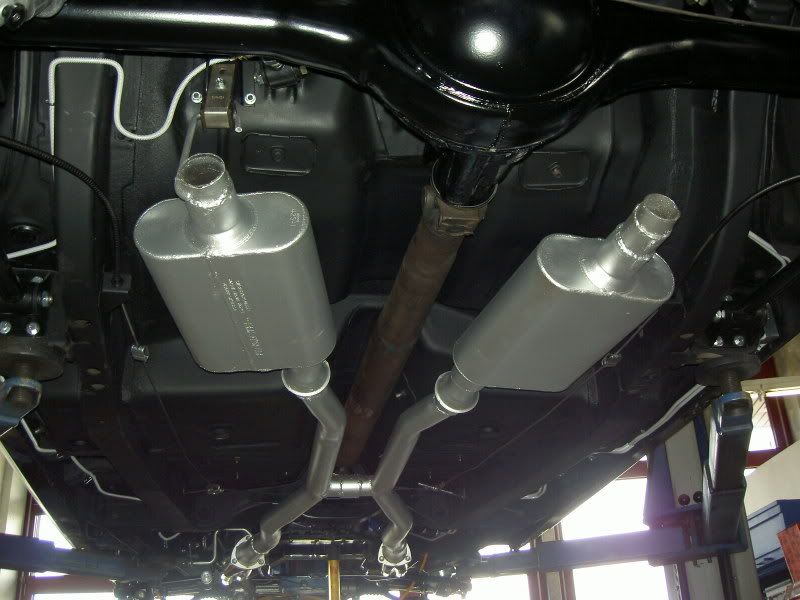
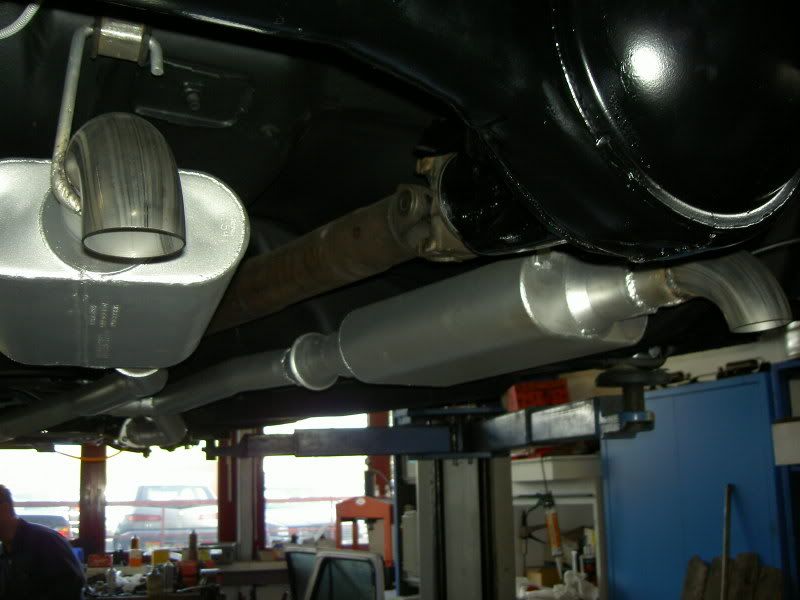
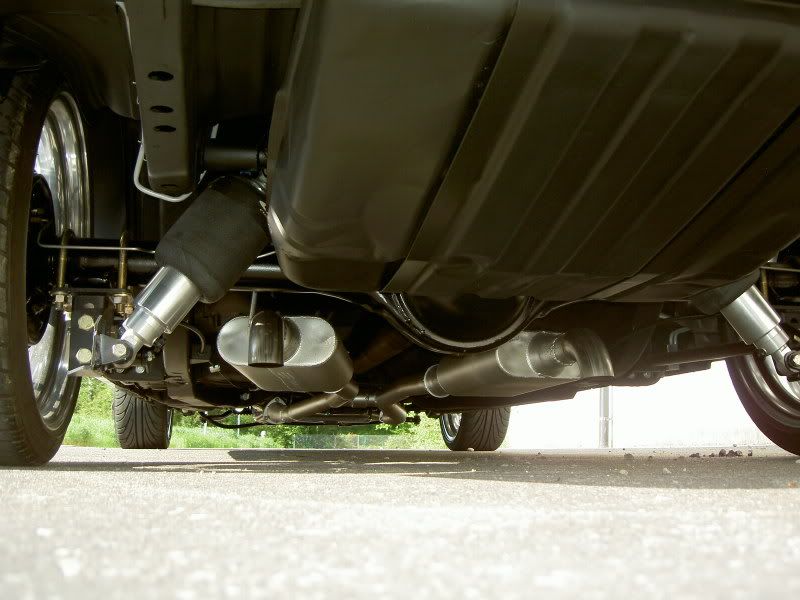
the car must be done for a car show, and we did have no more time for the custom made of a new stainless X-pipe exhaust system. so i painted for now my old exhaust-system with flowmasters, and in a few weeks cames the new system on it…
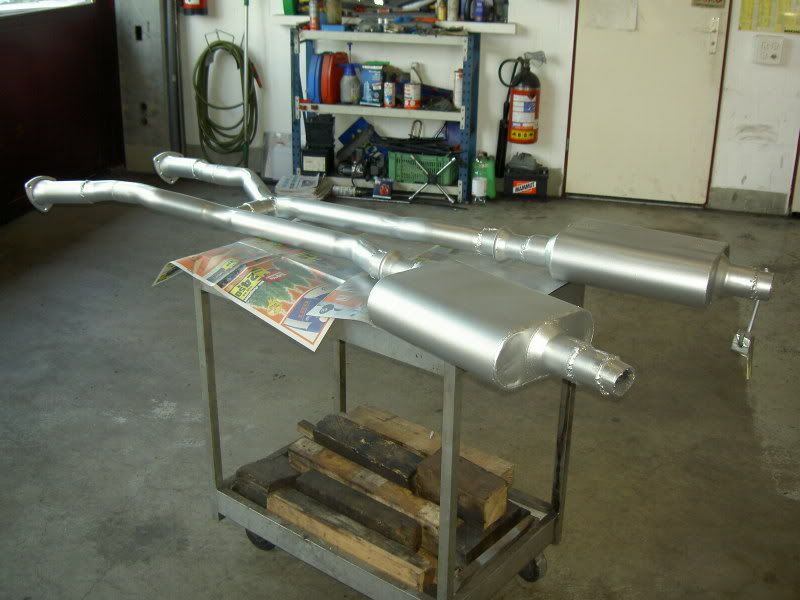
with the new rear suspension the old exhaust system will not fit….so i install turndows for the moment!
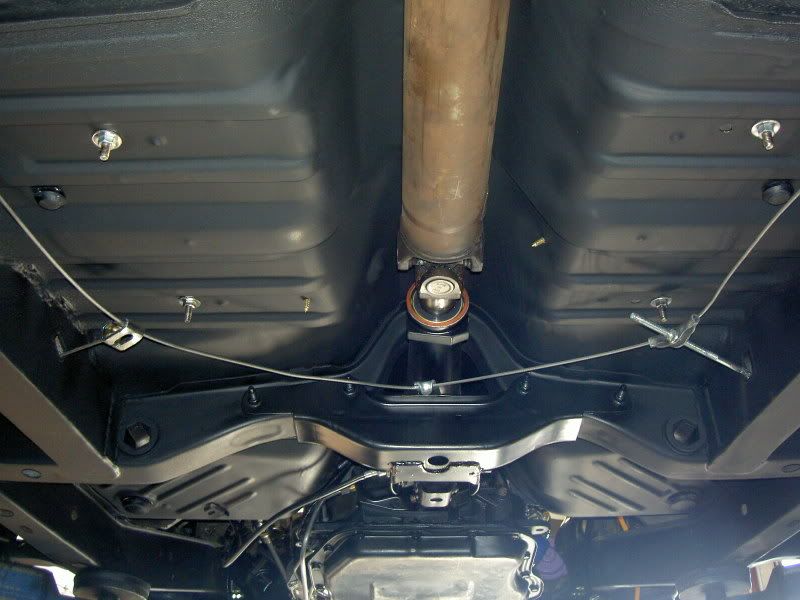
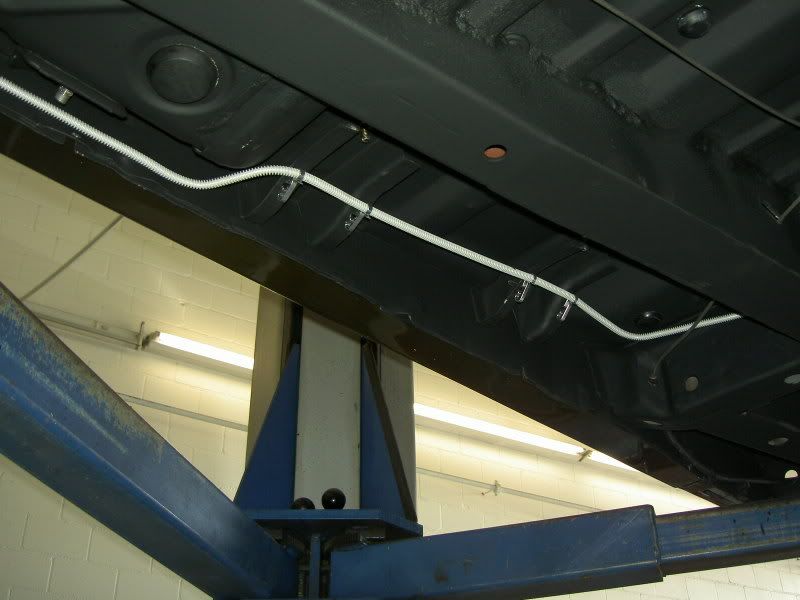
then cames the last things on the floor…(lines, parking brake cable…)
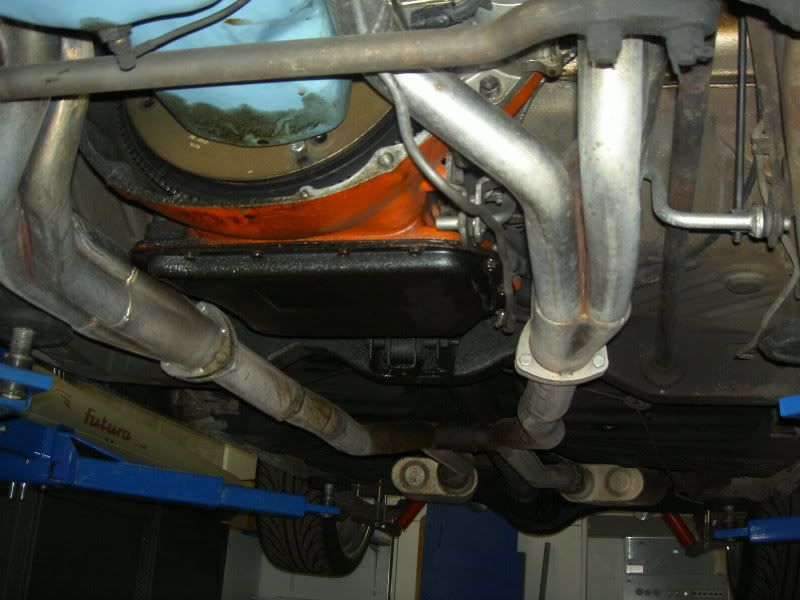
and the new transmission got a new chrome mopar-performance oil pan with more capacity…

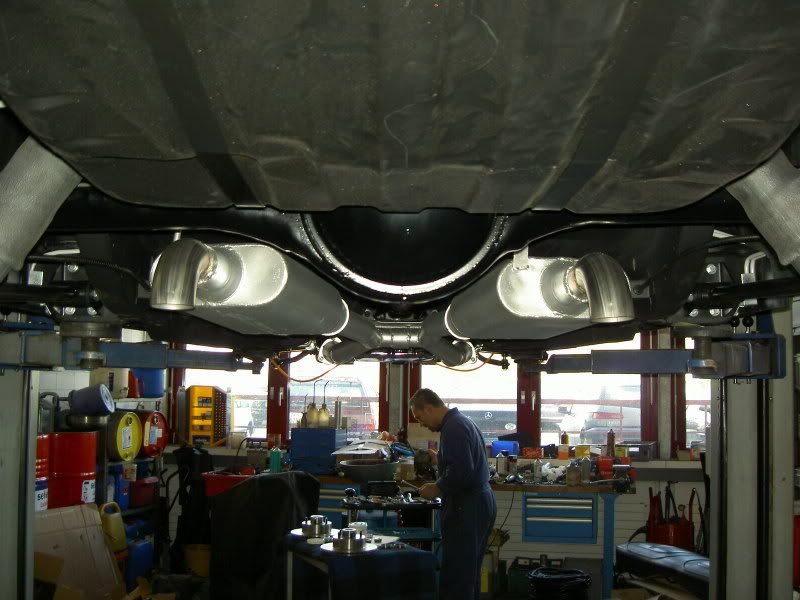
the new polished ceramic coated TTI-headers was not arrived in time, so i had to install my old chrome TTI’s…then the exhaust system an the turndowns! in a few day’s i get the new ones…
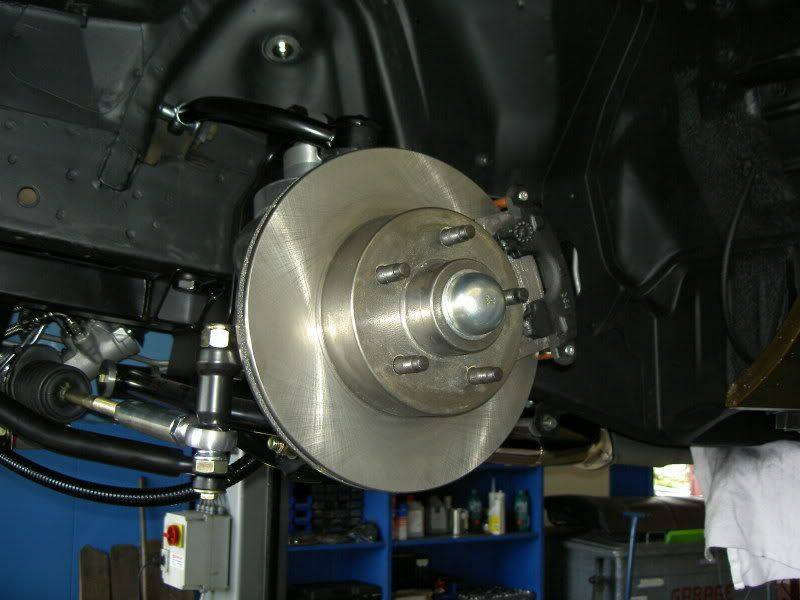
last the front brakes…(in a few month cames new 13“/12“ wilwoods front/rear with 6- and 4-pistons on it..)
and this was the done floor after 3 month’s of works…
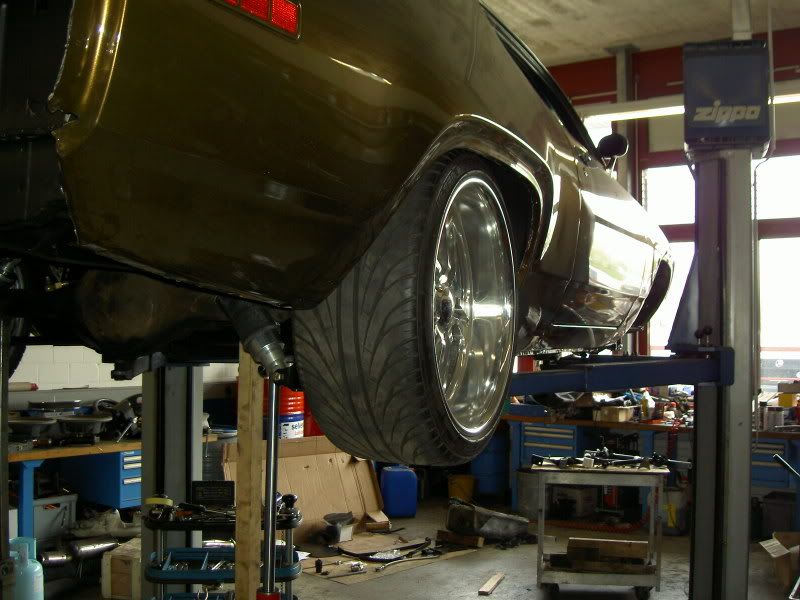
and this, is the finally product!!
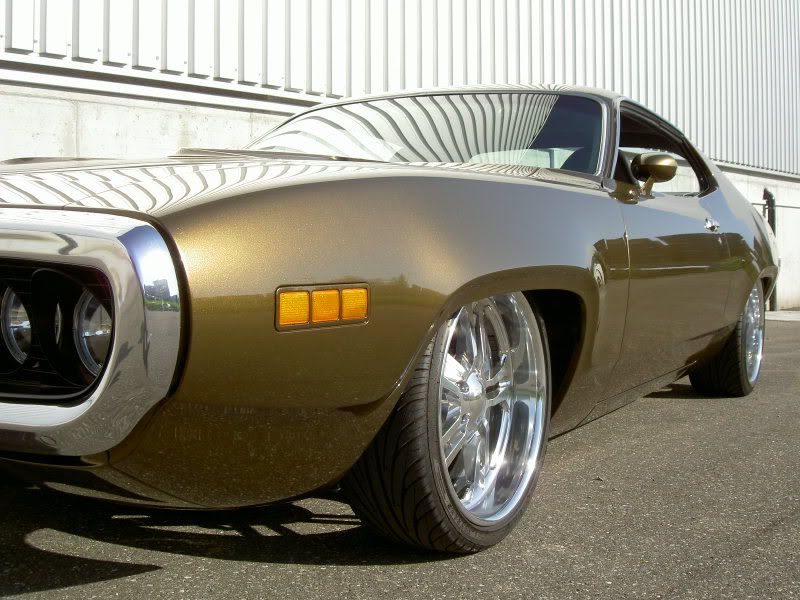
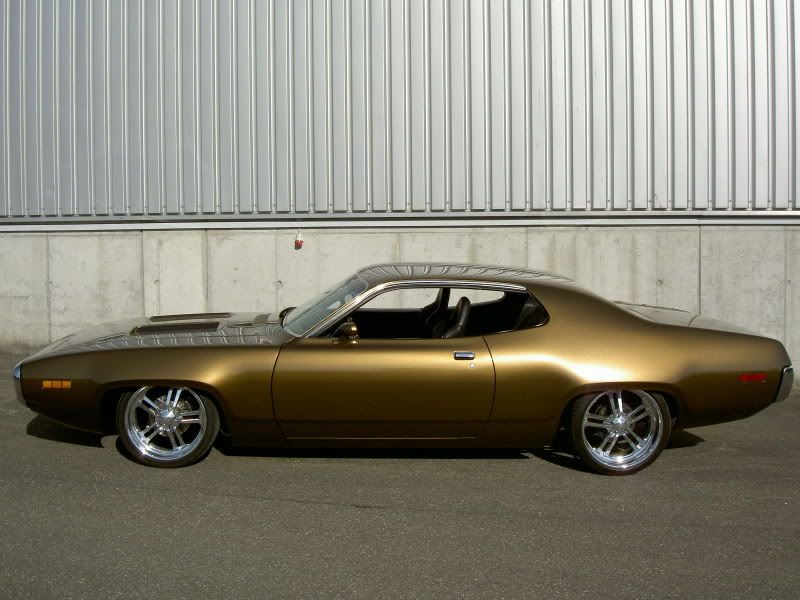

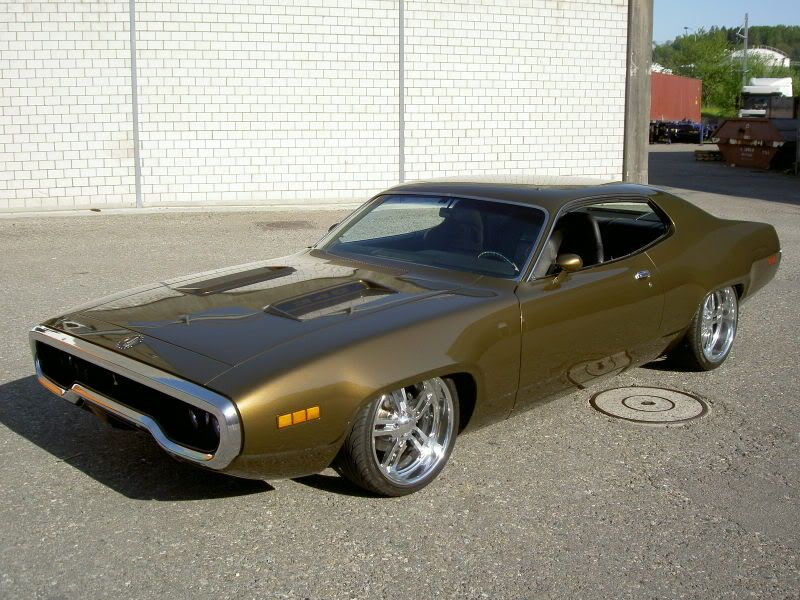
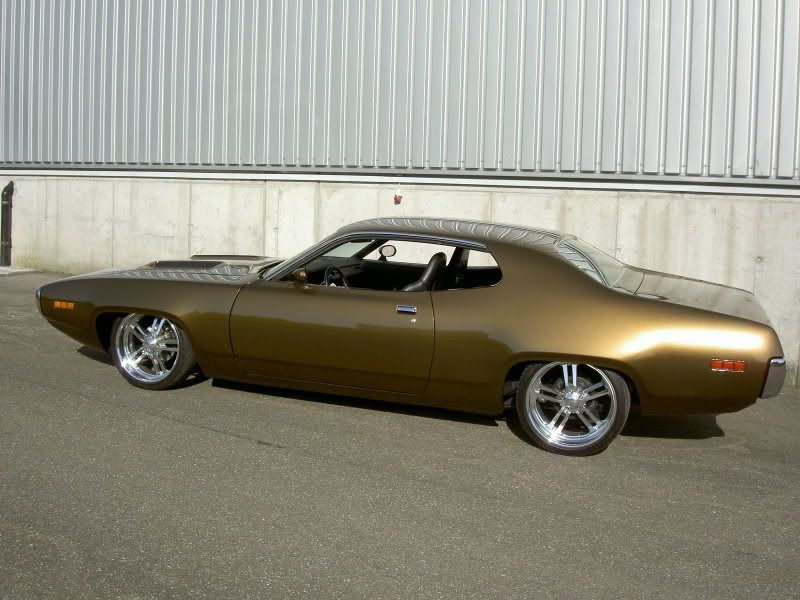

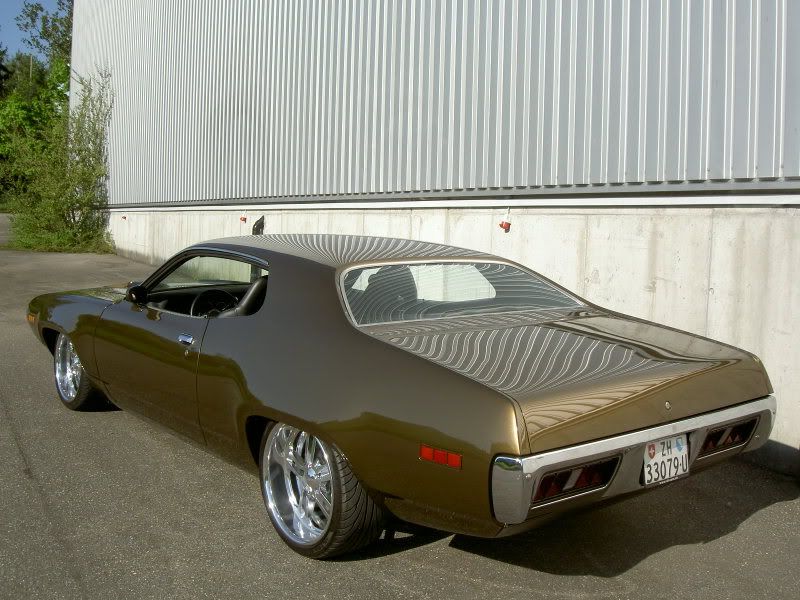
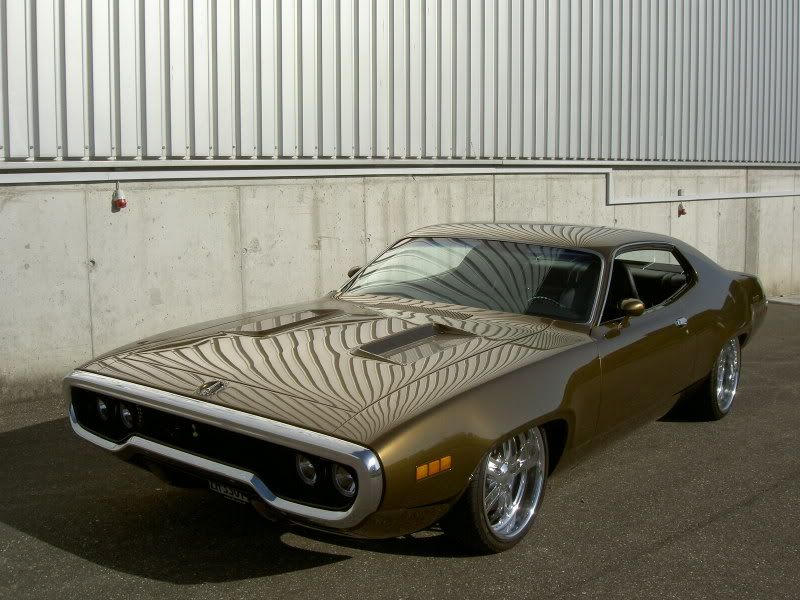
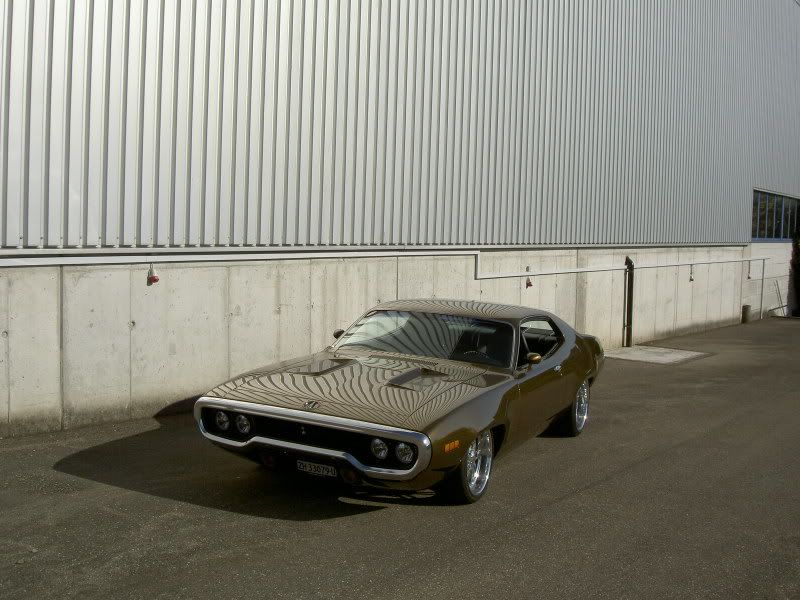
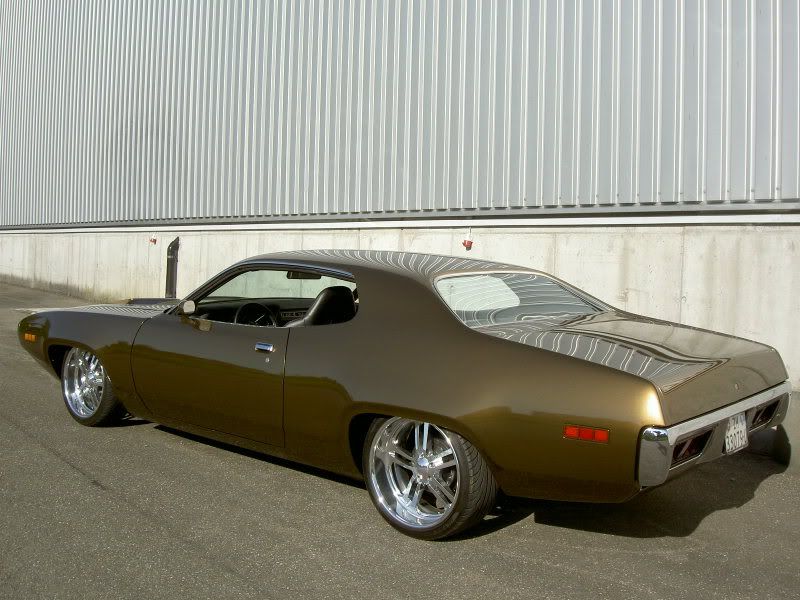
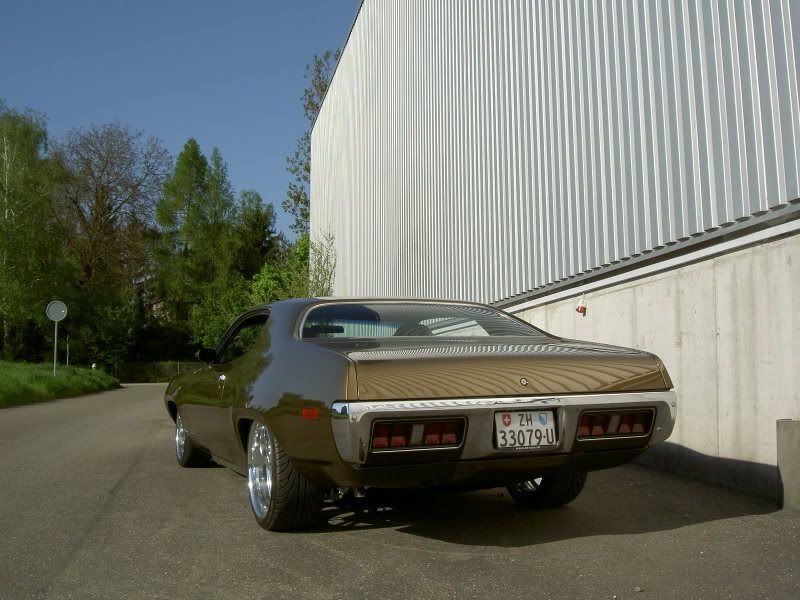
… the car is a blast to drive!!! top handling and a very direct steering feeling…and the suspension is incredible!!
i bought a complete alterktion suspension from reilly's motorsports with airride-shockwaves, rack & pinion, 1.125" sway bar, upper and lower tubular arms, and more! rear cames a modified airbar-suspension from air-ride-technologies with shockwaves too, and 4-link! in same time i restored the complete underground of my RR, install subframe connetors, and a few other new parts...
here a few pics of works:
(and i try to explain the works on english..)
at first i parted my interior out… (for welding frame connectors on floor…)
here a few pics of underground before works begins…old, dirty, and with much surface-rust…
at first, i starting with the subframe connectors…so exhaust cames down…
then i cleaned up the underground…and the sheetmetal was really in good condition, clean and rustfree…
and this are the E-BODY subframe connectors!! for the 1971 b-body don’t exist frame connectors, but
it’s possible to modifing the e-body ones for an b-body…
so i modifing the e-body connectors! i cutted 6“ at rear of connectors, modified the upper design, and welded the rear pieces in right position…
then all cleaned, primered and welded!
the next step was stripping the complete underground, so tank, lines, rearend, and a lot of small parts cames down…
after this, i cleaning the complete underground and then i remove all primer and paint…
next step was disassembly the engine, trans and the complete front suspension with k-member…
and then the same job with the front of underground…
the stop-busher on the frame rails must be removed for mounting the alterktion-suspension…
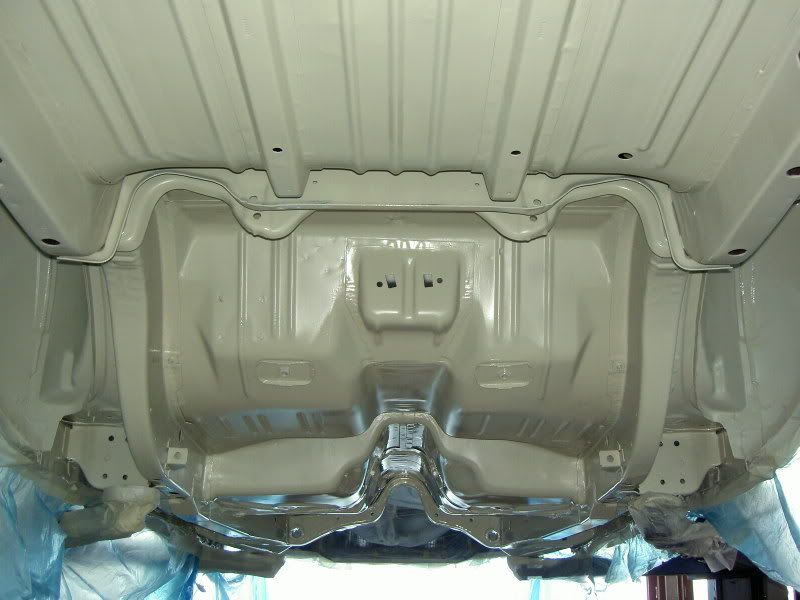
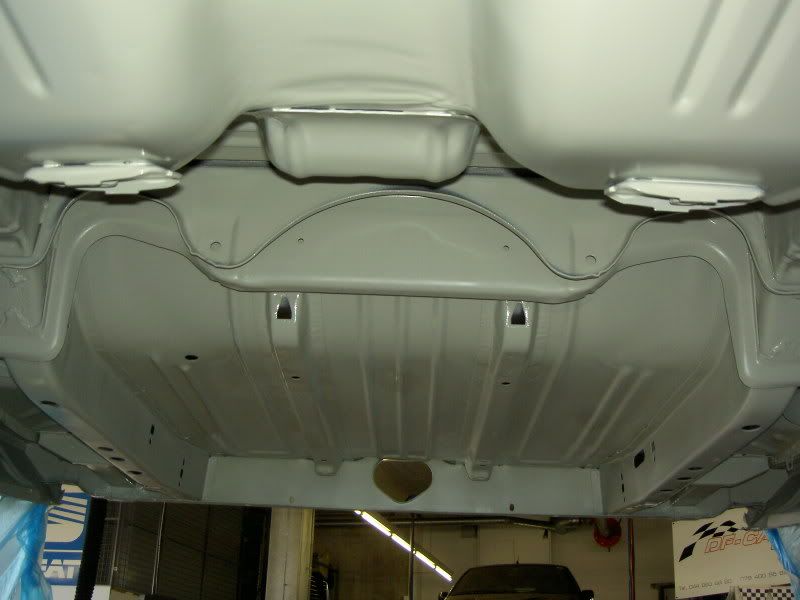
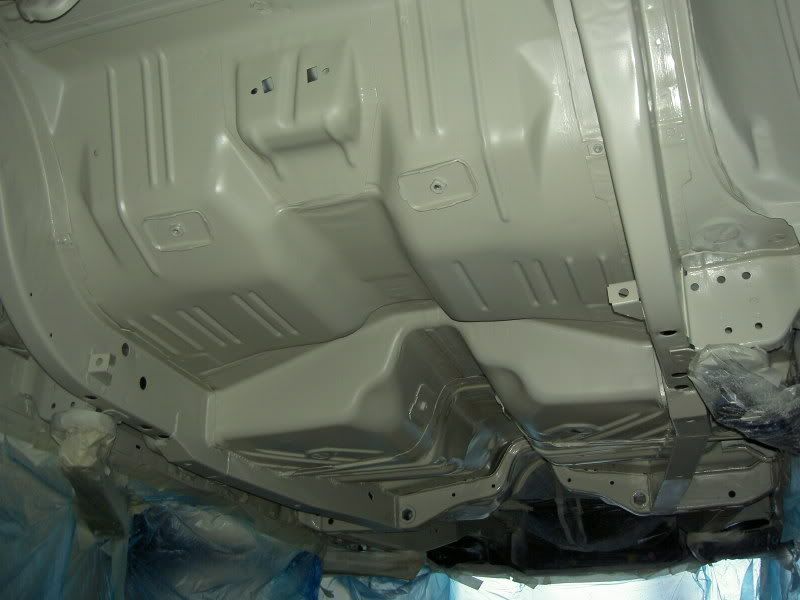
and this was the complete underground after cleaning and make bright…
at first, i painting all closely places with a special rust-stop-paint…
then cames epoxi-primer on same places with a brush…
and finally we painting the complete underground with epoxi-primer!
then i sealing all…
and then cames the first fine black paint on it…
the engine became a cleaning, all bolts and nuts controlled, partially new paint and a new aluminum-waterneck…(later cames a complete new engine on the car..)
and after a lot of weeks, cames finally all suspension-parts from the states…
alterKtion front suspension…
rack and pinion
tubular-arms…
1.125“ sway bar
front-shockwaves
and a lot of other parts…
and here the rear airbar-suspension from air ride technologies with 4-link and shockwaves!
we brought the front suspension and other parts to powder coating…the rear suspension is a kit for 68-70 b-body’s ….and need to hard modifing the complete construction. i was prepared to modifing it a little bit, but i dit not think the undeground of 71’s b-body’s is so different! but more later…
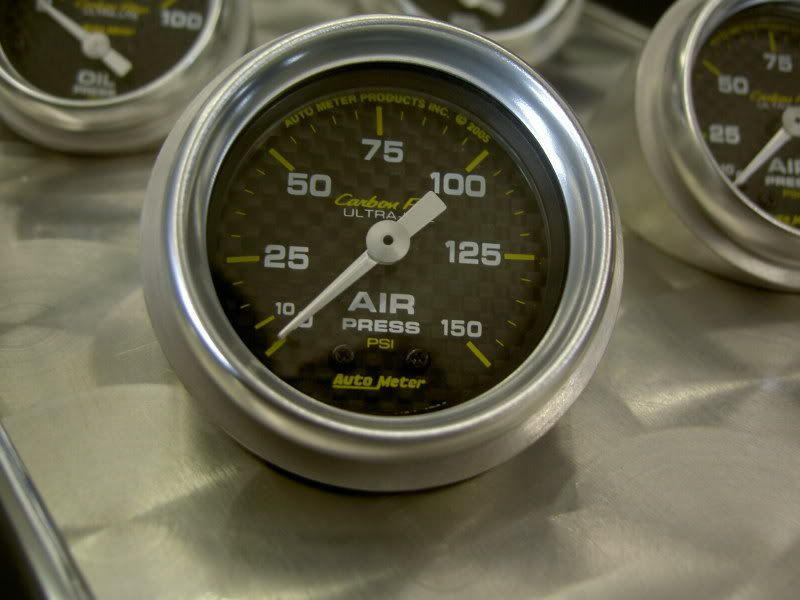
next step, was to add 2 autometer-gauges on the console. the gauges are air-pressure-gauges for the pressure of front and rear airride…
my brother installed in same time the air-management-kit for the airride…
then i installed the switches for airride on the ashtray!
after a few days, the parts cames back from powder coating…
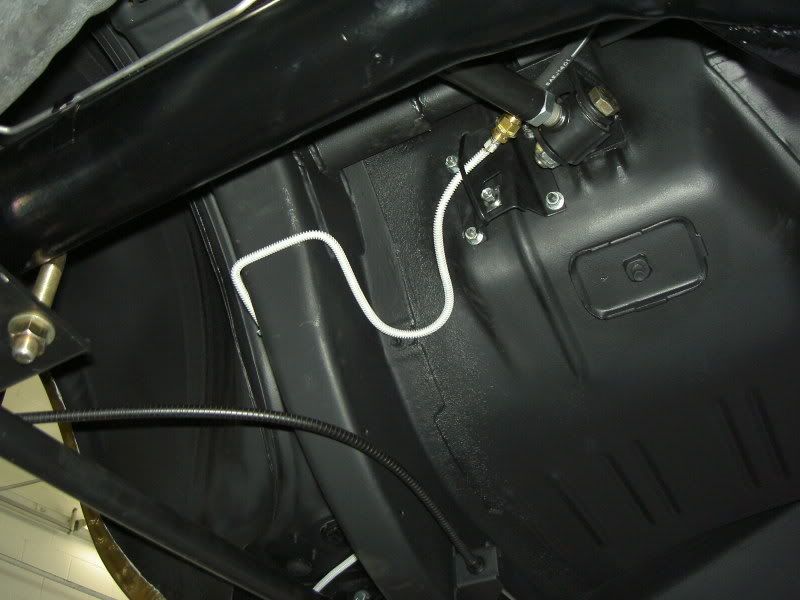
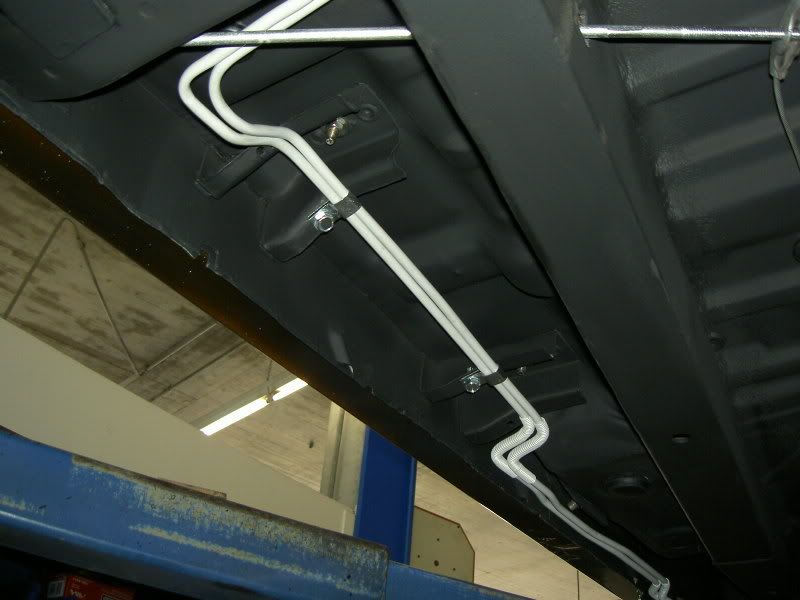
and the brake- and fuellines became also a silver powder coating!
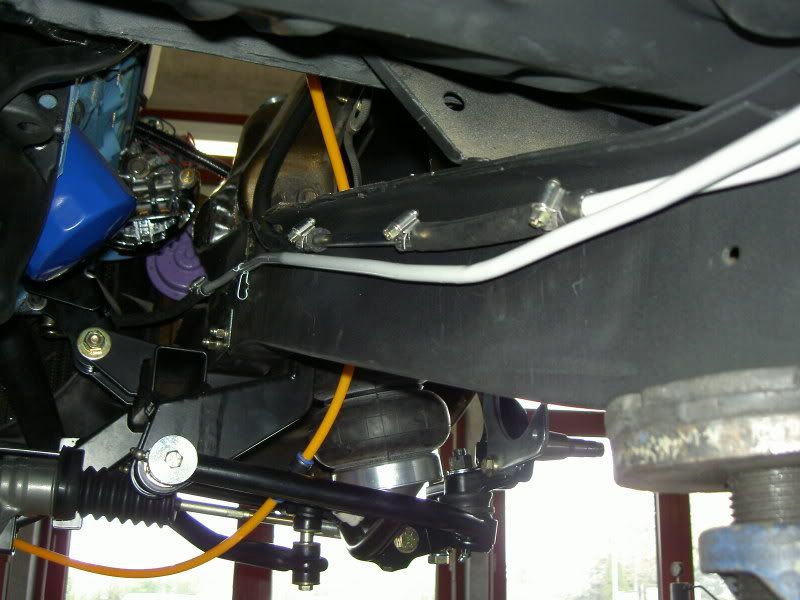
so we could install the complete front suspension…
alterktion-frame at first…
lower tubular-arms and shockwaves…
upper tubular-arms and spindle....
and so the front suspension was on her place!
i became in same time my complete rebuild 727 with shift-kit, billet servo, race parts and other goodies…and i painted it flat-black…
then i mounted the rack and pinion…
the new motor-mounts…
and then the engine and trans (here still with the old oilpan)…
next step were the mod’s on the rear suspension!
before powder coating the rearend, was necessary to modifing the suspension-system, to weld all brackets and bars and to testing the complete installation! only then, we could bring the rear axle to poader coating…
first step was parting the axle partially out…
mounting side towers…
the floor needed a slighty modification…
shockwave-testing…
and install the outside-brakets…
both bars for the 4-link and for the shockwaves that cames between the frame rails, are to short for the 71-floor…so we cut out both ends on both bars…
then test-mounting of complete suspension and exactly mesurement of position and ride-hight…
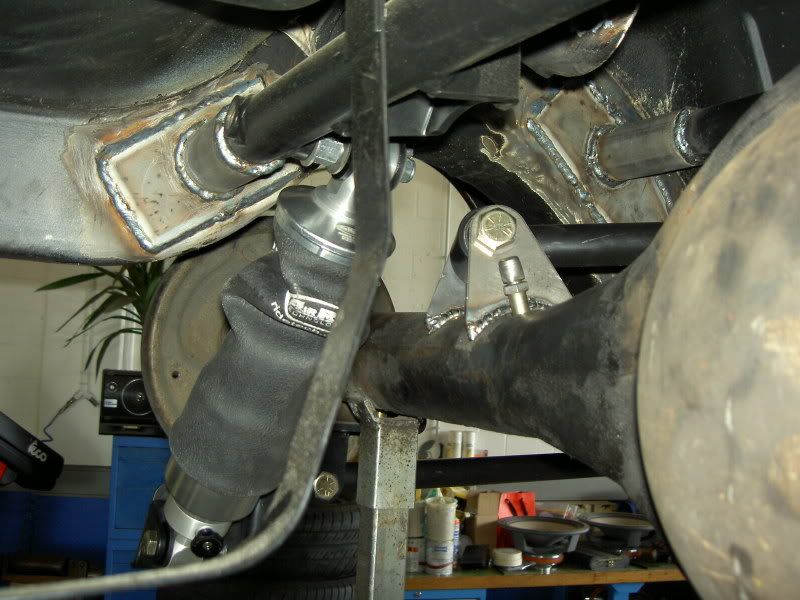
after this, we estended the bars with larger tubes and new mounting plates…and then welded the rear bar on frame…
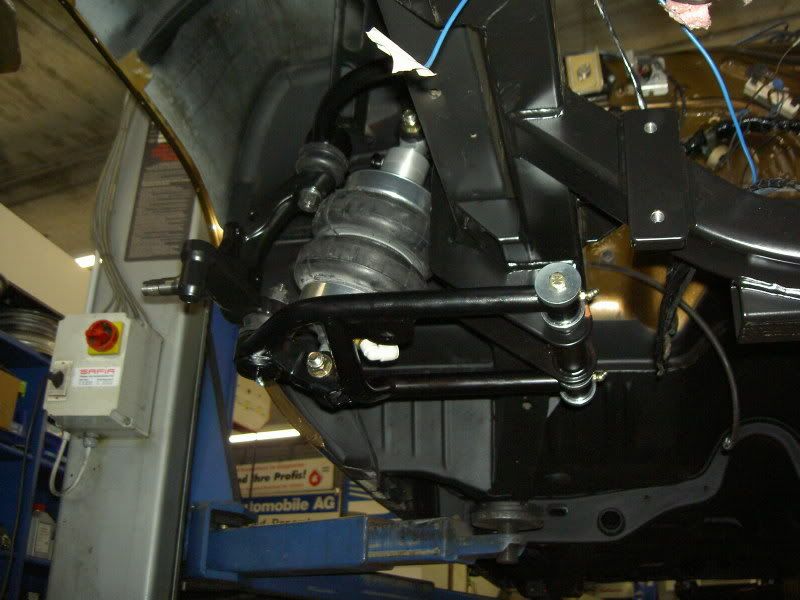
next positioning of 4-link-arms on the bar and on ride-hight…
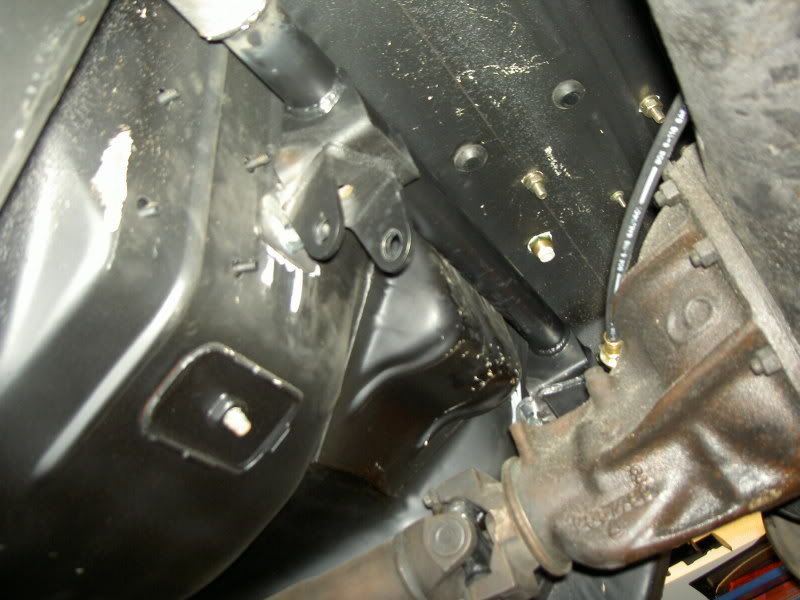
and then we extended the front bar same like the rear bar…and welded the bar also on the frame…
the front bar, is also screwed on the floor with mount plates form the inside…
next, we positioned the 4-link-arms on the axle in right position and tack-weld the tabs on the axle…
and when the alignment was rechecked, we removing the arms and i welded solid the tabs on the axle. then i mounted the complete rear suspension to check the position and alignment…
finally the rear axle could be bring it to powder coating!
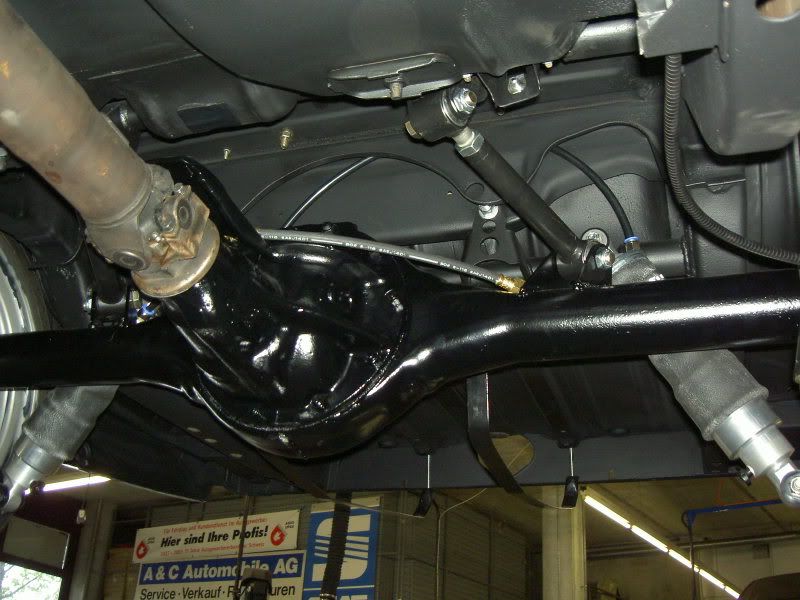
and then cames the last finish for the complete underground…
in same time, i recived my complete new leather-covered dash pad…and i mounted it!
next step was the steering column with both coupler….
and then the complete interior!
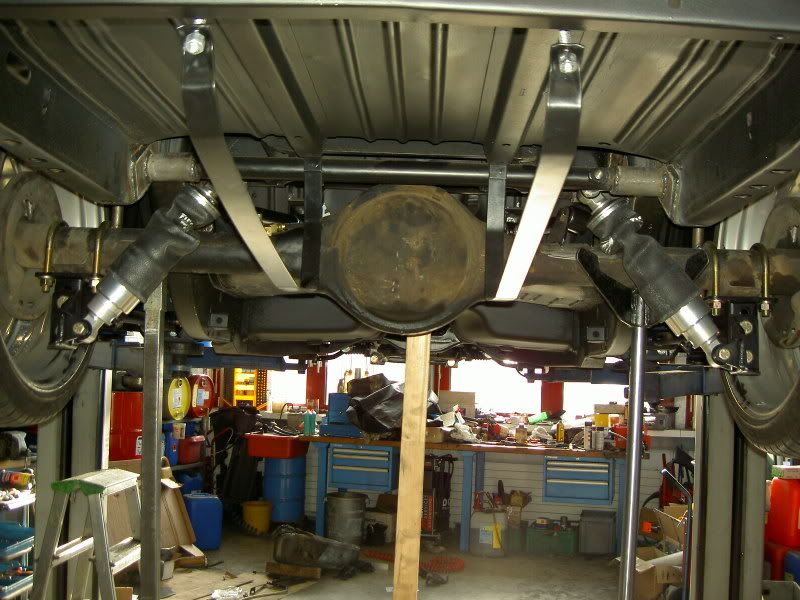
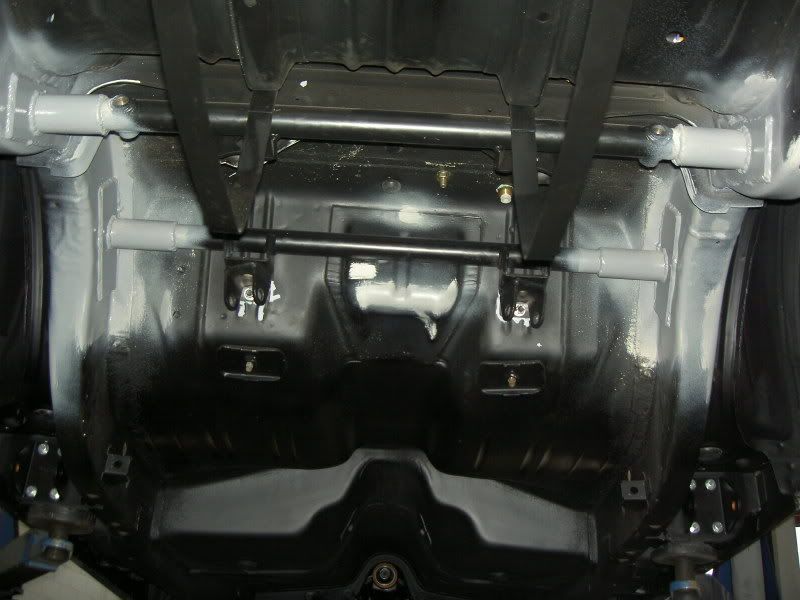
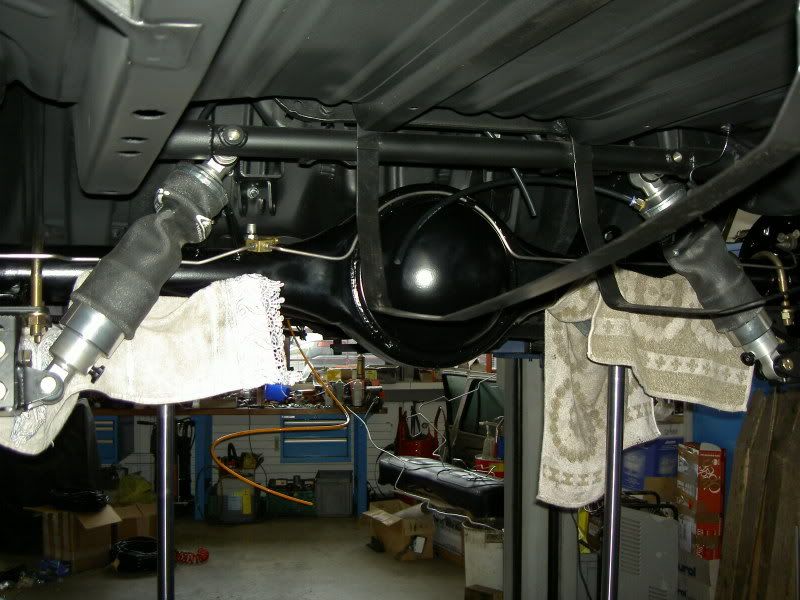
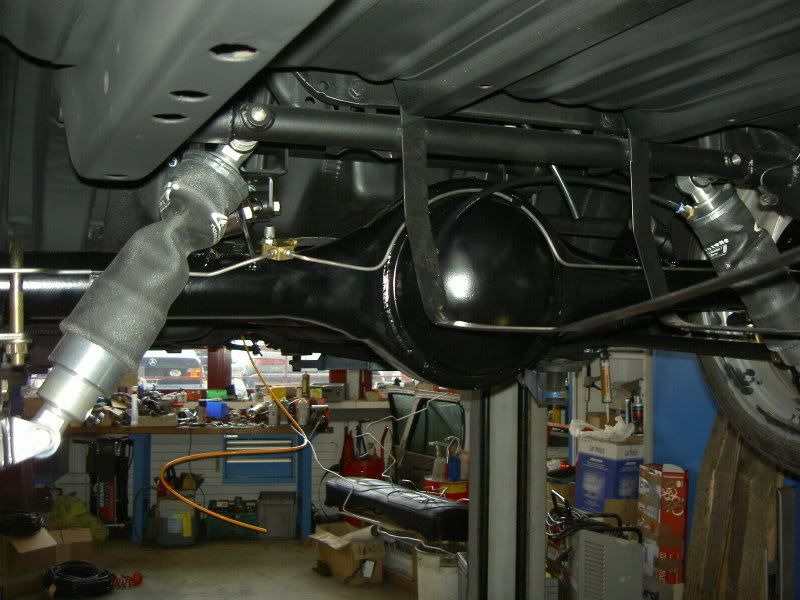
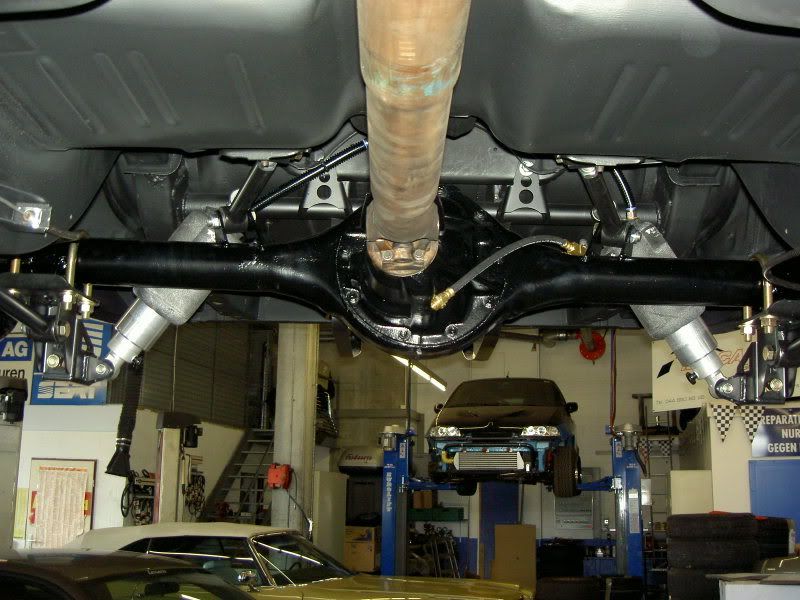
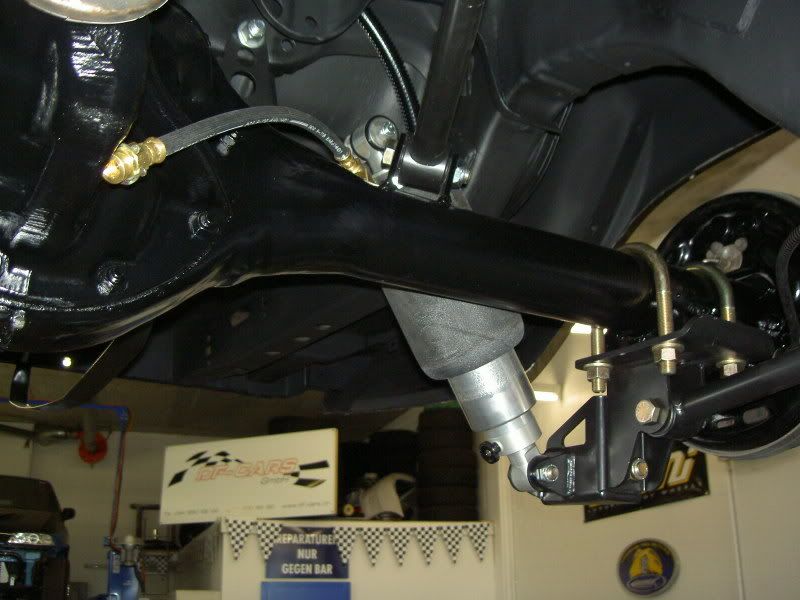
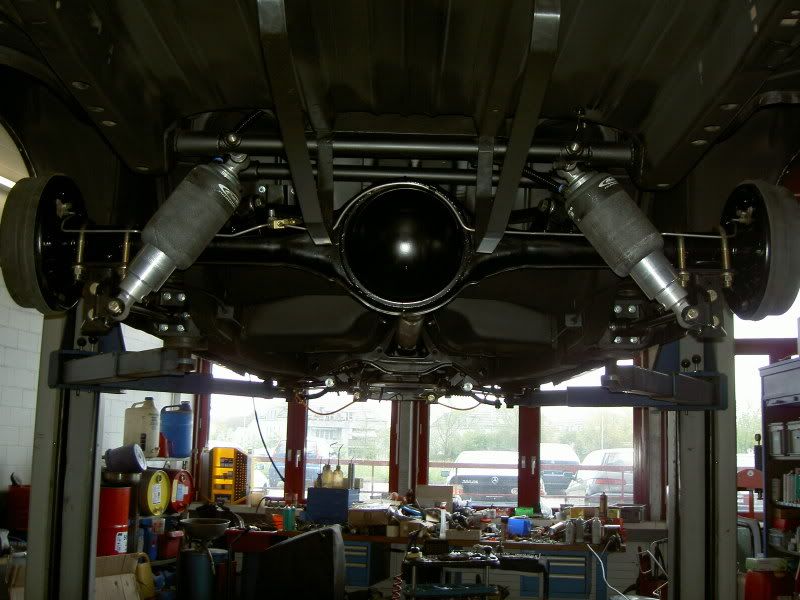
the next day came the rear axle from powder coating back…
and now we could install and adjust the complete rear suspension…
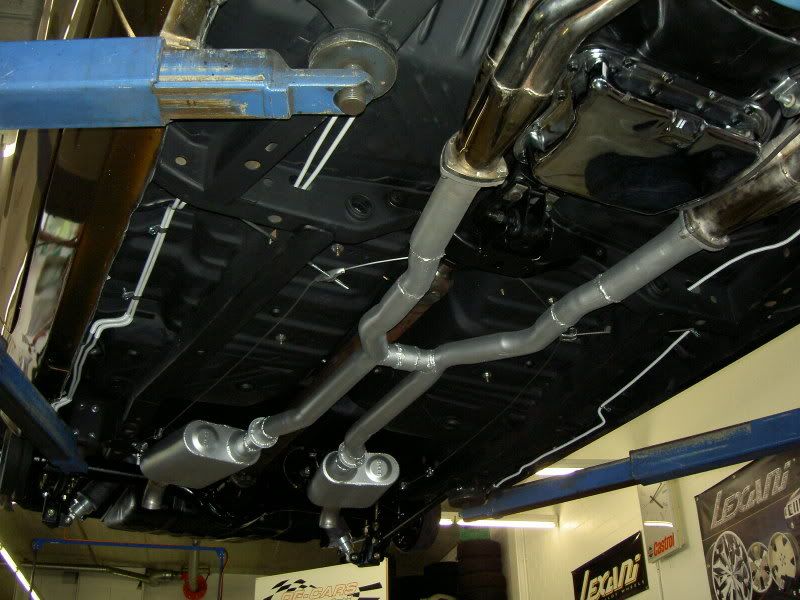
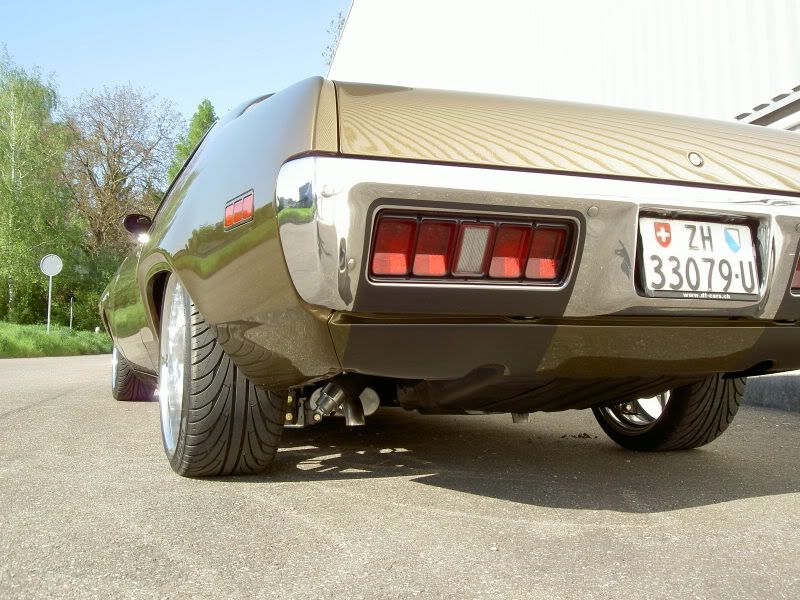
the car must be done for a car show, and we did have no more time for the custom made of a new stainless X-pipe exhaust system. so i painted for now my old exhaust-system with flowmasters, and in a few weeks cames the new system on it…
with the new rear suspension the old exhaust system will not fit….so i install turndows for the moment!
then cames the last things on the floor…(lines, parking brake cable…)
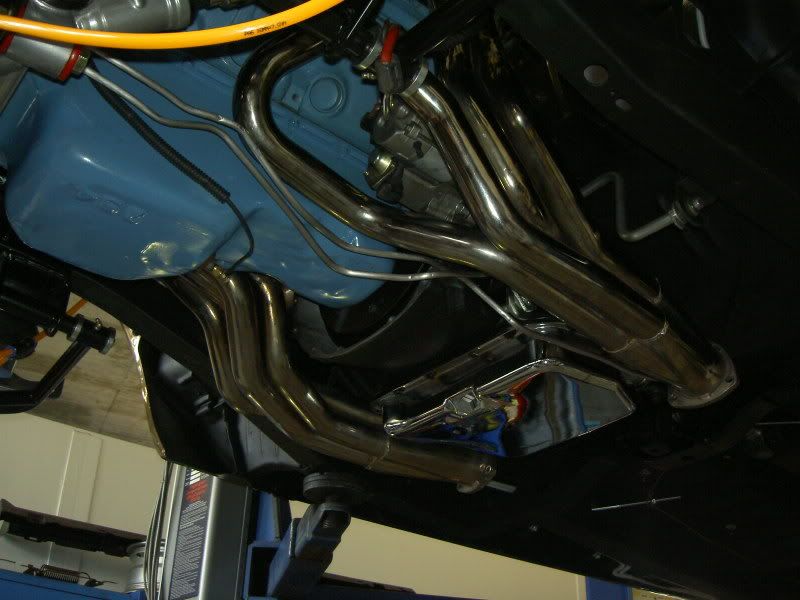
and the new transmission got a new chrome mopar-performance oil pan with more capacity…
the new polished ceramic coated TTI-headers was not arrived in time, so i had to install my old chrome TTI’s…then the exhaust system an the turndowns! in a few day’s i get the new ones…
last the front brakes…(in a few month cames new 13“/12“ wilwoods front/rear with 6- and 4-pistons on it..)
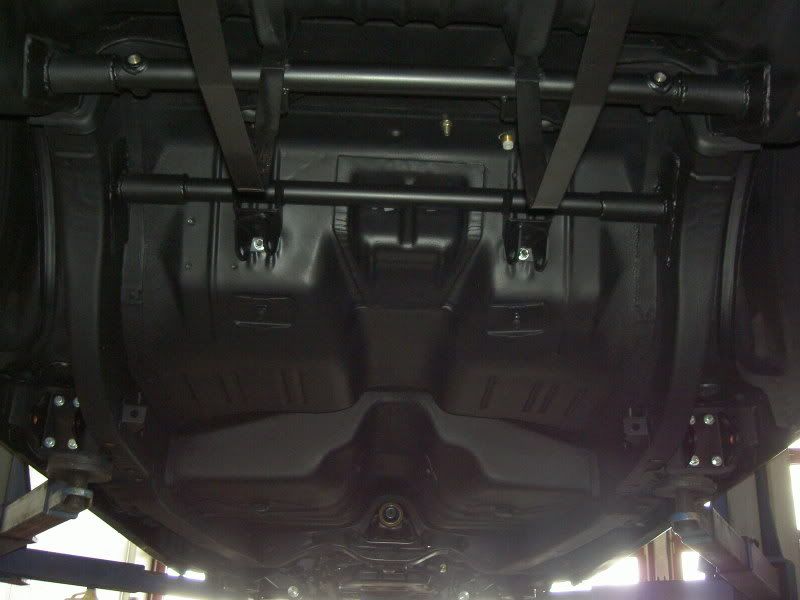
and this was the done floor after 3 month’s of works…
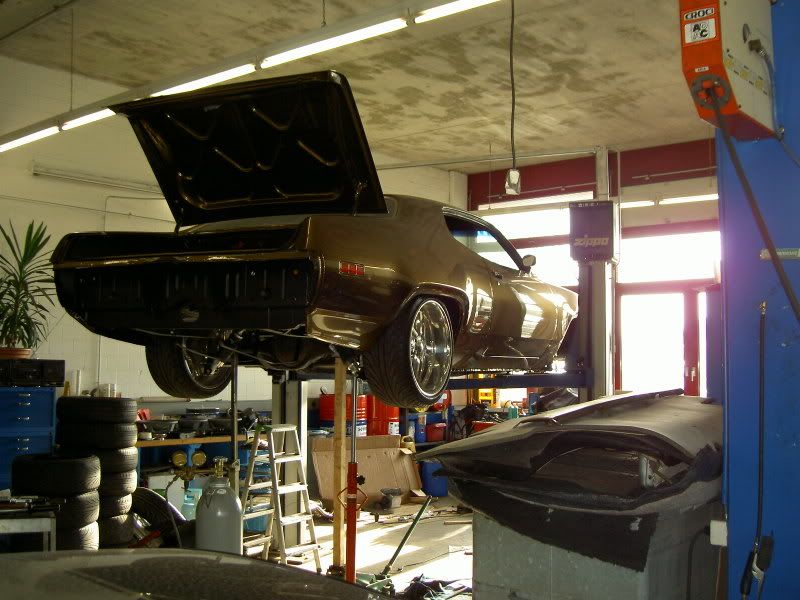
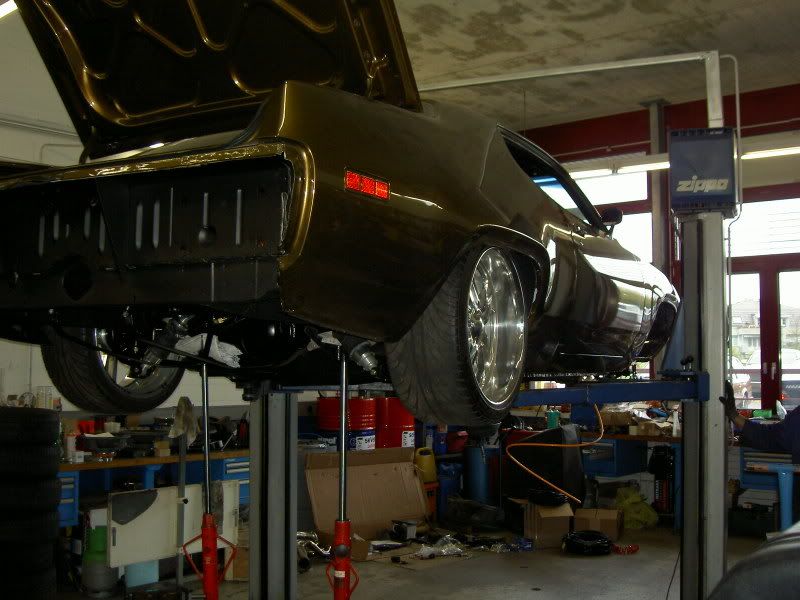
and this, is the finally product!!
… the car is a blast to drive!!! top handling and a very direct steering feeling…and the suspension is incredible!!
